【YOLOV5 入门】——构建自己的数据集模型训练模型检验
一、准备工作
1、数据收集
图片类型数据不用多说;视频类型数据利用opencv进行抽帧保存为一张张图片,这里选取30s的名侦探柯南片段进行试验,确保环境解释器下安装了opencv(我使用的是另一个虚拟环境):
import cv2
import matplotlib.pyplot as plt#打开视频文件
video = cv2.VideoCapture("./a.mp4")
#读取一帧(试验)
ret, frame = video.read()  #ret返回是否读到内容(true/false),frame保存内容plt.imshow(frame) #cv读取图片不是按照RGB,是BGR
plt.show()  #图片颜色奇怪# 将BGR图像转换为RGB图像
plt.imshow(cv2.cvtColor(frame, cv2.COLOR_BGR2RGB))
plt.show()   #图片颜色正常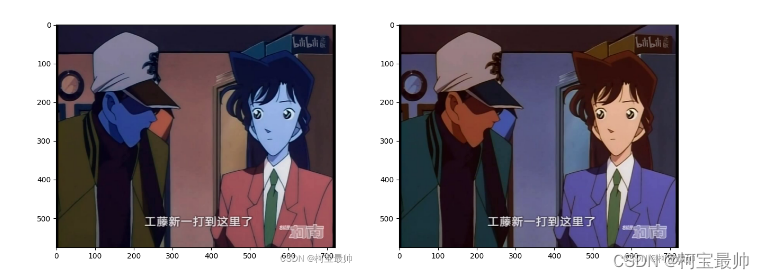
上面是演示抽取一帧,下面每隔30帧抽取一张并保存在文件夹images下:
#打开视频文件
video = cv2.VideoCapture("./a.mp4")
num = 0 #计数器
save_step = 30 #不每一帧都保存,每30帧保存一次
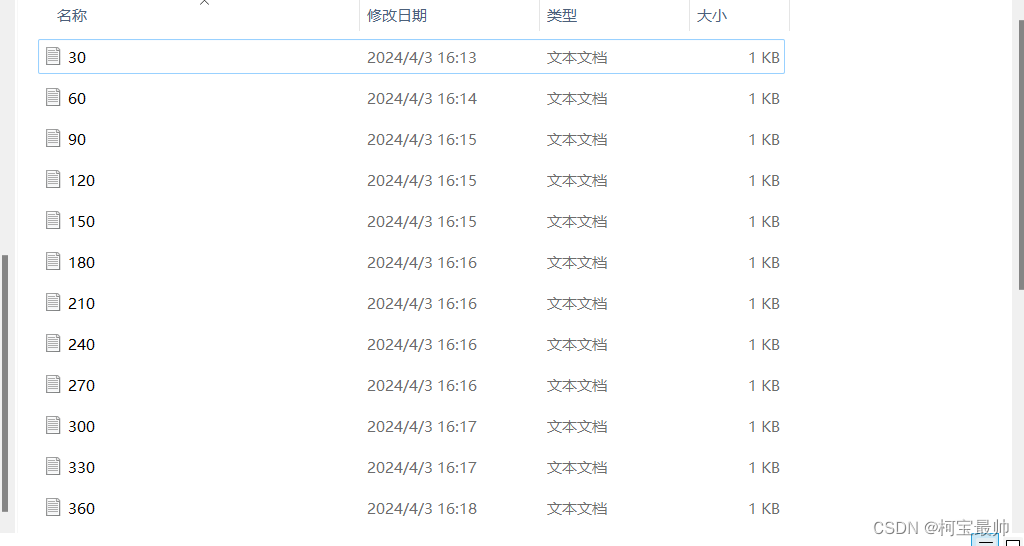
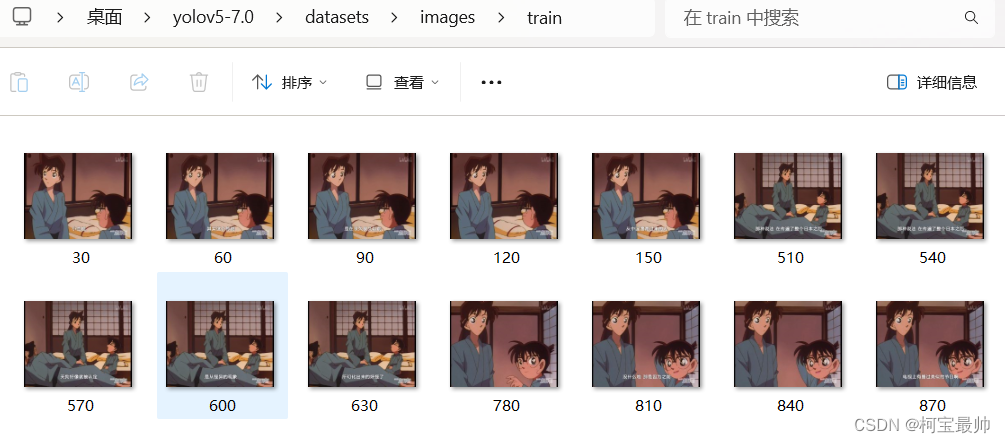
while True:ret,frame = video.read()if not ret:breaknum += 1if num % save_step == 0:cv2.imwrite("./images/" + str(num) + ".jpg" , frame) #目录下新建一个保存图片的文件夹images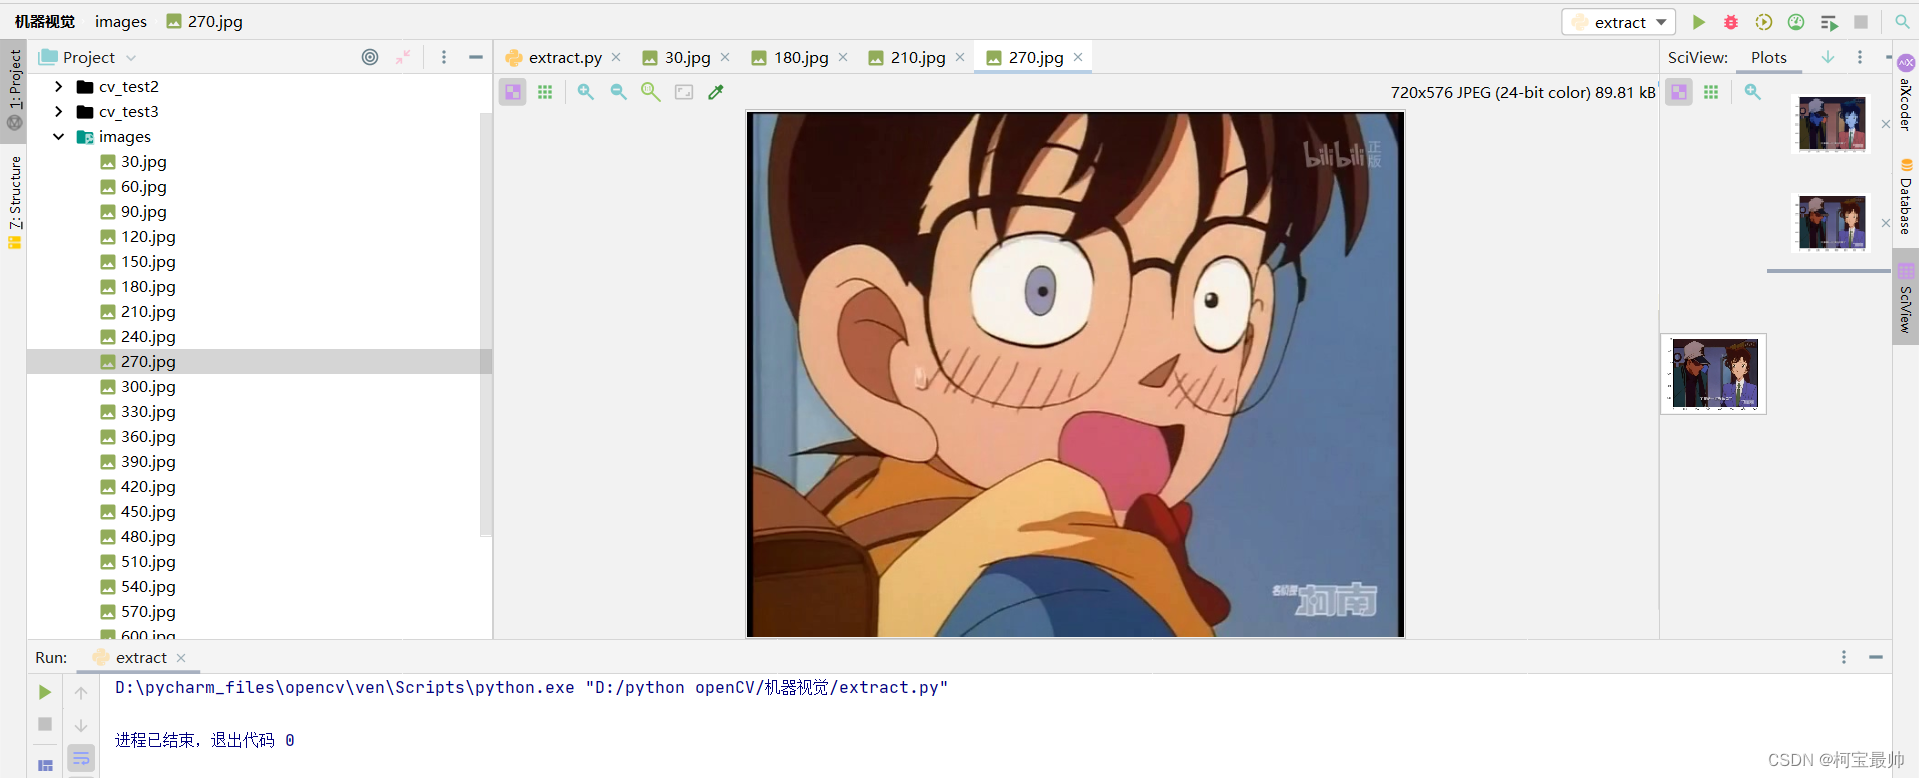
2、标注工具labelimg
使用labelimg,直接使用pip安装即可。先终端激活虚拟环境如下显示(ven),再输入下面代码:
pip install labelimg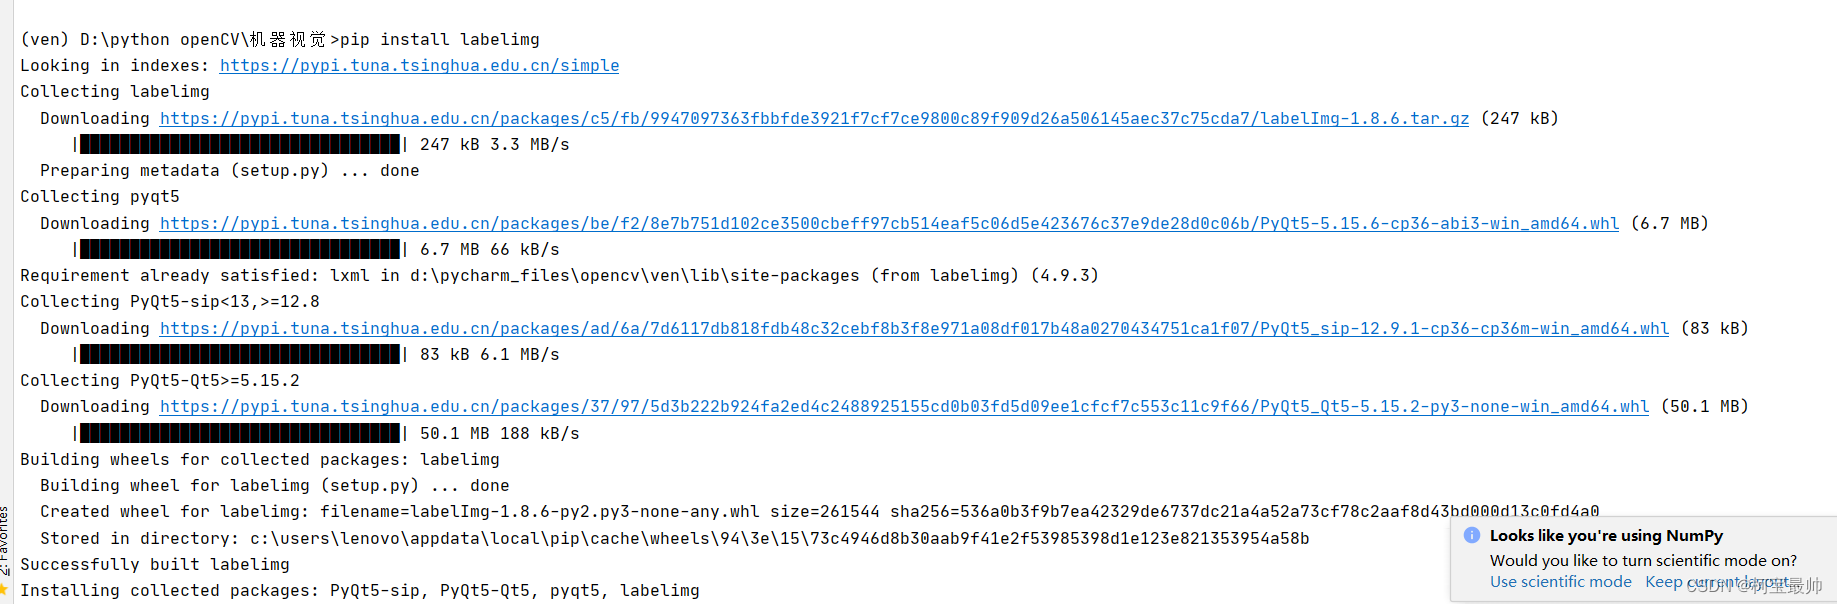
终端输入labelimg回车即可调出该工具窗口:
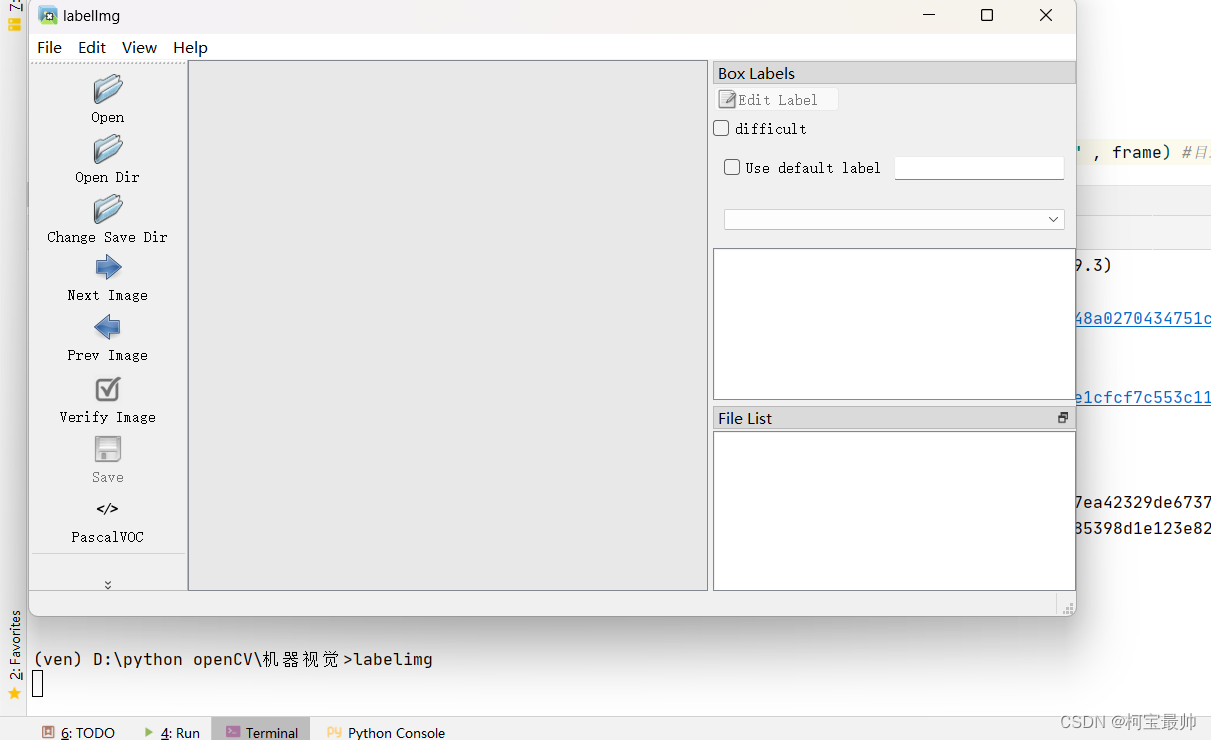 “openDir”即可导入图片文件夹开启标注,注意点击“PascalVOC”将其切换为“YOLO”的保存模式,标注好一个点击“Save”即可,也可在“View”中开启自动保存。右键点击图片即可开始标注:

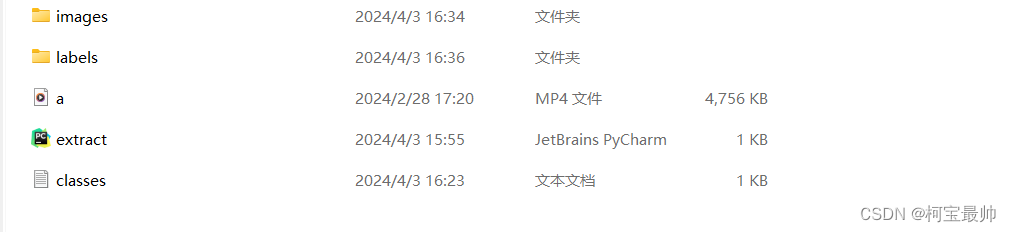
将全部文件标注完成后(保存在labels文件夹中),可发现保存label的文件夹里是与图片名对应的txt文件以及一个classes的txt文件(保存了框的位置信息以及种类标签信息):
后来由于某些原因重新选了一段视频标注,有xiaolan和conan两个标签:
二、模型训练
1、数据调整
原始图片文件夹images和标注信息文件夹labels,分别需要在内部划分为训练集train和验证集val两个文件夹,然后需要把classes.txt文件单独拿出来放在与文件夹images和labels同级的目录:
数据格式对于YOLOv5十分重要!
将上图整理好的数据放在一个datasets的文件夹中放在,上节的yolov5-7.0文件夹下。
2、关键参数
①权重weight:与上期的相似,训练不是从头开始的,而是在官方给的权重文件的基础上进行再训练。
②数据集data:数据集描述文件.yaml,默认是data子目录下的coco128.yaml文件:

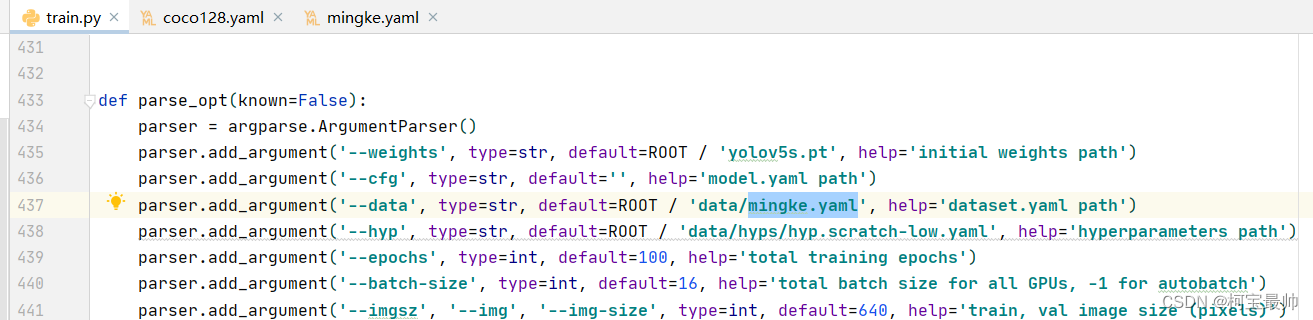
打开该文件,下面截图处存储了数据集的路径以及类别标签与数字的映射关系。数据整理好后,改写下面的yaml文件,同时更改上图中train.py文件的data参数,即可开始训练。
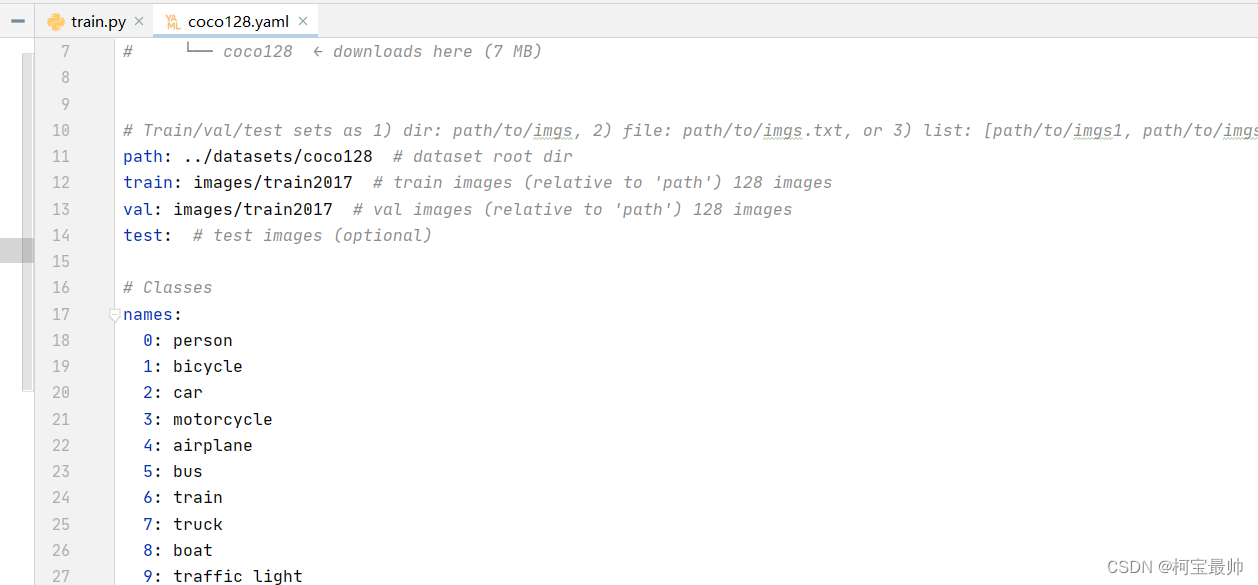
这里我们复制一份coco128.yaml副本单独命名为mingke.yaml
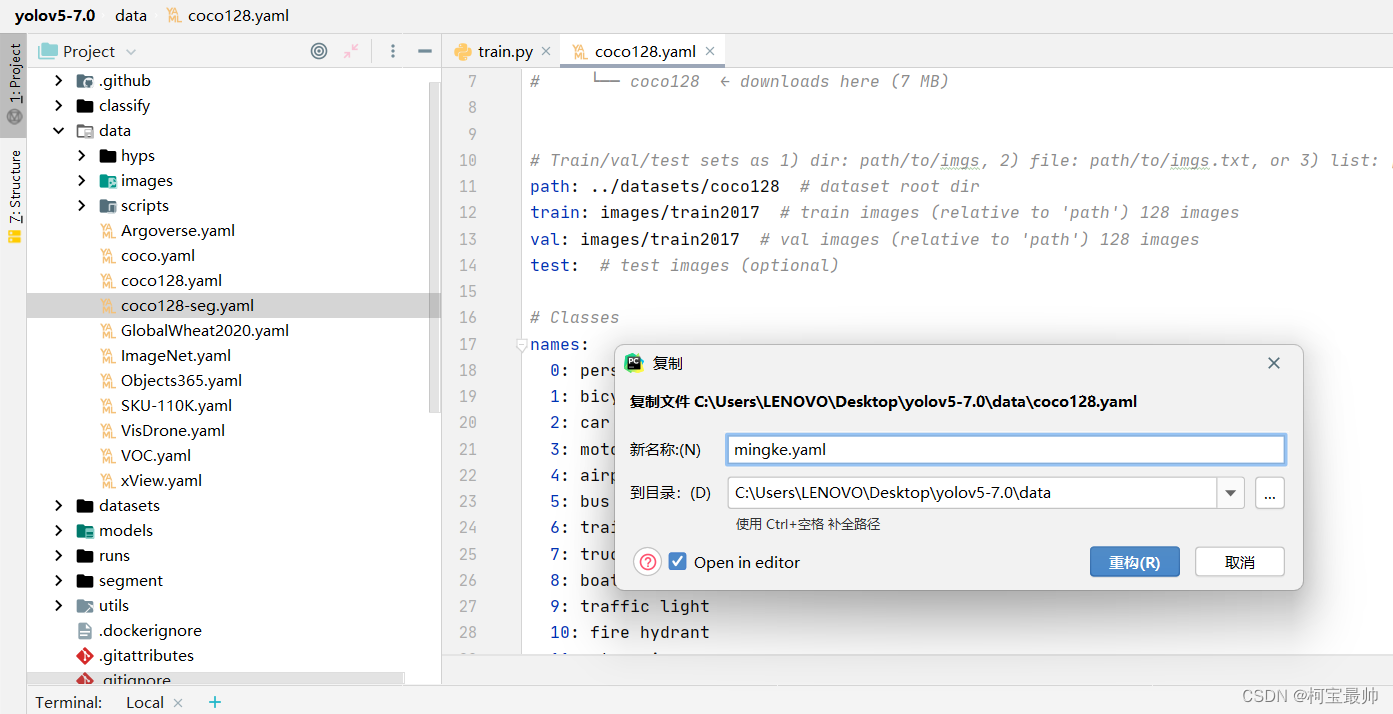
里面更改的代码如下,数据集的相对路径和names标签(注意/datasets前的一个.表示当前路径,两个..表示上一级路径):
# Train/val/test sets as 1) dir: path/to/imgs, 2) file: path/to/imgs.txt, or 3) list: [path/to/imgs1, path/to/imgs2, ..]
path: ./datasets  # dataset root dir  #注意:前面..改为一个.,这是不一样的
train: images/train  # train images (relative to 'path') 128 images
val: images/val  # val images (relative to 'path') 128 images
test:  # test images (optional)# Classes
names:0: xiaolan1: conan
并把train.py的data中访问的yaml文件更改:
运行train.py出现好多种报错:
报错一:
Traceback (most recent call last):File "C:\Users\LENOVO\miniconda3\envs\yolov5\lib\site-packages\git\__init__.py", line 296, in <module>refresh()File "C:\Users\LENOVO\miniconda3\envs\yolov5\lib\site-packages\git\__init__.py", line 287, in refreshif not Git.refresh(path=path):File "C:\Users\LENOVO\miniconda3\envs\yolov5\lib\site-packages\git\cmd.py", line 631, in refreshraise ImportError(err)
ImportError: Bad git executable.
The git executable must be specified in one of the following ways:- be included in your $PATH- be set via $GIT_PYTHON_GIT_EXECUTABLE- explicitly set via git.refresh(<full-path-to-git-executable>)All git commands will error until this is rectified.This initial message can be silenced or aggravated in the future by setting the
$GIT_PYTHON_REFRESH environment variable. Use one of the following values:- quiet|q|silence|s|silent|none|n|0: for no message or exception- warn|w|warning|log|l|1: for a warning message (logging level CRITICAL, displayed by default)- error|e|exception|raise|r|2: for a raised exceptionExample:export GIT_PYTHON_REFRESH=quietThe above exception was the direct cause of the following exception:Traceback (most recent call last):File "C:/Users/LENOVO/Desktop/yolov5-7.0/train.py", line 66, in <module>GIT_INFO = check_git_info()File "C:\Users\LENOVO\miniconda3\envs\yolov5\lib\contextlib.py", line 75, in innerreturn func(*args, **kwds)File "C:\Users\LENOVO\Desktop\yolov5-7.0\utils\general.py", line 350, in check_git_infoimport gitFile "C:\Users\LENOVO\miniconda3\envs\yolov5\lib\site-packages\git\__init__.py", line 298, in <module>raise ImportError("Failed to initialize: {0}".format(_exc)) from _exc
ImportError: Failed to initialize: Bad git executable.
The git executable must be specified in one of the following ways:- be included in your $PATH- be set via $GIT_PYTHON_GIT_EXECUTABLE- explicitly set via git.refresh(<full-path-to-git-executable>)All git commands will error until this is rectified.This initial message can be silenced or aggravated in the future by setting the
$GIT_PYTHON_REFRESH environment variable. Use one of the following values:- quiet|q|silence|s|silent|none|n|0: for no message or exception- warn|w|warning|log|l|1: for a warning message (logging level CRITICAL, displayed by default)- error|e|exception|raise|r|2: for a raised exceptionExample:export GIT_PYTHON_REFRESH=quiet
解决步骤:按照网上的配置git环境变量没啥用。最后卸载了torch,重新按requirement.txt原文件自动下载合适版本的torch,numpy和pillow也不改了,麻烦了好久。
报错二:
RuntimeError: Inplace update to inference tensor outside InferenceMode is not allowed.
You can make a clone to get a normal tensor before doing inplace update.亲测有效![]() http://t.csdnimg.cn/iTu35
http://t.csdnimg.cn/iTu35
其他常见报错:
- Arial.ttf字体无法下载
- 页面文件太小,无法完成操作
- Upsample object has no attribute recompute_scale_factor
B站博主学习视频![]() https://www.bilibili.com/video/BV1D24y1g7bg/?share_source=copy_web&vd_source=8f7729bb666414c7bb823ad003dc6e38
https://www.bilibili.com/video/BV1D24y1g7bg/?share_source=copy_web&vd_source=8f7729bb666414c7bb823ad003dc6e38
3、查看训练结果
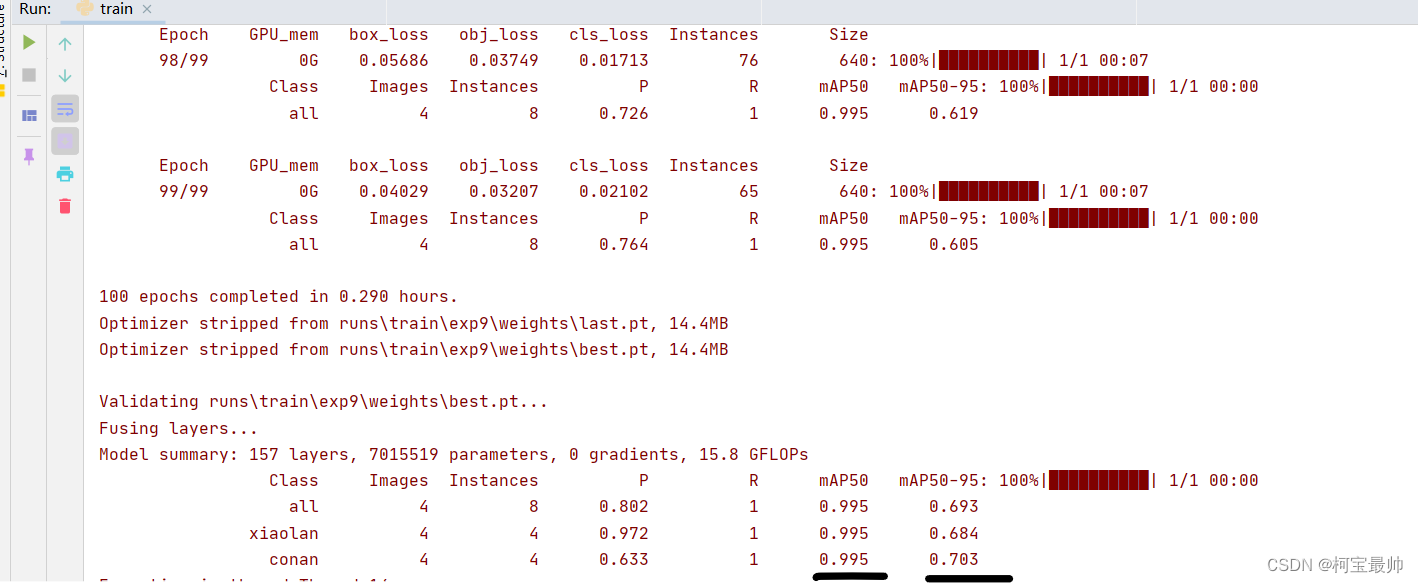
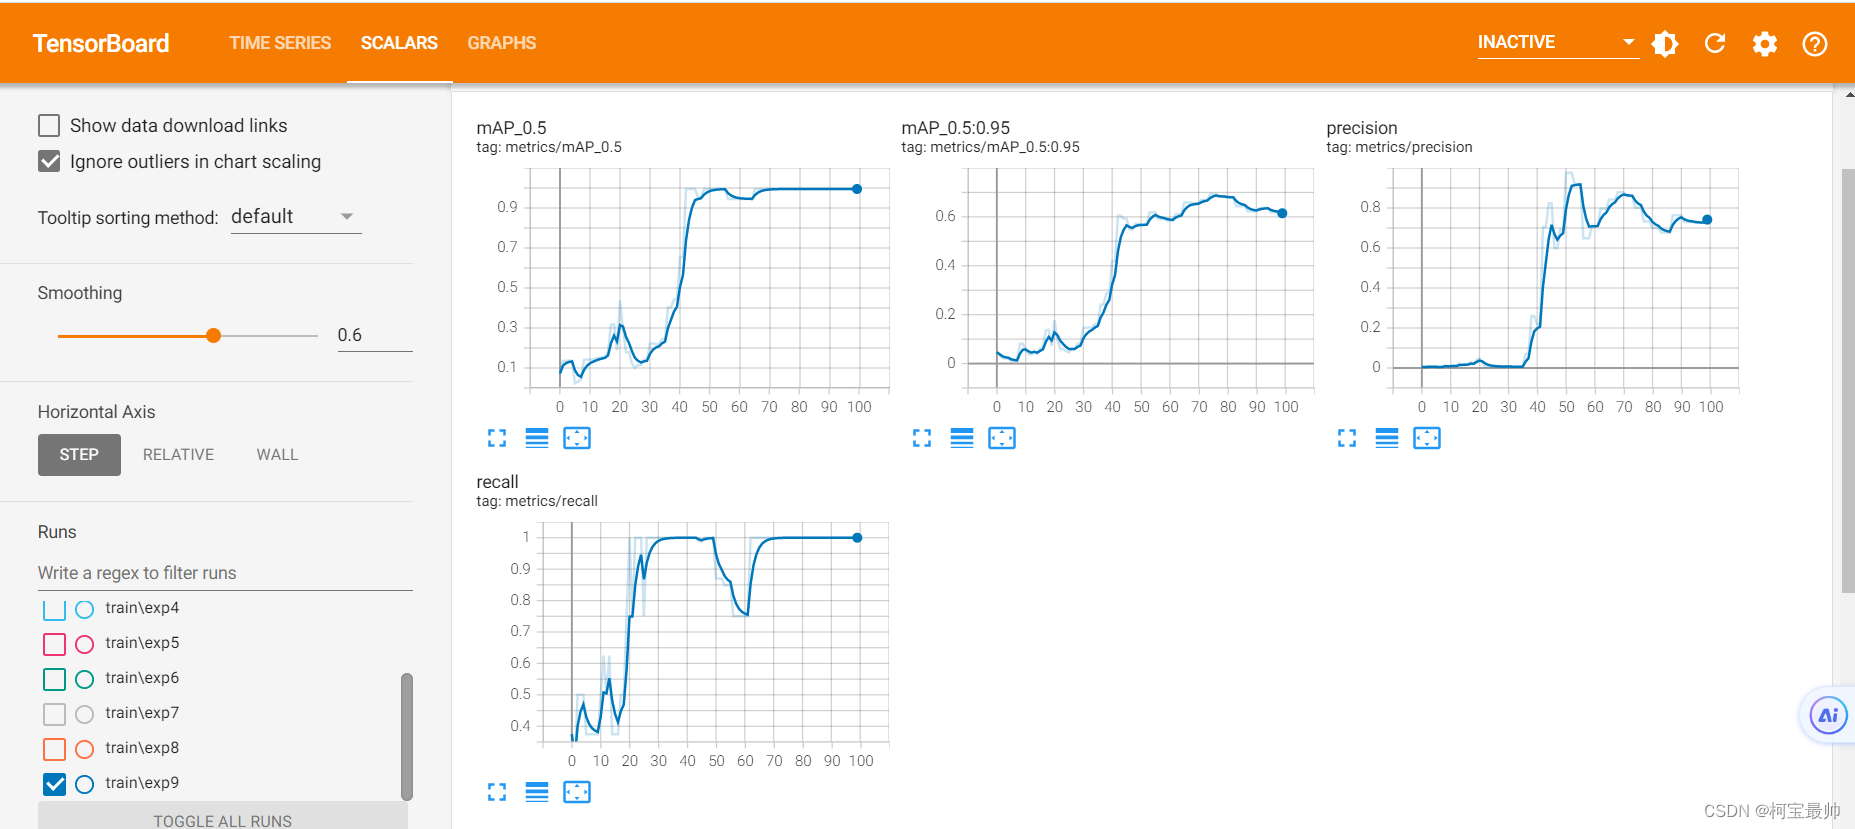
经过漫长等待,终于训练完成,可见训练迭代了100次,mAP50和mAP50-95指标:
- mAP50代表平均精度指标(mean Average Precision at IoU 0.5),其中IoU是交并比,0.5是评价窗口的大小。具体来说,mAP50是当IoU阈值设为0.5时的平均精确度。
- mAP50-95则是考虑了多个IoU阈值的平均精度。具体来说,mAP50-95是指mAP阈值为50到mAP阈值为95,间隔5%,取得10个mAP值,然后对这十个值取平均。这样可以更全面地评估模型在不同IoU阈值下的性能。
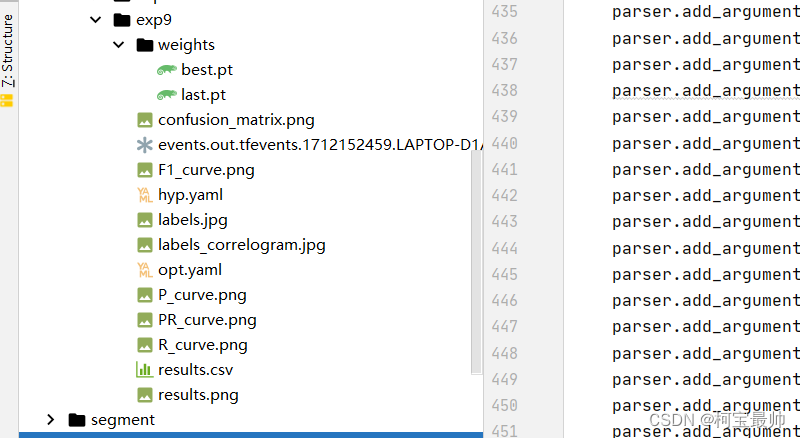
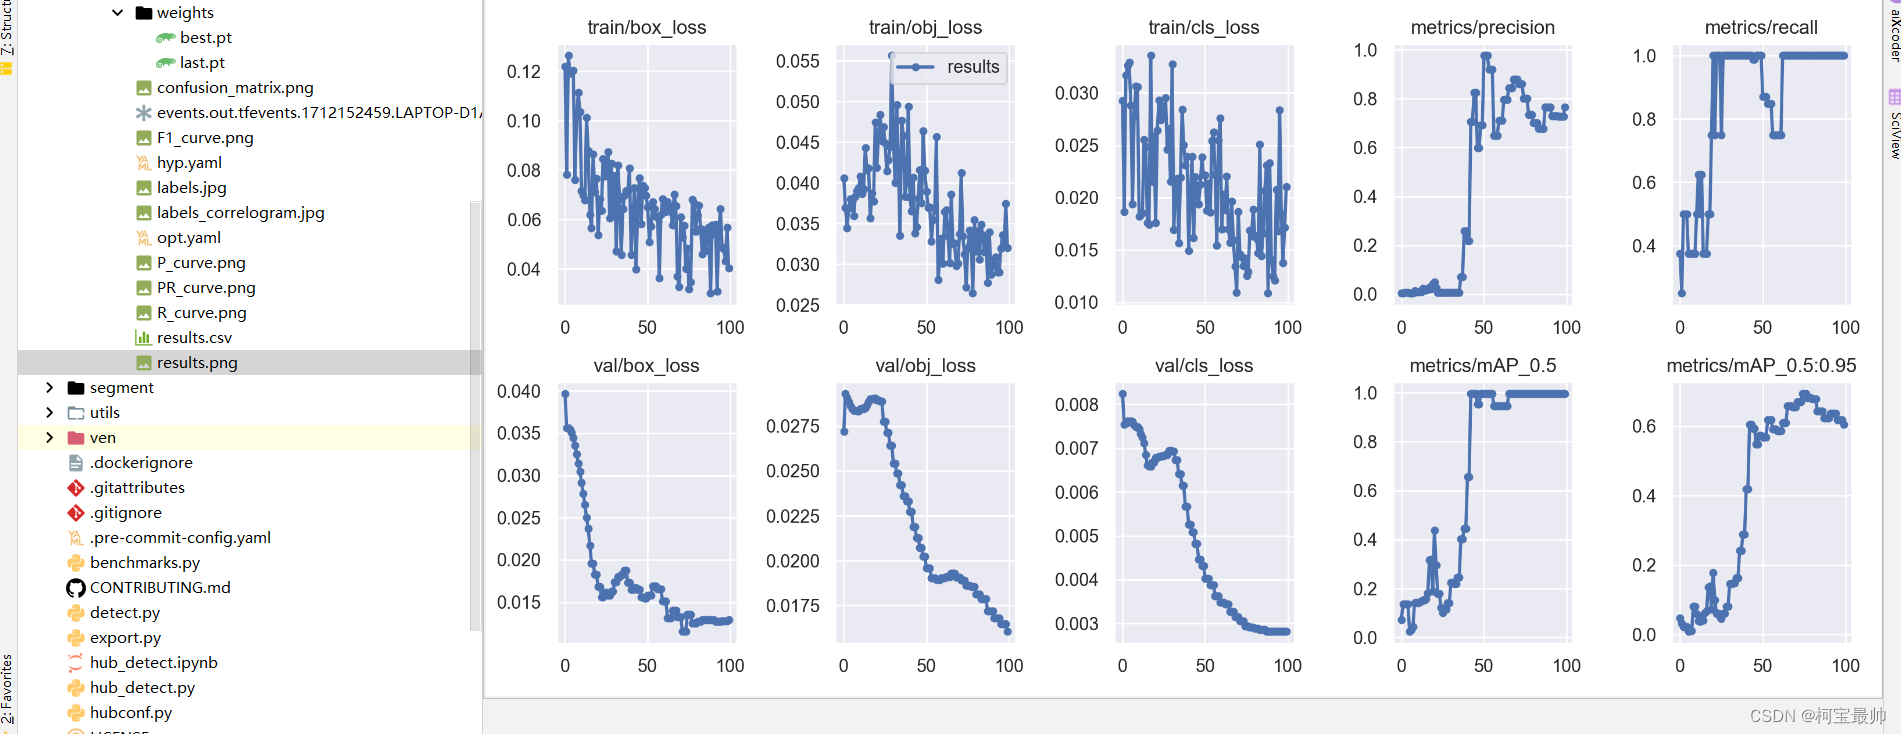
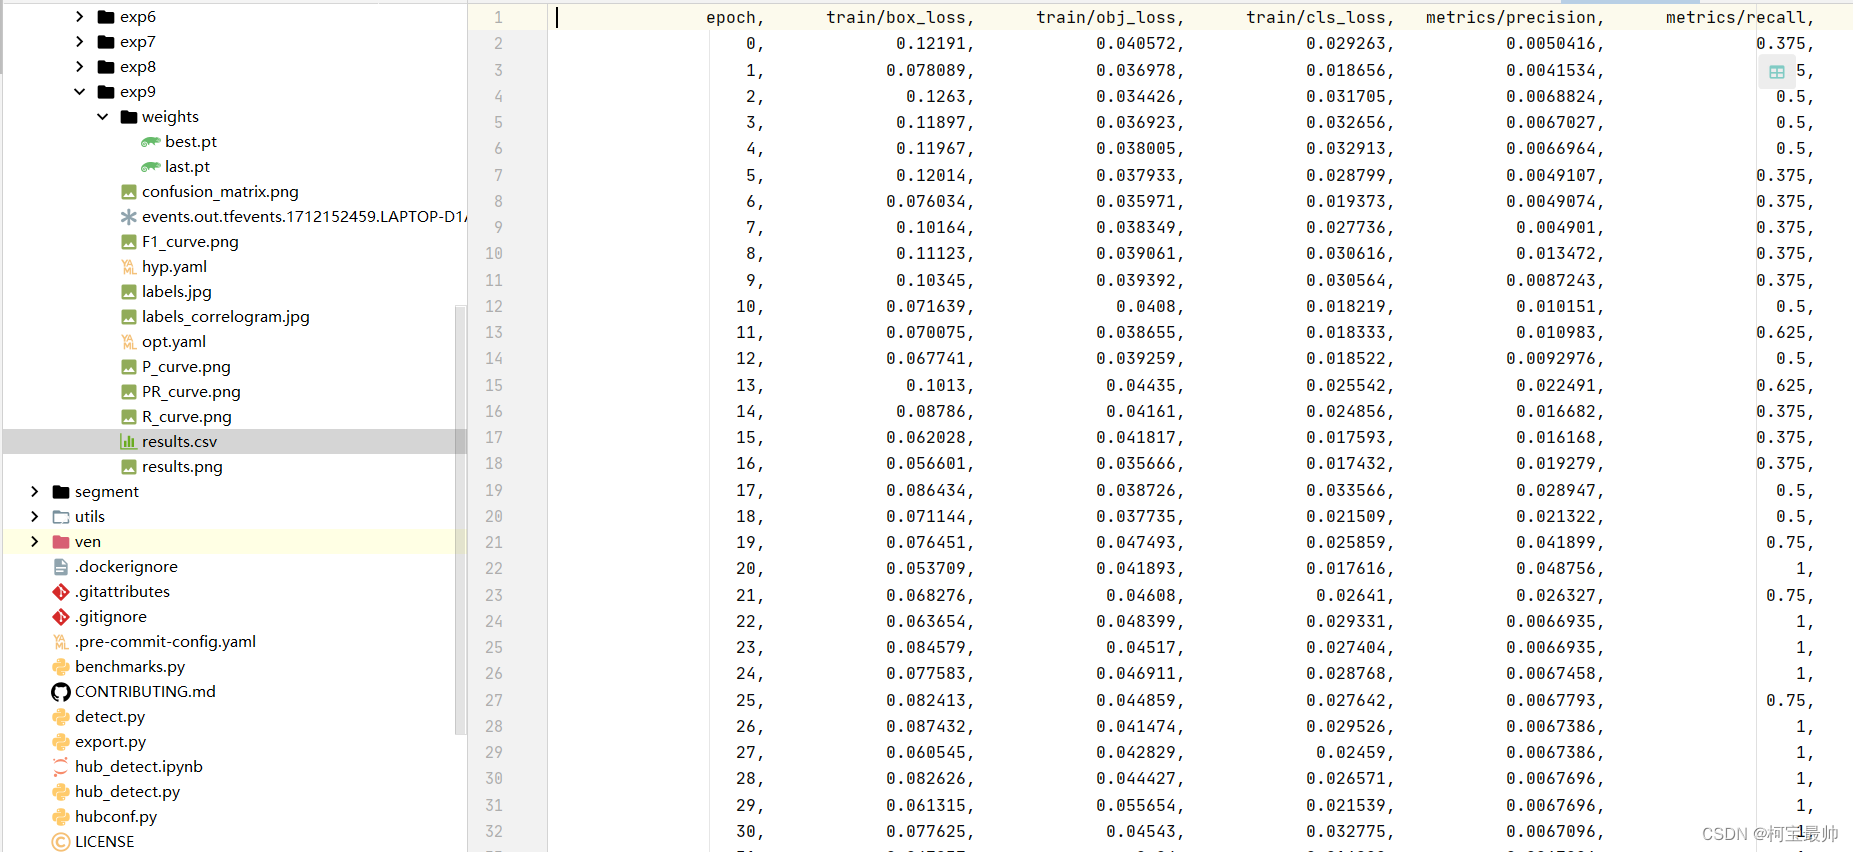
结果保存在runs\train\exp9\weights\best.pt...,exp9文件下权重有两个分别是最好的best.pt和最后一个权重last.pt;events.out.tfevents.1712152459.LAPTOP-D1AF7S5S.15316是训练过程中的日志可用tensorboard查看;其他的jpg也是一些结果图片。
用tensorboard查看日志,按住ctrl鼠标左击链接可跳转网页:


results.png和results.csv结果:
三、模型效果检验
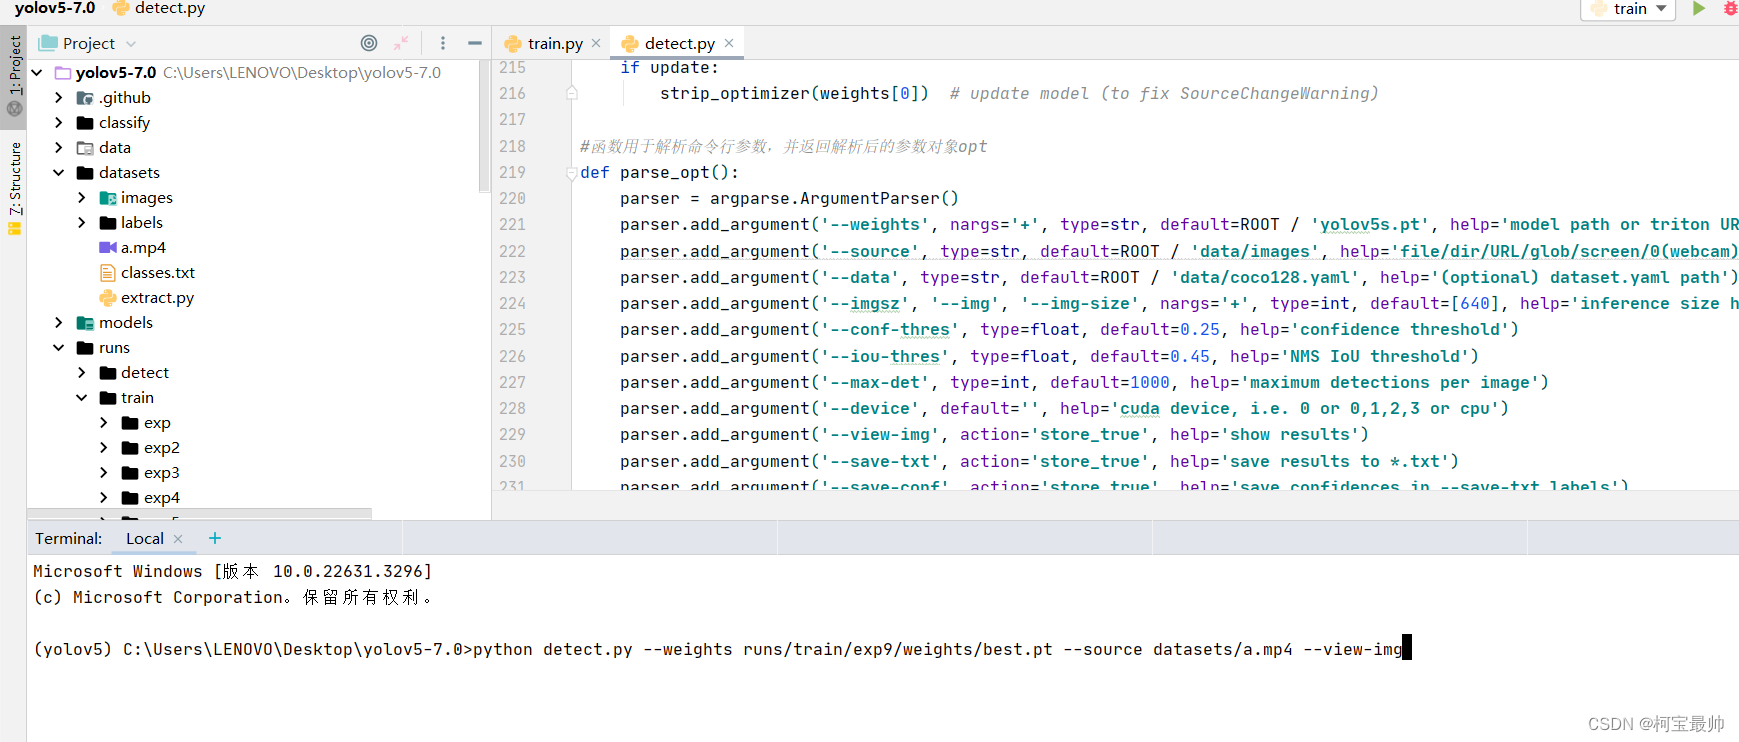
detect.py之前讲到过可以直接检测视频,就用当时被抽帧的视频a.mp4,并指定参数view-img在检测时可视化显示。打开detect.py文件,终端指定参数:
python detect.py --weights runs/train/exp9/weights/best.pt --source datasets/a.mp4 --view-img
yolo视频检测结果(小兰和柯南)
在终端ctr+c即可停止程序。
往期精彩
STM32专栏(付费9.9)![]() http://t.csdnimg.cn/E2F88
http://t.csdnimg.cn/E2F88
OpenCV-Python专栏(付费9.9)![]() http://t.csdnimg.cn/zK1jV
http://t.csdnimg.cn/zK1jV
AI底层逻辑专栏(付费9.9)![]() http://t.csdnimg.cn/zic0f
http://t.csdnimg.cn/zic0f
机器学习专栏(免费)![]() http://t.csdnimg.cn/FaXzAFreeRTOS专栏(免费)
http://t.csdnimg.cn/FaXzAFreeRTOS专栏(免费)![]() http://t.csdnimg.cn/SjIqU电机控制专栏(免费)
http://t.csdnimg.cn/SjIqU电机控制专栏(免费)![]() http://t.csdnimg.cn/FNWM7
http://t.csdnimg.cn/FNWM7