干货分享之反射笔记
入门级笔记-反射
- 一、利用反射破泛型集合
- 二、Student类
- 三、获取构造器的演示和使用
- 1.getConstructors只能获取当前运行时类的被public修饰的构造器
- 2.getDeclaredConstructors:获取运行时类的全部修饰符的构造器
- 3.获取指定的构造器
- 3.1得到空构造器
- 3.2得到两个参数的有参构造器:
- 3.3得到一个参数的有参构造器:并且是private修饰的
- 4.有了构造器以后我就可以创建对象
- 四、获取属性的演示和使用:
- 1.getFields:获取运行时类和父类中被public修饰的属性
- 2.getDeclaredFields:获取运行时类中的所有属性
- 3.获取指定的属性:
- 4.属性的具体结构
- 4.1获取修饰符
- 4.2获取属性的数据类型:
- 4.3获取属性的名字:
- 4.4给属性赋值:(给属性设置值,必须要有对象)
- 五、获取方法的演示与应用
- 1.getMethods:获取运行时类的方法还有所有父类中的方法(被public修饰)
- 2.getDeclaredMethods:获取运行时类中的所有方法:常用!!!!!
- 3.获取指定的方法:
- 4.调用方法:
- 六、获取运行时类的接口
- 总结
一、利用反射破泛型集合
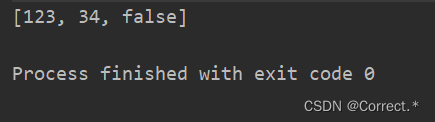
public static void main(String[] args) throws NoSuchMethodException, InvocationTargetException, IllegalAccessException {//用反射来破泛型集合/*** 泛型集合:限制存入集合中的变量类型* 但是这种限制,只出现在编码/编译期。* 运行期是没有泛型;反射,恰好就是在运行期执行*/ArrayList<String> list = new ArrayList<>();list.add("123");Class cls = ArrayList.class;Method add = cls.getMethod("add", Object.class);add.invoke(list,34);add.invoke(list,false);System.out.println(list);//运行期无泛型}
运行结果:
二、Student类
public class Student extends Person implements MyInterface {private int sno;//学号double height;//身高protected double weight;//体重public double score;//成绩public String banji;public String showInfo(){return "我是一名三好学生";}public String showInfo(int a,int b){return "重载方法====我是一名三好学生";}private void work(){System.out.println("我以后会找工作-->成为码农 程序员 程序猿 程序媛");}void happy(){System.out.println("做人最重要的就是开心每一天");}protected int getSno(){return sno;}@Overridepublic void myMethod() {System.out.println("我重写了myMethod方法。。");}public Student() {}public Student(int sno) {this.sno = sno;}public Student(int sno, double weight) {this.sno = sno;this.weight = weight;}private Student(double height) {this.height = height;}public Student(int sno, double height, double weight, double score) {this.sno = sno;this.height = height;this.weight = weight;this.score = score;}@Overridepublic String toString() {return "Student{" +"sno=" + sno +", height=" + height +", weight=" + weight +", score=" + score +'}';}
}
三、获取构造器的演示和使用
//获取字节码信息:Class cls = Student.class;//通过字节码信息可以获取构造器:
1.getConstructors只能获取当前运行时类的被public修饰的构造器
代码如下(示例):
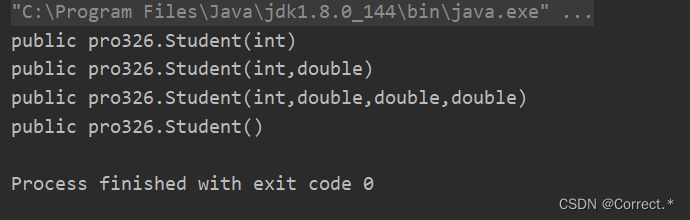
Constructor[] c1 = cls.getConstructors();for(Constructor c:c1){System.out.println(c);}
运行结果:
2.getDeclaredConstructors:获取运行时类的全部修饰符的构造器
代码如下(示例):
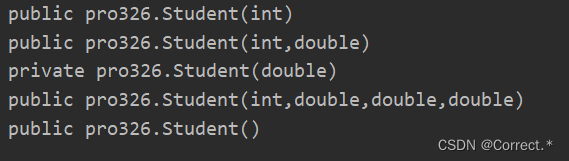
Constructor[] c2 = cls.getDeclaredConstructors();for(Constructor c:c2){System.out.println(c);}
运行结果:
3.获取指定的构造器
3.1得到空构造器
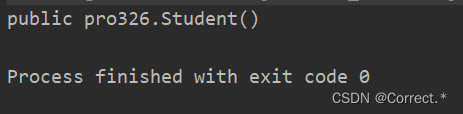
Constructor con1 = cls.getConstructor();System.out.println(con1);
运行结果:
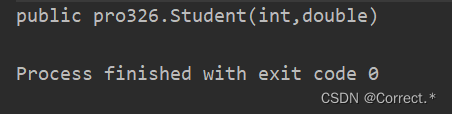
3.2得到两个参数的有参构造器:
Constructor con2 = cls.getConstructor(int.class, double.class);System.out.println(con2);
运行结果:
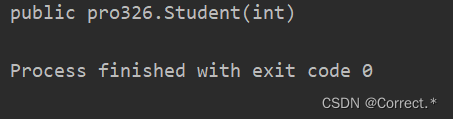
3.3得到一个参数的有参构造器:并且是private修饰的
Constructor con3 = cls.getDeclaredConstructor(int.class);System.out.println(con3);
运行结果:
4.有了构造器以后我就可以创建对象
Object o1 = con1.newInstance();System.out.println(o1);Object o2 = con2.newInstance(180120111, 170.6);System.out.println(o2);
运行结果:

四、获取属性的演示和使用:
//获取字节码信息Class cls = Student.class;
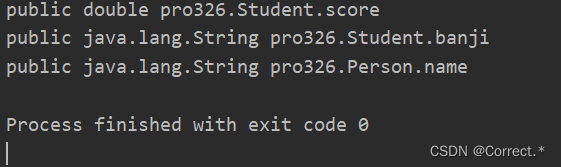
1.getFields:获取运行时类和父类中被public修饰的属性
Field[] fields = cls.getFields();for(Field f:fields){System.out.println(f);}
运行结果:
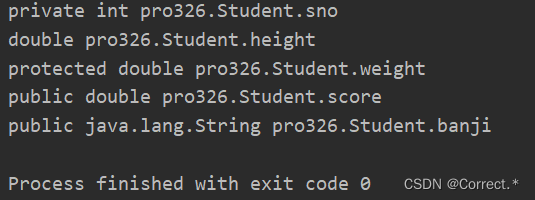
2.getDeclaredFields:获取运行时类中的所有属性
Field[] declaredFields = cls.getDeclaredFields();for(Field f:declaredFields){System.out.println(f);}
运行结果:
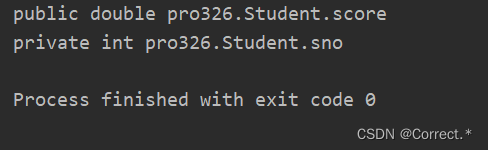
3.获取指定的属性:
Field score = cls.getField("score");System.out.println(score);Field sno = cls.getDeclaredField("sno");System.out.println(sno);
运行结果:
4.属性的具体结构
4.1获取修饰符
//获取指定的属性:Field score = cls.getField("score");System.out.println(score);Field sno = cls.getDeclaredField("sno");System.out.println(sno);System.out.println("---------------------");
//        //属性的具体结构:
//        //获取修饰符/*int modifiers = sno.getModifiers();System.out.println(modifiers);System.out.println(Modifier.toString(modifiers));*/System.out.println(Modifier.toString(sno.getModifiers()));
运行结果:
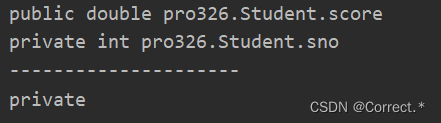
这里先要获取到一个属性,再去获取属性的修饰符
4.2获取属性的数据类型:
Class clazz = sno.getType();System.out.println(clazz.getName());System.out.println("---------------------");
运行结果:
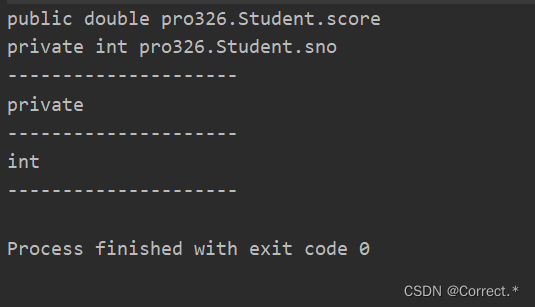
这里要接着上面的写
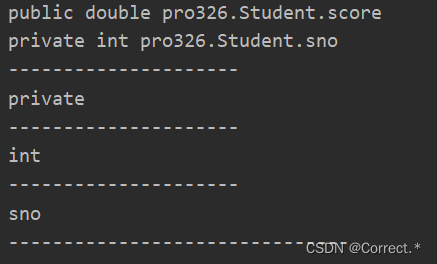
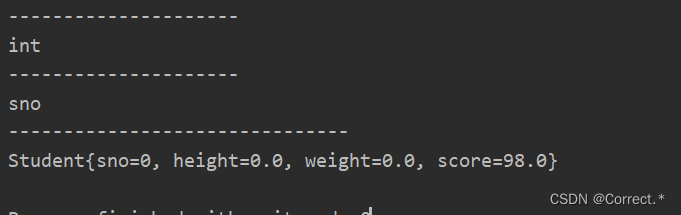
4.3获取属性的名字:
String name = sno.getName();System.out.println(name);System.out.println("-------------------------------");
运行结果:
4.4给属性赋值:(给属性设置值,必须要有对象)
Field sco = cls.getField("score");Object obj = cls.newInstance();sco.set(obj,98);//给obj这个对象的score属性设置具体的值,这个值为98System.out.println(obj);
运行结果:
五、获取方法的演示与应用
//获取字节码信息Class cls = Student.class;
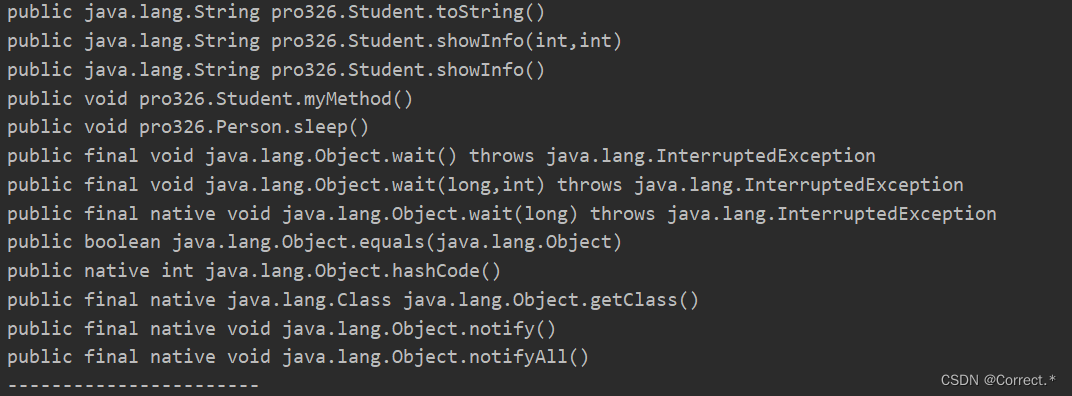
1.getMethods:获取运行时类的方法还有所有父类中的方法(被public修饰)
Method[] methods = cls.getMethods();for(Method m:methods){System.out.println(m);}System.out.println("-----------------------");
运行结果:
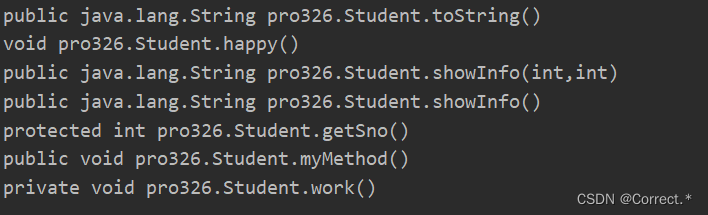
2.getDeclaredMethods:获取运行时类中的所有方法:常用!!!!!
Method[] declaredMethods = cls.getDeclaredMethods();for(Method m:declaredMethods){System.out.println(m);}System.out.println("-----------------------");
运行结果:
3.获取指定的方法:
Method showInfo1 = cls.getMethod("showInfo");System.out.println(showInfo1);Method showInfo2 = cls.getMethod("showInfo", int.class, int.class);System.out.println(showInfo2);Method work = cls.getDeclaredMethod("work");work.setAccessible(true);//!!!这里是个重点暴力破拆私有--调用.setAccessible方法System.out.println(work);System.out.println("-----------------------");
运行结果:

4.调用方法:
Object o = cls.newInstance();myMethod.invoke(o);//调用o对象的mymethod方法work.invoke(o);//调用o对象的work方法
运行结果:

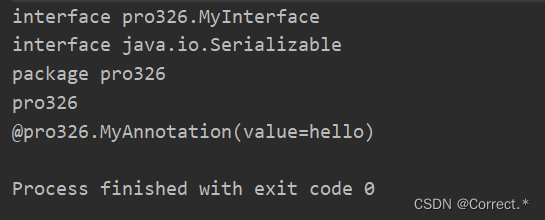
六、获取运行时类的接口
public static void main(String[] args) {//获取字节码信息:Class cls = Student.class;//获取运行时类的接口:Class[] interfaces = cls.getInterfaces();for(Class c:interfaces){System.out.println(c);}//得到父类的接口://先得到父类的字节码信息:Class superclass = cls.getSuperclass();//得到接口:Class[] interfaces1 = superclass.getInterfaces();for(Class c:interfaces1){System.out.println(c);}//获取运行时类所在的包:Package aPackage = cls.getPackage();System.out.println(aPackage);System.out.println(aPackage.getName());//获取运行类的注解:Annotation[] annotations = cls.getAnnotations();for(Annotation a:annotations){System.out.println(a);}}
运行结果:
总结
以上就是今天要分享的内容,干货满满,其中有一个重点!在获取指定的私有方法时候,暴力破拆私有的权限,要不然后面调用这个方法会报错,利用.setAccessible(true)方法实现,看完了的话点个收藏吧,防止用的时候找不到。