pytest结合Allure生成测试报告
文章目录
- 1.Allure配置安装
- 2.使用
- 基本命令
- 报告美化
- 1.**前置条件**
- 2.**用例步骤**
- **3.标题和描述**
- **4.用例优先级**
- 3.进阶用法
- allure+parametrize参数化
- parametrize+ids
- parametrize+@allure.title()
- 4.动态化参数
- 5.环境信息
- **方式一**
- **方式二**
- 6.用例失败截图
1.Allure配置安装
要求:
1.需要安装jdk环境
2.下载Allure安装包,下载地址:Allure下载地址
3.解压后放置英文路径下并配置环境变量PATH
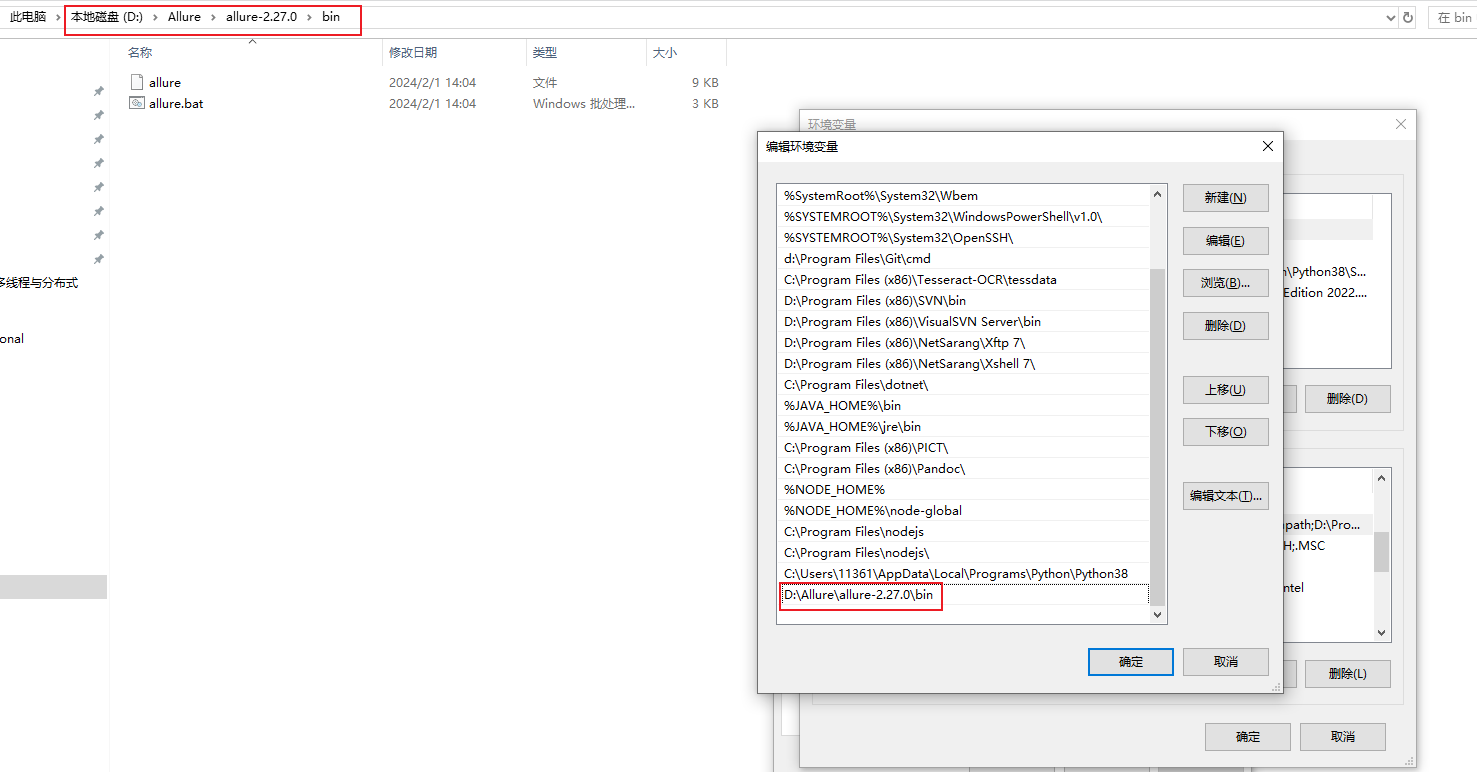
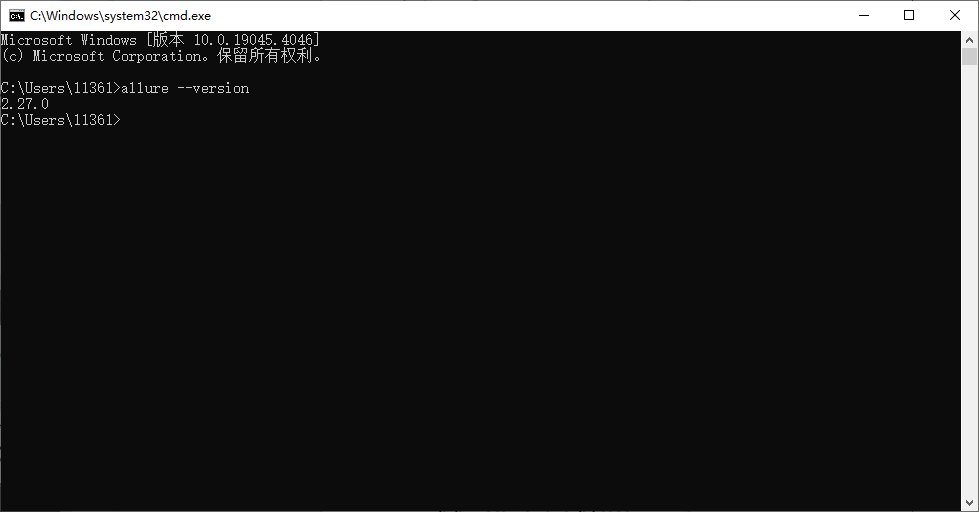
验证:allure --version
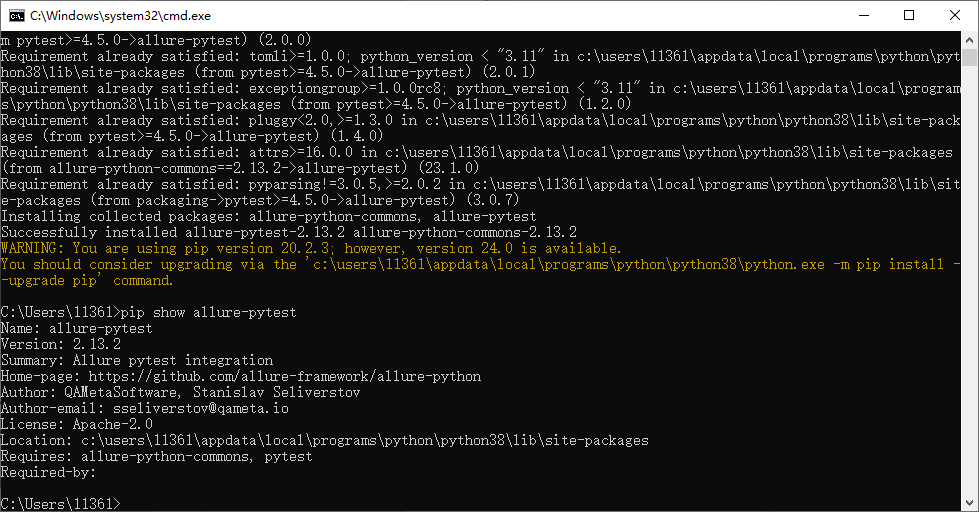
4.安装allure-pytest插件pip install allure-pytest
验证:pip show allure-pytest
2.使用
基本命令
1.使用allure时需要在cmd中执行,可以使用os.system命令省去在cmd窗口中再次执行一次;
import osimport pytestdef test_01():print('开始登录')def test_02():print('上传数据')def test_03():print('数据浏览')if __name__ == '__main__':pytest.main(['-sv','test_allure01.py','--alluredir', './result'])#pytest.main(['test_allure01.py','--alluredir', './result','--clean-alluredir'])os.system('allure generate ./result -o ./report --clean')
-
'-sv','test_allure01.py'表示执行指定的测试文件并在控制台中输出; 注:使用‘-sv’后,测试报告中就不会再记录控制台的信息了;
-
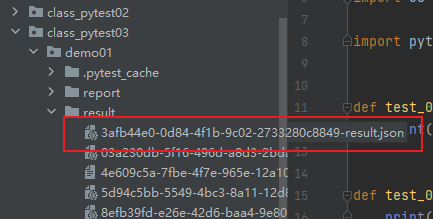
'--alluredir', './result'表示创建allure报告的路径,allure生成的报告文件都是json文件
-
'--clean-alluredir'表示清除allure之前生成的json数据,如果不加这个参数会导致:如果对某些用例进行注释或删除,生成的测试报告仍会有之前的记录数据; -
os.system('allure generate ./result -o ./report --clean')表示在main中转换allure生成的报告文件为html格式; -
./result -o :开始执行上面allure 生成的json文件
-
./report :生成的html格式报告存放路径
-
–clean:清除之前生成的报告,但是不会清除文件,记录仍会保留
-
使用pytest -h可以查看相关参数

–alluredir=DIR 在指定目录中生成 Allure 报告(目录可能不存在)
–clean-alluredir 如果存在,则清理 alluredir 文件夹
–allure-no-capture 不将 pytest 捕获的日志/标准输出/标准错误附加到报告中
–inversion=INVERSION 运行不在测试计划中的测试
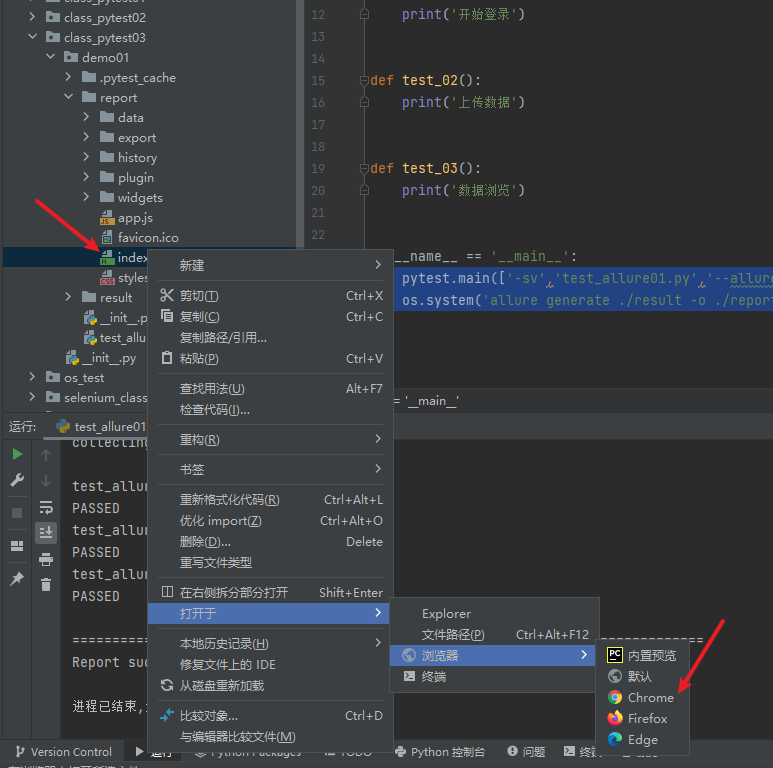
执行完后会生成很多文件,右键浏览器中打开index.html文件
报告美化
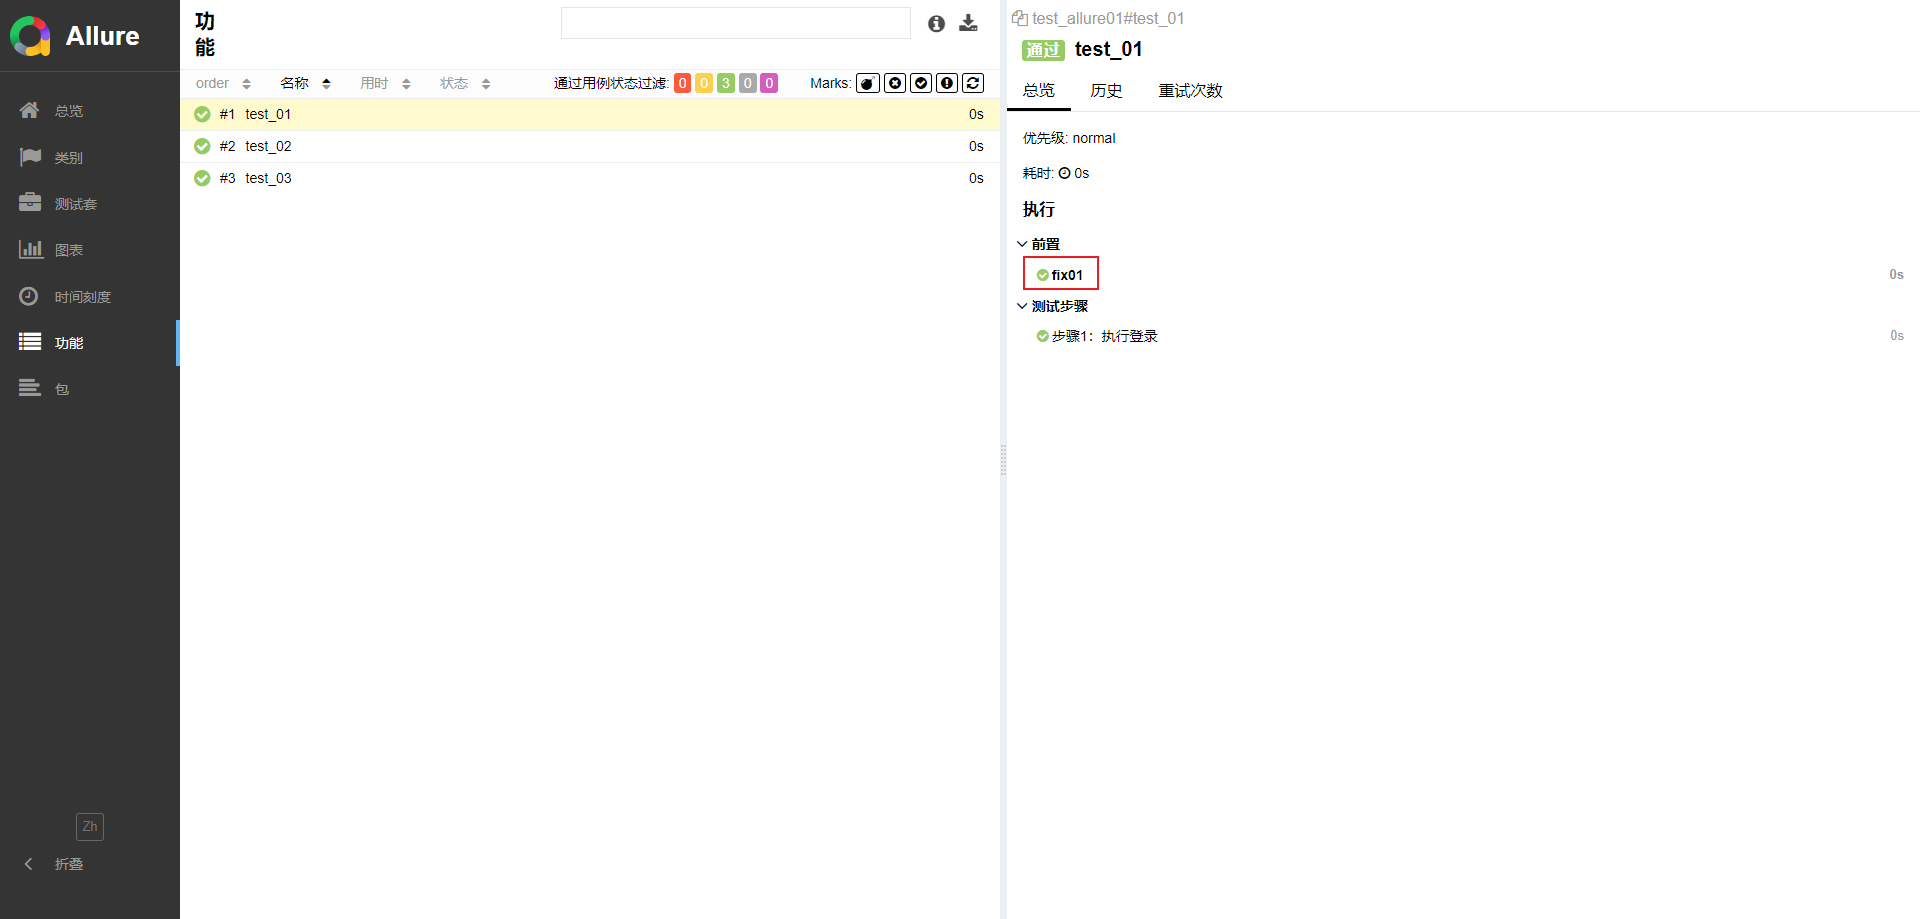
1.前置条件
前置条件只要在测试用例中使用到,测试报告中会自动添加上用例前置函数的名称;
conftest.py
import pytest@pytest.fixture
# @allure.title('前置准备')  # 可以修改fix01的名字
def fix01():print('用例准备前置工作')
test_allure01.py
import osimport allure
import pytest@allure.step('步骤1:执行登录')
def login():print('开始登录')print('输入账号')print('输入密码')@allure.step('步骤2:上传数据')
def upload_data():print('点击上传按钮')print('上传数据')def test_01(fix01):# 测试用例中调用登录业务login()def test_02():# 调用登录业务upload_data()
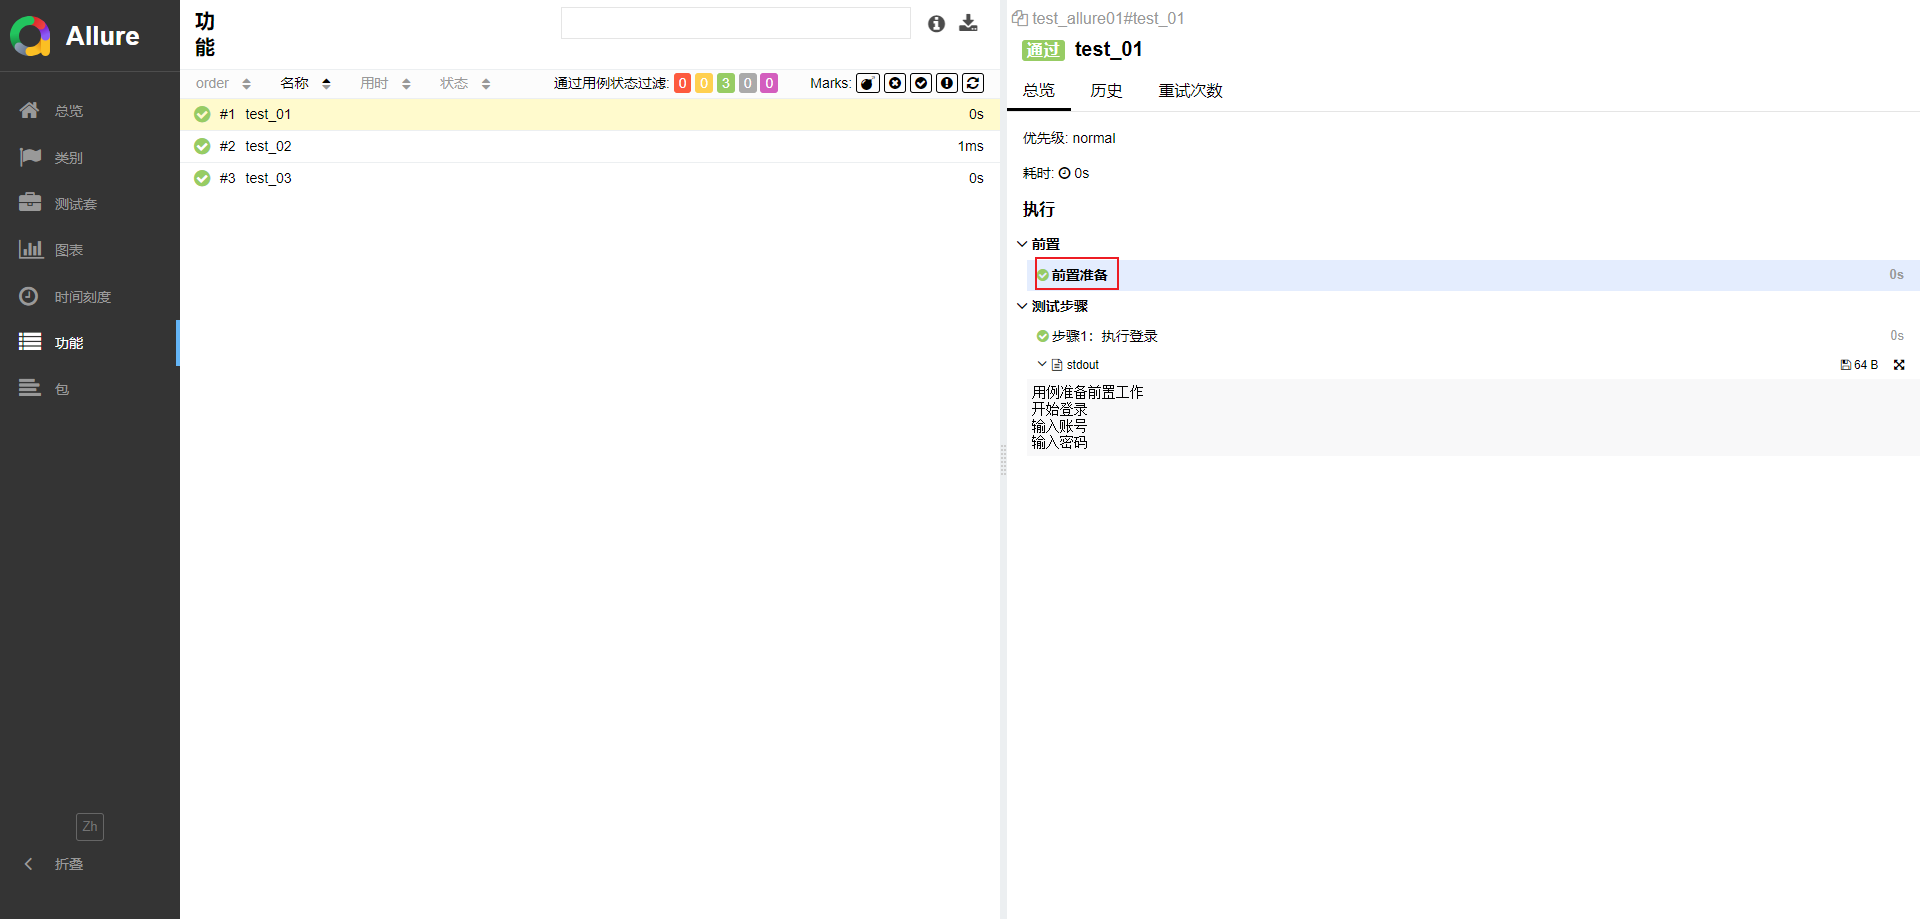
2.用例步骤
使用装饰器@allure.step()在需要说明的测试步骤函数上装饰后,在测试用例的测试步骤上就能显示出来;
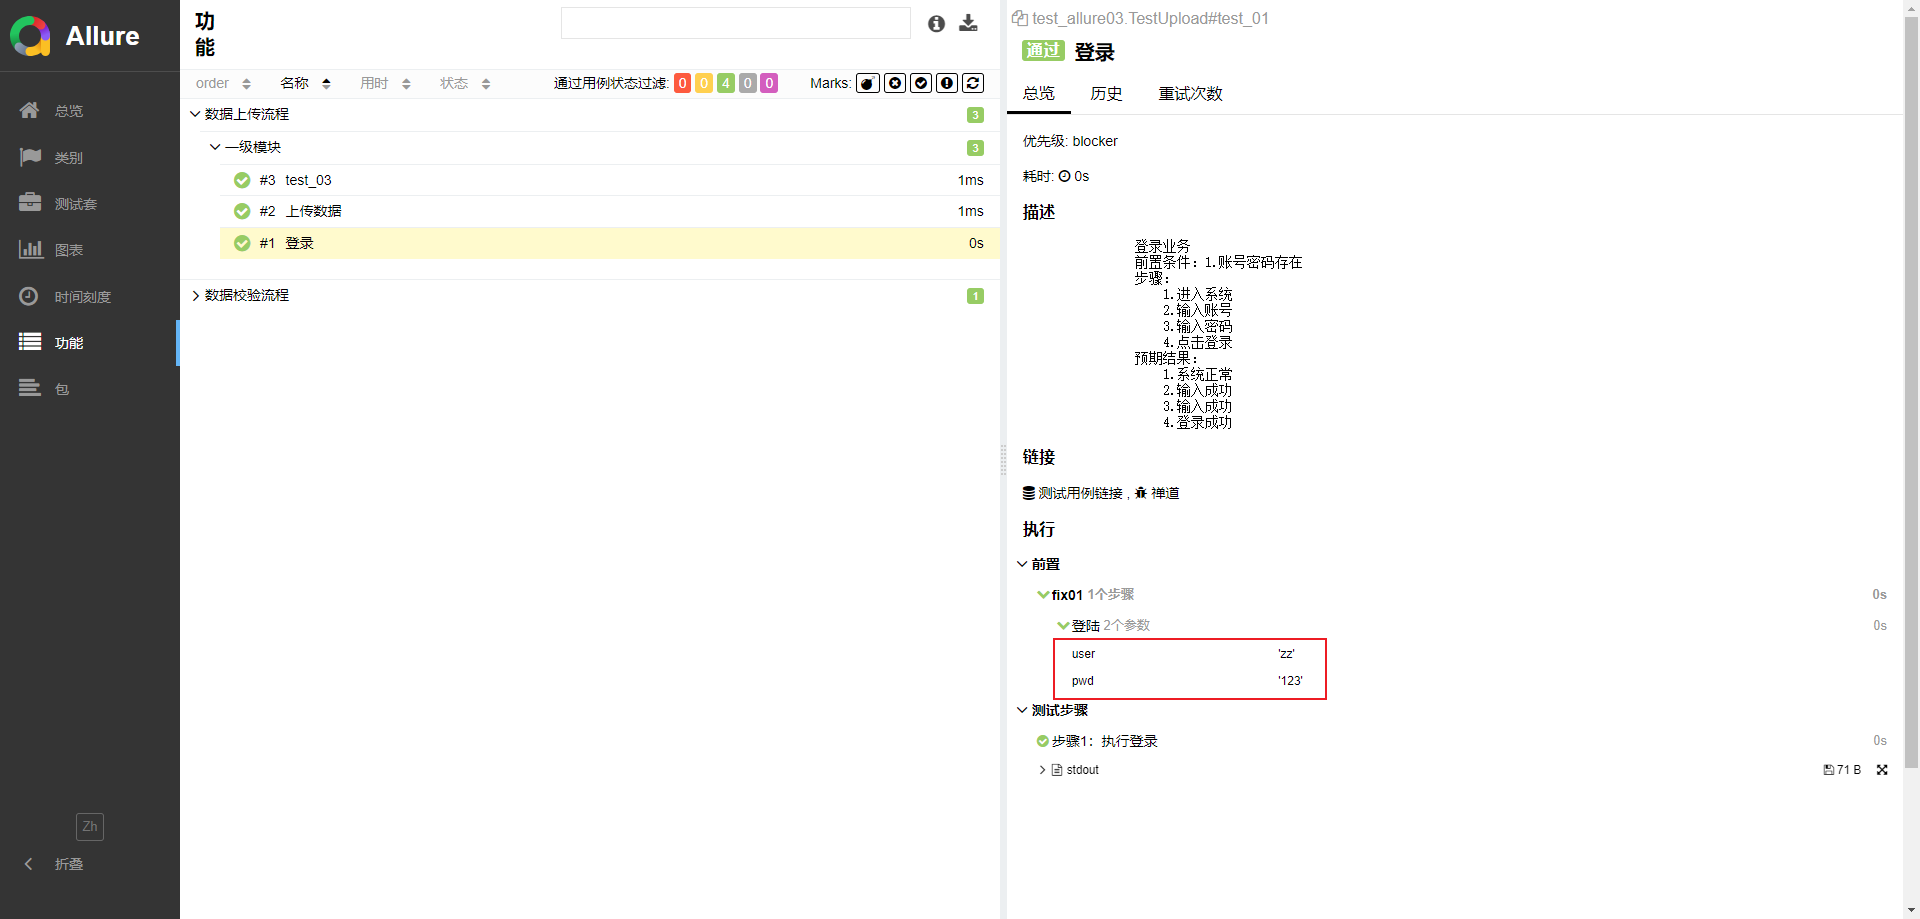
@allure.step('步骤1:执行登录')会带上函数中的传参和对应的值
@allure.step("登陆")
def log(user, pwd):print(user)print(pwd)@pytest.fixture
def fix01():log('zz', '123')print('用例准备前置工作')
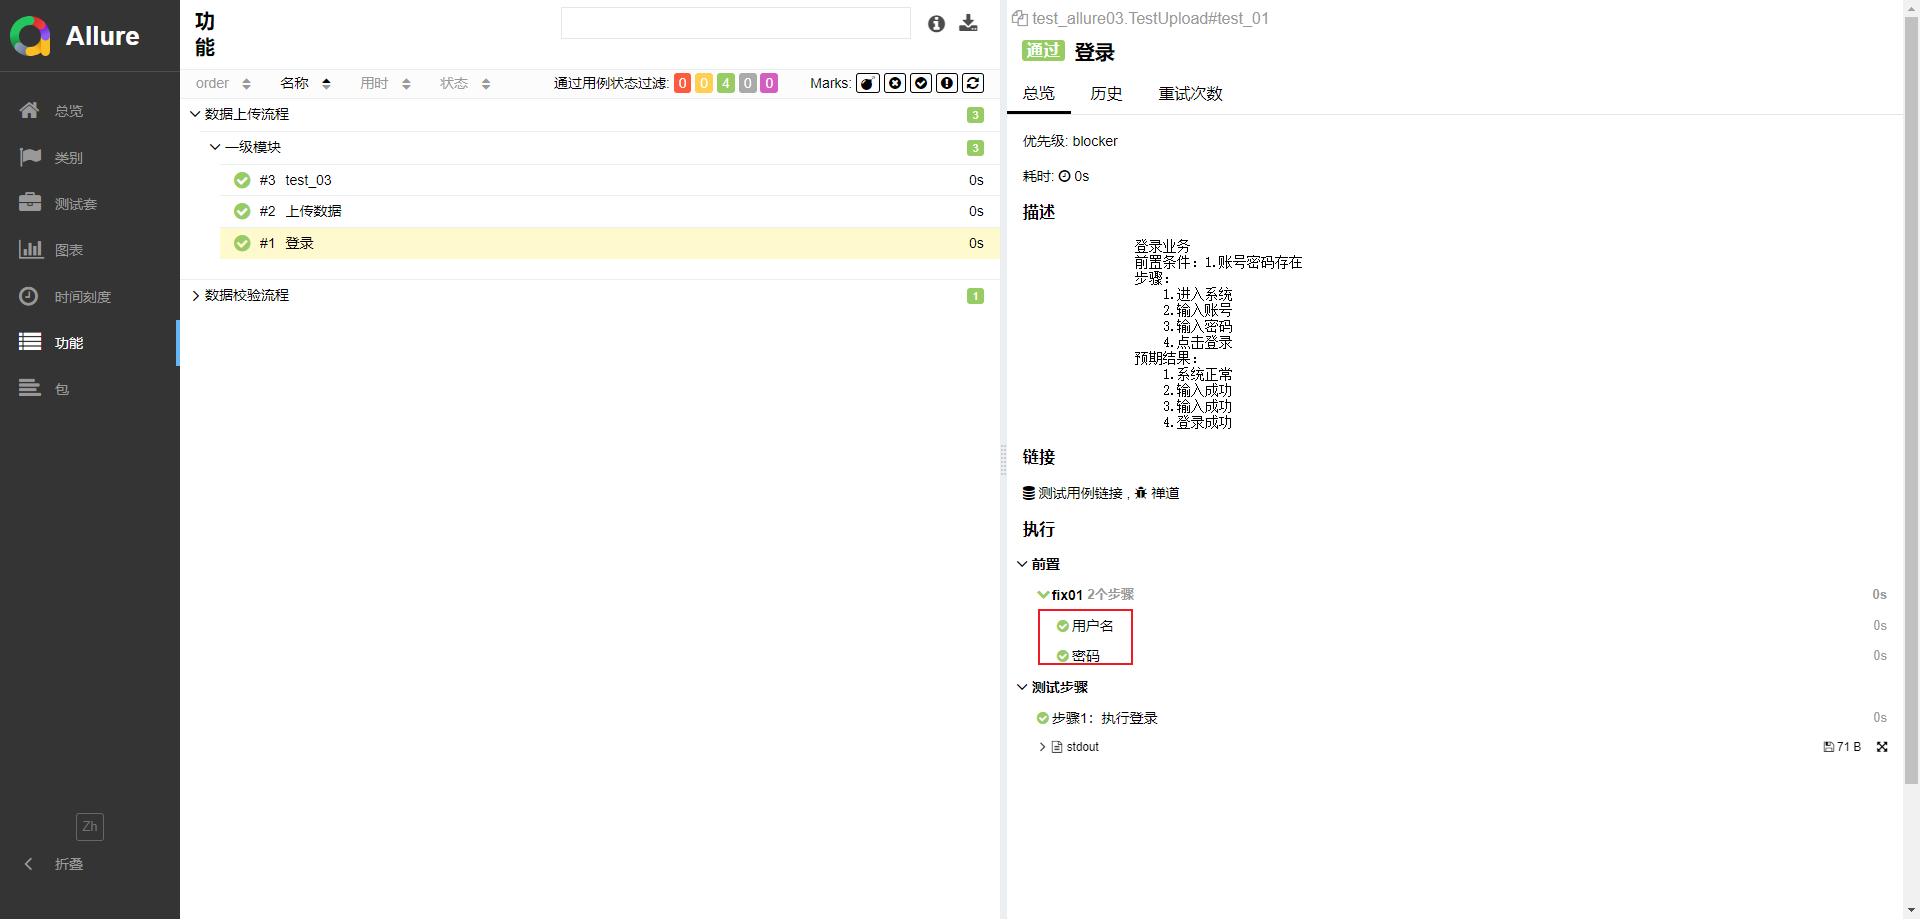
``with allure.step(‘步骤1:执行登录’)`不会带上函数里面的传参
def log(user, pwd):with allure.step('用户名'):print(user)with allure.step('密码'):print(pwd)@pytest.fixture
def fix01():log('zz', '123')print('用例准备前置工作')
3.标题和描述
import osimport allure
import pytest@allure.step('步骤1:执行登录')
def login():print('开始登录')print('输入账号')print('输入密码')@allure.step('步骤2:上传数据')
def upload_data():print('点击上传按钮')print('上传数据')class TestUpload:@allure.story("一级模块")  # 表示一级模块,同名的一级模块会把用例归纳在一起@allure.title("登录")  # 用例的title@allure.issue("http://127.0.0.1:8080/zentao/buge-login.html", name=