数字图像处理(实践篇)二十 人脸特征提取
目录
1 安装face_recognition
2 涉及的函数
3 实践
使用face_recognition进行人脸特征提取.
1 安装face_recognition
pip install face_recognition或者
pip --default-timeout=100 install face_recognition -i http://pypi.douban.com/simple --trusted-host pypi.douban.com第二种方式安装得更快。
2 涉及的函数
- face_recognition.api.load_image_file()函数
face_recognition.api.load_image_file(file, mode='RGB')函数功能:下载图片文件(.jpg .png等)转成numpy array。
输入:
①file:要加载的图像文件名或文件对象
②mode:将图像转换成的格式。支持“RGB”(8位,3通道)和“L”(黑白)
返回:
①Numpy array 的图像内容。
- face_recognition.api.face_landmarks()函数
face_recognition.api.face_landmarks(face_image, face_locations=None, model='large')函数功能:返回图片中的每张人脸的人脸特征定位(眼睛,鼻子等)。
参数:
①face_image:输入的图片。
②face_locations:-可选-每个人脸的定位(已知)。
③model:-可选-使用的模型。
“large”为默认;“small”返回5点,但是更快。
返回:
面部特征位置(眼睛、鼻子等)的字典。
3 实践
实践①:large
- 代码
from PIL import Image, ImageDraw
import cv2
import matplotlib.pyplot as plt
import face_recognition
def dealImg(img):b, g, r = cv2.split(img)img_rgb = cv2.merge([r, g, b])return img_rgb
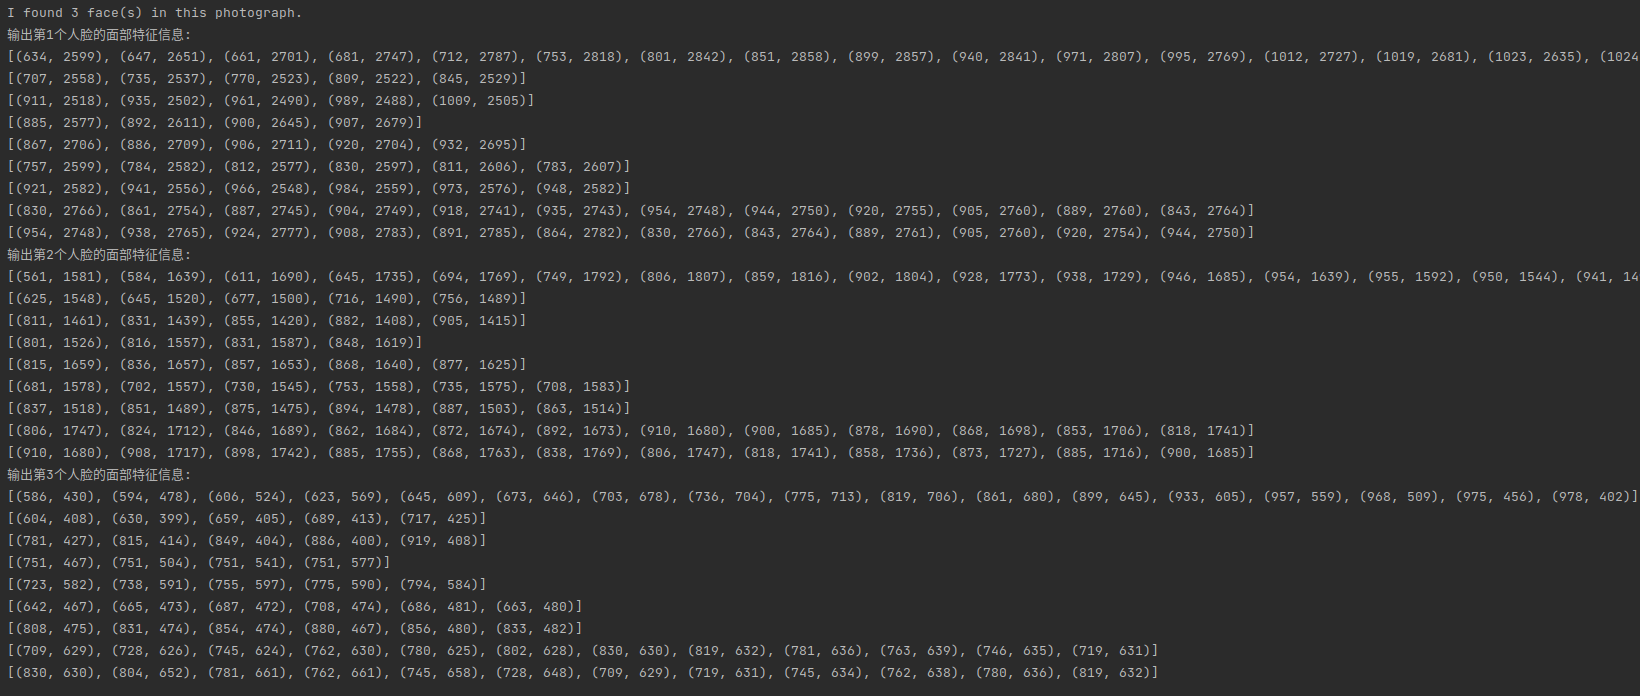
def dealImageResult(img_path):im = cv2.imread(img_path)image = face_recognition.load_image_file(img_path)# 查找图像中所有面部的所有面部特征face_landmarks_list = face_recognition.face_landmarks(image, model='large')print("I found {} face(s) in this photograph.".format(len(face_landmarks_list)))pil_image = Image.fromarray(image)d = ImageDraw.Draw(pil_image)for i, face_landmarks in enumerate(face_landmarks_list):print("输出第{}个人脸的面部特征信息:".format(i+1))print(face_landmarks_list[i]["chin"])print(face_landmarks_list[i]["left_eyebrow"])print(face_landmarks_list[i]["right_eyebrow"])print(face_landmarks_list[i]["nose_bridge"])print(face_landmarks_list[i]["nose_tip"])print(face_landmarks_list[i]["left_eye"])print(face_landmarks_list[i]["right_eye"])print(face_landmarks_list[i]["top_lip"])print(face_landmarks_list[i]["bottom_lip"])facial_features = ['chin','left_eyebrow','right_eyebrow','nose_bridge','nose_tip','left_eye','right_eye','top_lip','bottom_lip']for facial_feature in facial_features:d.line(face_landmarks[facial_feature], (0, 255, 255), width=8)passpassdel dim = dealImg(im)fig = plt.figure(figsize=(10, 10))titles = ["img", "large_result"]images = [im, pil_image]for i in range(2):plt.subplot(1, 2, i + 1), plt.imshow(images[i], "gray")plt.title("{}".format(titles[i]), fontsize=20, ha='center')plt.xticks([]), plt.yticks([])# plt.subplots_adjust(left=None, bottom=None, right=None, top=None, wspace=0.3, hspace=0)# plt.tight_layout()plt.show()fig.savefig('test_results.jpg', bbox_inches='tight')
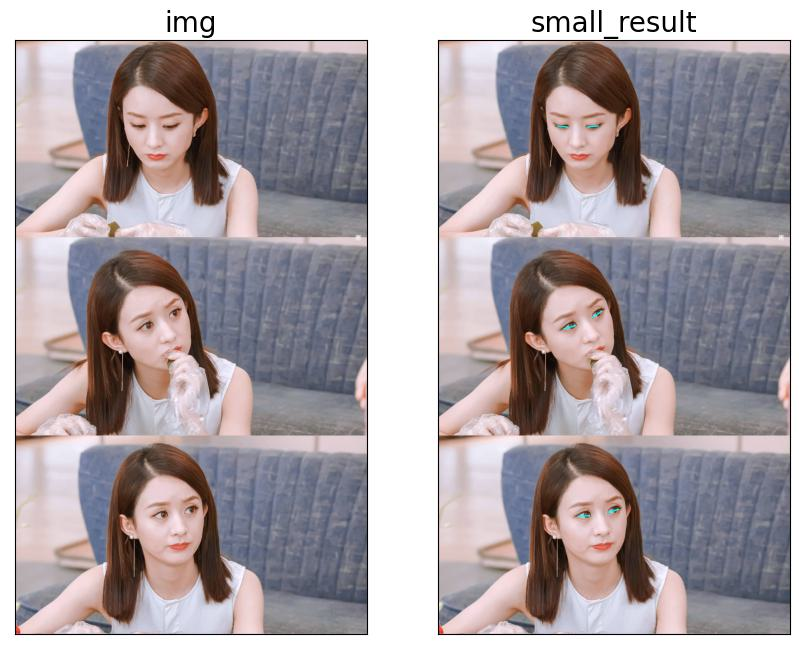
if __name__ == '__main__':dealImageResult("Test.jpg")pass- 效果图

实践②:small
- 代码
from PIL import Image, ImageDraw
import cv2
import matplotlib.pyplot as plt
import face_recognition
def dealImg(img):b, g, r = cv2.split(img)img_rgb = cv2.merge([r, g, b])return img_rgb
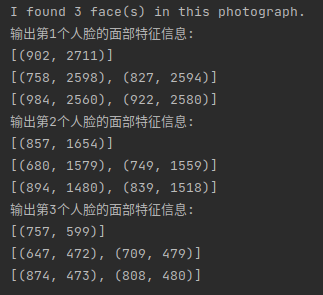
def dealImageResult(img_path):im = cv2.imread(img_path)image = face_recognition.load_image_file(img_path)# 查找图像中所有面部的所有面部特征face_landmarks_list = face_recognition.face_landmarks(image, model='small')print("I found {} face(s) in this photograph.".format(len(face_landmarks_list)))pil_image = Image.fromarray(image)d = ImageDraw.Draw(pil_image)for i, face_landmarks in enumerate(face_landmarks_list):print("输出第{}个人脸的面部特征信息:".format(i+1))print(face_landmarks_list[i]["nose_tip"])print(face_landmarks_list[i]["left_eye"])print(face_landmarks_list[i]["right_eye"])facial_features = ['nose_tip','left_eye','right_eye',]for facial_feature in facial_features:d.line(face_landmarks[facial_feature], (0, 255, 255), width=8)passpassdel dim = dealImg(im)fig = plt.figure(figsize=(10, 10))titles = ["img", "small_result"]images = [im, pil_image]for i in range(2):plt.subplot(1, 2, i + 1), plt.imshow(images[i], "gray")plt.title("{}".format(titles[i]), fontsize=20, ha='center')plt.xticks([]), plt.yticks([])# plt.subplots_adjust(left=None, bottom=None, right=None, top=None, wspace=0.3, hspace=0)# plt.tight_layout()plt.show()fig.savefig('test_results.jpg', bbox_inches='tight')
if __name__ == '__main__':dealImageResult("Test.jpg")pass- 效果图
前文回顾
入门篇目录
数字图像处理(入门篇)一 图像的数字化与表示
数字图像处理(入门篇)二 颜色空间
数字图像处理(入门篇)三 灰度化
数字图像处理(入门篇)四 像素关系
数字图像处理(入门篇)五 图像数据预处理之颜色空间转换
数字图像处理(入门篇)六 图像数据预处理之坐标变化
数字图像处理(入门篇)七 图像数据预处理之灰度变化
数字图像处理(入门篇)八 图像数据预处理之直方图
数字图像处理(入门篇)九 图像数据预处理之滤波
数字图像处理(入门篇)十 边缘检测
数字图像处理(入门篇)十一 形态学处理
数字图像处理(入门篇)十二 自适应阈值分割
数字图像处理(入门篇)十三 仿射变换
数字图像处理(入门篇)十四 透视变换
实践篇目录
数字图像处理(实践篇)一 将图像中的指定目标用bBox框起来吧!
数字图像处理(实践篇)二 画出图像中目标的轮廓
数字图像处理(实践篇)三 将两张图像按照指定比例融合
数字图像处理(实践篇)四 图像拼接-基于SIFT特征点和RANSAC方法
数字图像处理(实践篇)五 使用Grabcut算法进行物体分割
数字图像处理(实践篇)六 利用hough变换进行直线检测
数字图像处理(实践篇)七 利用霍夫变换进行圆环检测
数字图像处理(实践篇)八 Harris角点检测
数字图像处理(实践篇)九 基于边缘的模板匹配
数字图像处理(实践篇)十 图像质量检测
数字图像处理(实践篇)十一 图像中的条形码解析
数字图像处理(实践篇)十二 基于小波变换的图像降噪
数字图像处理(实践篇)十三 数据增强之给图像添加噪声!
数字图像处理(实践篇)十四 图像金字塔
数字图像处理(实践篇)十五 基于傅里叶变换的高通滤波和低通滤波
数字图像处理(实践篇)十六 基于分水岭算法的图像分割
数字图像处理(实践篇)十七 Shi-Tomasi 角点检测
数字图像处理(实践篇)十八 人脸检测
数字图像处理(实践篇)十九 漫水填充