不需要高深技术,只需要Python:创建一个可定制的HTTP服务器!
目录
1、编写服务端代码,命名为httpserver.py文件。
2、编写网页html+css文件,命名为index.html和style.css文件。
3、复制html+css到服务端py文件同一文件夹下。
4、运行服务端程序。
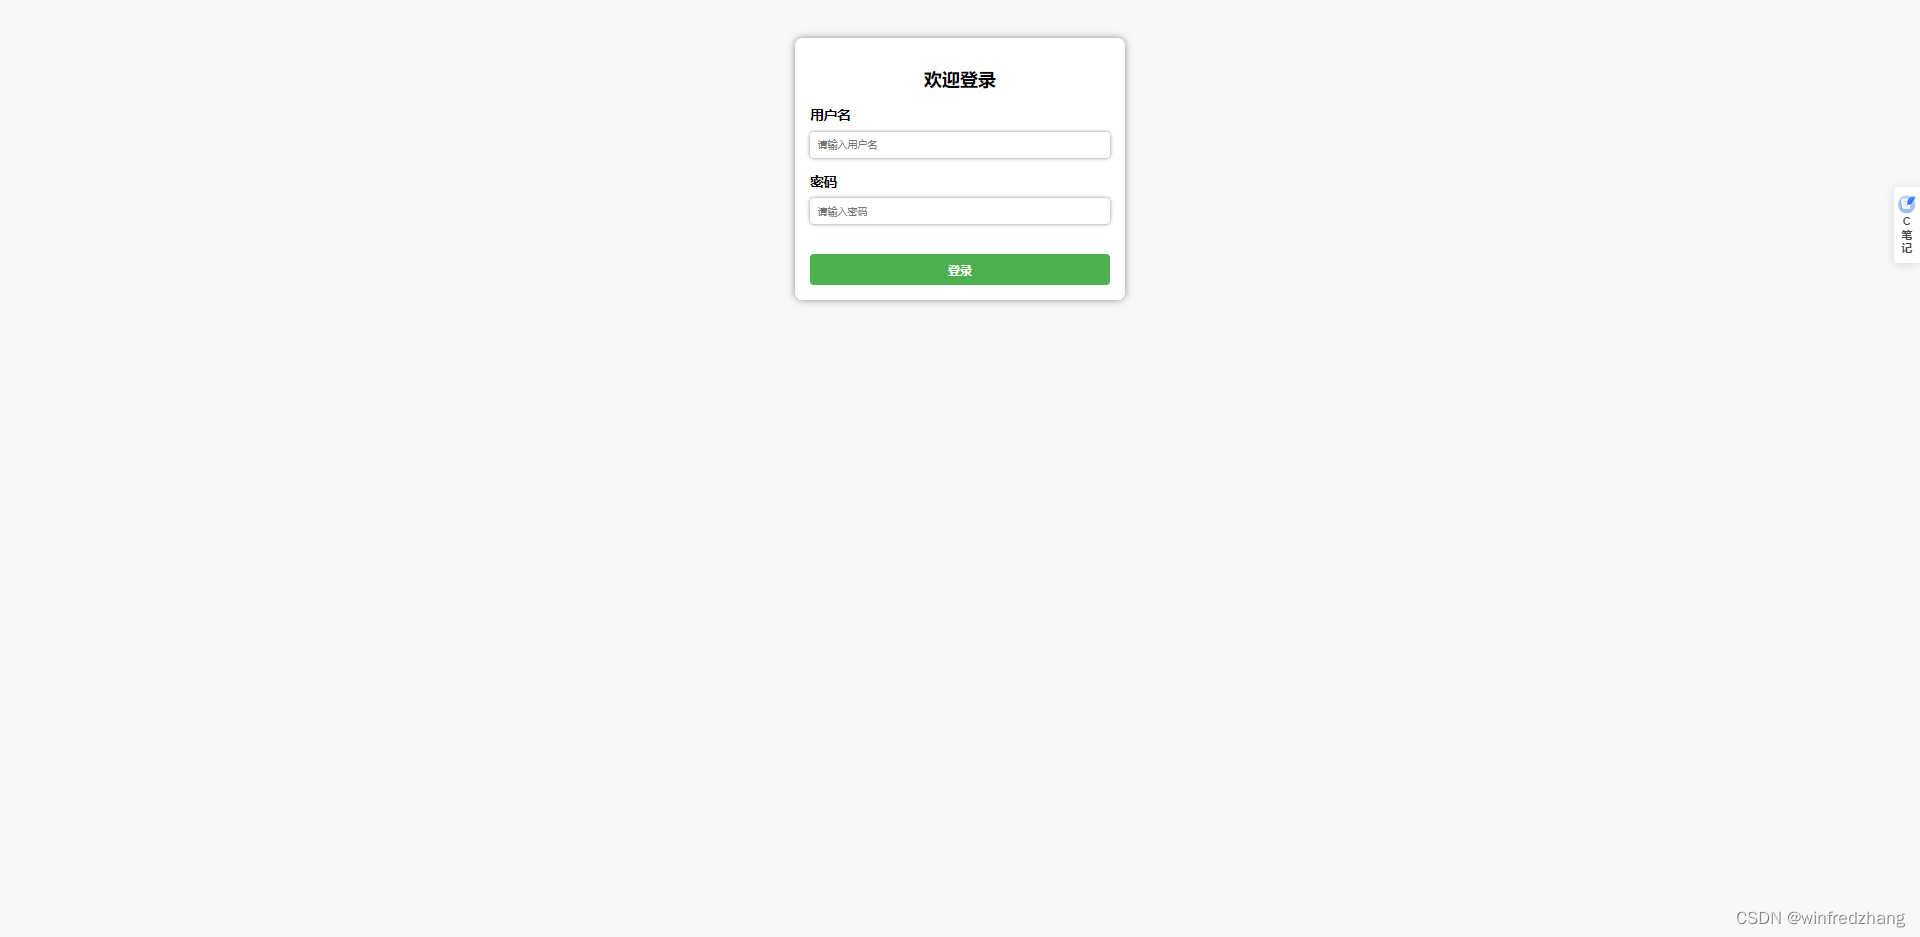
5、浏览器中输入localhost:8080显示如下:
要编写一个简单的能发布网页的 Python 应用服务器,可以使用 Python 自带的 http.server 模块来实现。http.server 模块是 Python 的标准库,可以用来快速搭建一个简单的 Web 服务器。
以下是一个简单的示例,演示如何使用 http.server 模块来实现一个能够发布网页的应用服务器:
步骤如下:
1、编写服务端代码,命名为httpserver.py文件。
import http.server
import socketserverPORT = 8080Handler = http.server.SimpleHTTPRequestHandlerwith socketserver.TCPServer(("", PORT), Handler) as httpd:print(f"Serving at port {PORT}")httpd.serve_forever()
这个应用服务器将会在本地的 8080 端口监听来自客户端的 HTTP 请求,并将当前目录下的网页文件(如 HTML、CSS、JS 等)发布给客户端。
要使用这个应用服务器,只需要将网页文件放在当前目录下,然后在终端中运行上述 Python 脚本即可。在浏览器中访问 http://localhost:8080 即可访问网页。
2、编写网页html+css文件,命名为index.html和style.css文件。
index.html:
<!DOCTYPE html>
<html><head><meta http-equiv="Content-Type" content="text/html; charset=utf-8"><title>登录页面</title><link rel="stylesheet" type="text/css" href="style.css"></head><body><div class="container"><form><h2>欢迎登录</h2><label for="username"><b>用户名</b></label><input type="text" placeholder="请输入用户名" name="username" required><label for="password"><b>密码</b></label><input type="password" placeholder="请输入密码" name="password" required><button type="submit">登录</button></form></div></body>
</html>
style.css:
body {background-color: #F8F8F8;font-family: Arial, sans-serif;
}.container {width: 400px;margin: 0 auto;margin-top: 50px;background-color: #FFFFFF;padding: 20px;border-radius: 10px;box-shadow: 0px 0px 10px #888888;
}form {display: flex;flex-direction: column;
}h2 {text-align: center;margin-bottom: 20px;
}label {font-size: 18px;margin-bottom: 10px;
}input[type="text"],
input[type="password"] {padding: 10px;margin-bottom: 20px;border: none;border-radius: 5px;box-shadow: 0px 0px 5px #888888;
}button[type="submit"] {background-color: #4CAF50;color: #FFFFFF;font-size: 16px;font-weight: bold;padding: 10px;margin-top: 20px;border: none;border-radius: 5px;cursor: pointer;
}button[type="submit"]:hover {background-color: #3E8E41;
}
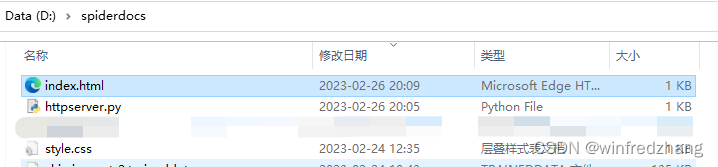
3、复制html+css到服务端py文件同一文件夹下。
4、运行服务端程序。

5、浏览器中输入localhost:8080显示如下: