Qt中实现页面切换的两种方式
文章目录
- 方式一 :使用QStackedWidget
- 讲解
- 代码结构
- main.cpp完整代码
- 运行结果:
- 方式二 :
- 代码结构
- 完整代码
- mainwindow.h
- newmainwindow.h
- main.cpp
- mainwindow.cpp
- newmainwindow.cpp
- mainwindow.ui
- newmainwindow.ui
- 效果
方式一 :使用QStackedWidget
讲解
在Qt中,可以使用QStackedWidget来实现两个UI界面的互相转换。QStackedWidget是一个堆叠窗口小部件,可以在其中添加多个子窗口,并且只显示其中一个子窗口。
注意:QStackedWidget只能用来装widget,不能装mainwindow!!!
注意:
上面这种想法是错的!
下面这种想法才是对的!
注意:QStackedWidget既可以能用来装widget,也可以装mainwindow!!!(想必QDialog也可以)
项目名:PageSwitching1
使用QStackedWidget这种方法,其实就是先创建一个QWidget作为”容器“,然后再创建一个QStackedWidget部件作为这个QWidget的唯一部件,
然后再将不同的ui页面放入到QStackedWidget中即可!
注意:
- 1.如果你想在main.cpp中创建其他ui页面实力(比如:MainWindow mainw;),就需要加上他的头文件,如:
#include “mainwindow.h”; - 2.如果你想在main.cpp中,通过ui变量访问这个ui界面上的某个部件,你还需要加上他的ui头文件,如:
#include “ui_mainwindow.h”
并且,你还要让他的ui变量公开,如:
public:Ui::MainWindow *ui;
代码结构
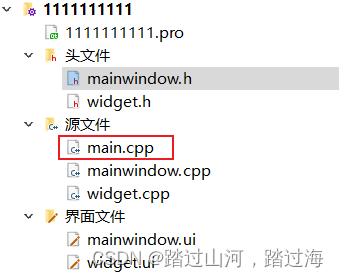
说明:项目名为1111111111是随便取的,
然后,只有main.cpp是存放了自己写的代码,其他都是编译器自动生成。
然后,在mainwindow.h文件中,将Ui::MainWindow *ui;设置为了pubilc。
widget.ui是空白的。
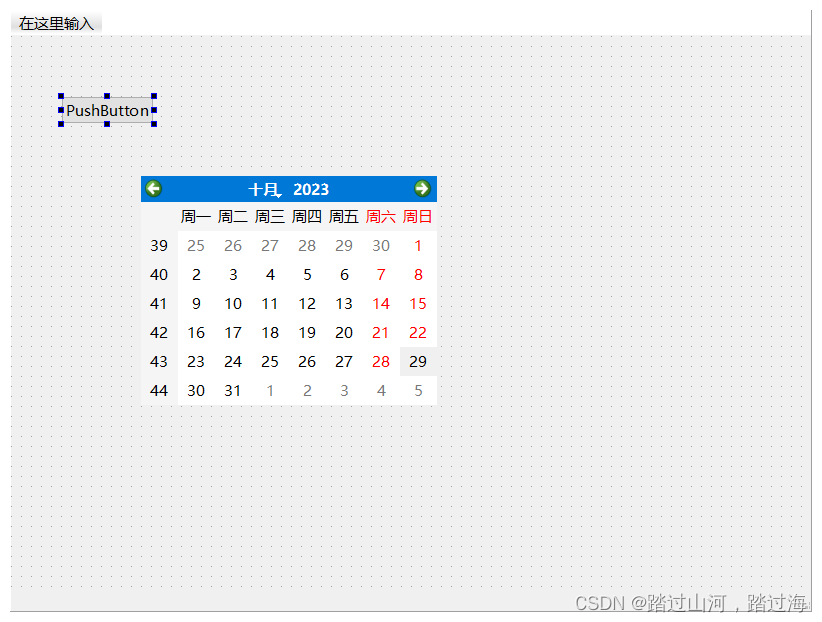
mainwindow.ui如下所示:(最主要其实就是加了一个button,用来跳转到其他页面,那个日历没什么作用)
main.cpp完整代码
#include "mainwindow.h"
#include "ui_mainwindow.h"//两两一组,mainwindow.h与ui_mainwindow.h缺一不可!#include <QApplication>
#include <QLabel>
#include <QPushButton>
#include <QStackedWidget>
#include <QVBoxLayout>int main(int argc, char *argv[])
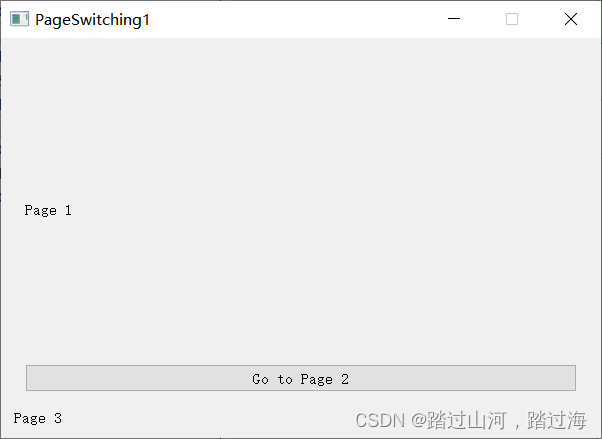
{QApplication a(argc, argv);// 创建主窗口QWidget mainWindow;mainWindow.setWindowTitle("PageSwitching1");mainWindow.setFixedSize(600,400);// 创建堆叠窗口QStackedWidget stackedWidget(&mainWindow);// 创建第一个UI界面QWidget uiPage1;QVBoxLayout layout1(&uiPage1);QLabel label1("Page 1");QPushButton button1("Go to Page 2");layout1.addWidget(&label1);layout1.addWidget(&button1);// 创建第二个UI界面QWidget uiPage2;QVBoxLayout layout2(&uiPage2);QLabel label2("Page 2");QLabel label22("Page 22");QPushButton button2("Go to Page 3");layout2.addWidget(&label2);layout2.addWidget(&label22);layout2.addWidget(&button2);MainWindow mainw;// 将两个UI界面添加到堆叠窗口stackedWidget.addWidget(&uiPage1);stackedWidget.addWidget(&uiPage2);stackedWidget.addWidget(&mainw);// 信号槽连接,实现界面切换QObject::connect(&button1, &QPushButton::clicked, [&stackedWidget]() {stackedWidget.setCurrentIndex(1); // 切换到第二个界面});QObject::connect(&button2, &QPushButton::clicked, [&stackedWidget]() {stackedWidget.setCurrentIndex(2); // 切换到第一个界面});QObject::connect((mainw.ui->pushButton), &QPushButton::clicked, [&stackedWidget]() {stackedWidget.setCurrentIndex(0); // 切换到第一个界面});QLabel label3("Page 3");// 设置主窗口布局QVBoxLayout mainLayout(&mainWindow);mainLayout.addWidget(&stackedWidget);mainLayout.addWidget(&label3);// 显示主窗口mainWindow.show();return a.exec();
}说明:你可以使用信号与槽,在 当前页面 跳转到 任意其他页面 !
运行结果:
点击“Go to Page 3”后,
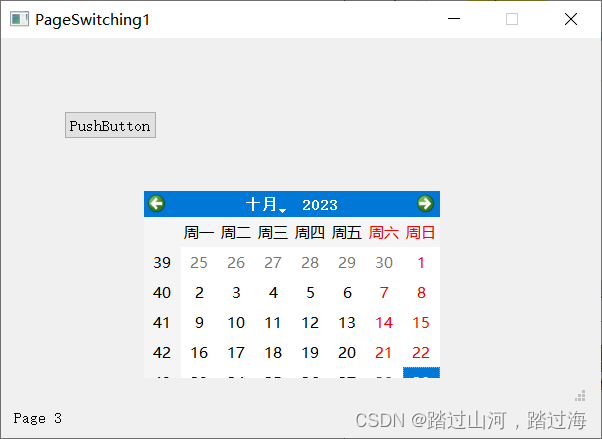
点击“PushButton”后,
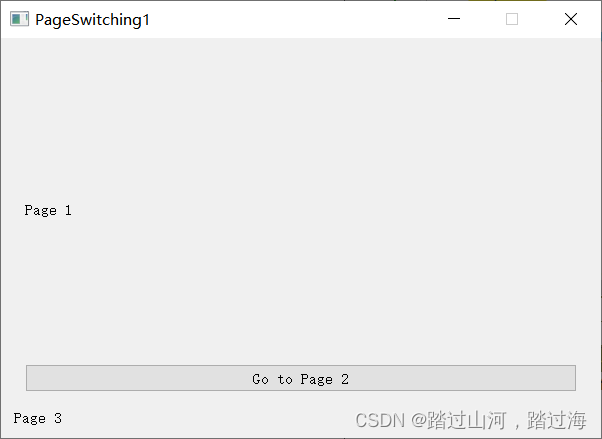
补充:你其实可以在每个页面设计两个button,然后通过信号与槽跳转到其他任意两个页面(这个是可以实现的)
方式二 :
hide(),show(),信号与槽,拉姆达表达式
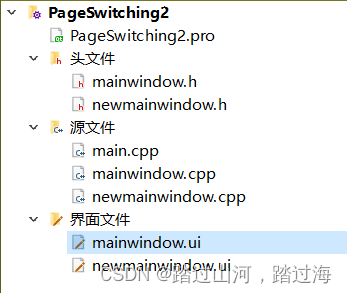
代码结构
完整代码
mainwindow.h
#ifndef MAINWINDOW_H
#define MAINWINDOW_H#include <QMainWindow>QT_BEGIN_NAMESPACE
namespace Ui { class MainWindow; }
QT_END_NAMESPACEclass MainWindow : public QMainWindow
{Q_OBJECTpublic:MainWindow(QWidget *parent = nullptr);~MainWindow();signals:void changenew();private slots:void on_pushButton_clicked();private:Ui::MainWindow *ui;
};
#endif // MAINWINDOW_H
newmainwindow.h
#ifndef NEWMAINWINDOW_H
#define NEWMAINWINDOW_H#include <QMainWindow>namespace Ui {
class NewMainWindow;
}class NewMainWindow : public QMainWindow
{Q_OBJECTpublic:explicit NewMainWindow(QWidget *parent = nullptr);~NewMainWindow();
signals:void changeFirst();
private slots:void on_pushButton_clicked();private:Ui::NewMainWindow *ui;
};#endif // NEWMAINWINDOW_H
main.cpp
#include "mainwindow.h"
#include "ui_mainwindow.h"
#include "newmainwindow.h"
#include "ui_newmainwindow.h"#include <QApplication>
#include <QtWidgets> // Include the necessary Qt header for the widgets module
#include <QApplication> // Include the necessary Qt header for the application module
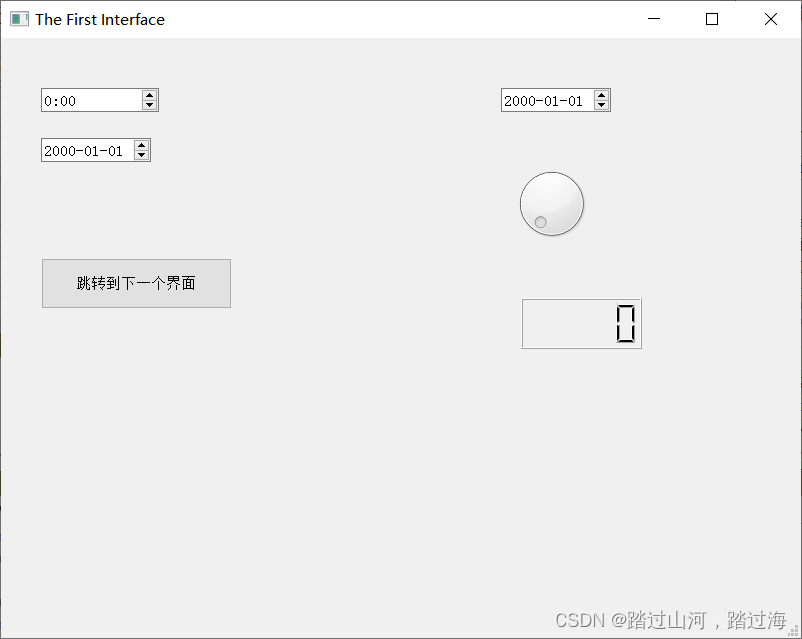
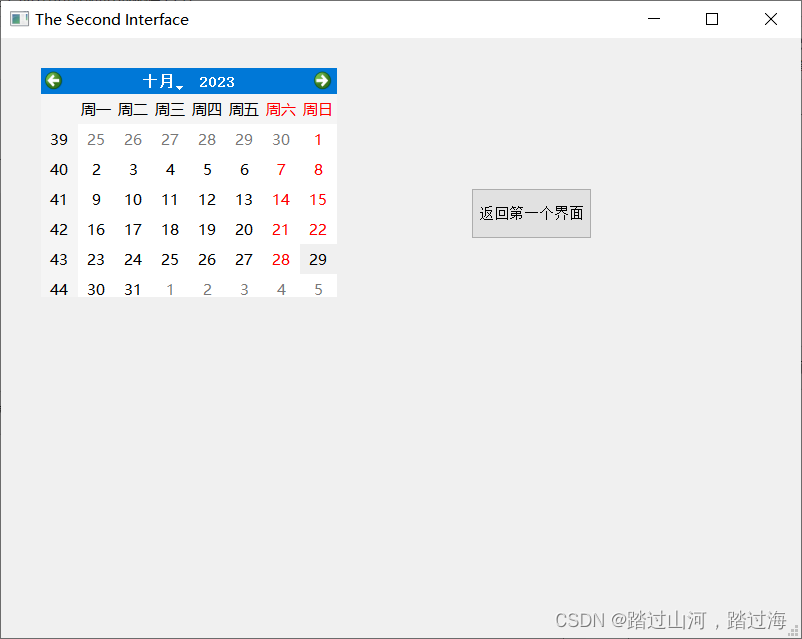
int main(int argc, char *argv[])
{QApplication a(argc, argv);MainWindow w;NewMainWindow nw;w.setWindowTitle("The First Interface");nw.setWindowTitle("The Second Interface");QObject::connect(&w,&MainWindow::changenew,&nw,[&](){nw.show();});QObject::connect(&nw,&NewMainWindow::changeFirst,&w,[&](){w.show();});w.show();//nw.show();return a.exec();
}mainwindow.cpp
#include "mainwindow.h"
#include "ui_mainwindow.h"MainWindow::MainWindow(QWidget *parent): QMainWindow(parent), ui(new Ui::MainWindow)
{ui->setupUi(this);
}MainWindow::~MainWindow()
{delete ui;
}void MainWindow::on_pushButton_clicked()
{this->hide();emit changenew();
}
newmainwindow.cpp
#include "newmainwindow.h"
#include "ui_newmainwindow.h"NewMainWindow::NewMainWindow(QWidget *parent) :QMainWindow(parent),ui(new Ui::NewMainWindow)
{ui->setupUi(this);
}NewMainWindow::~NewMainWindow()
{delete ui;
}void NewMainWindow::on_pushButton_clicked()
{this->hide();emit changeFirst();
}
mainwindow.ui
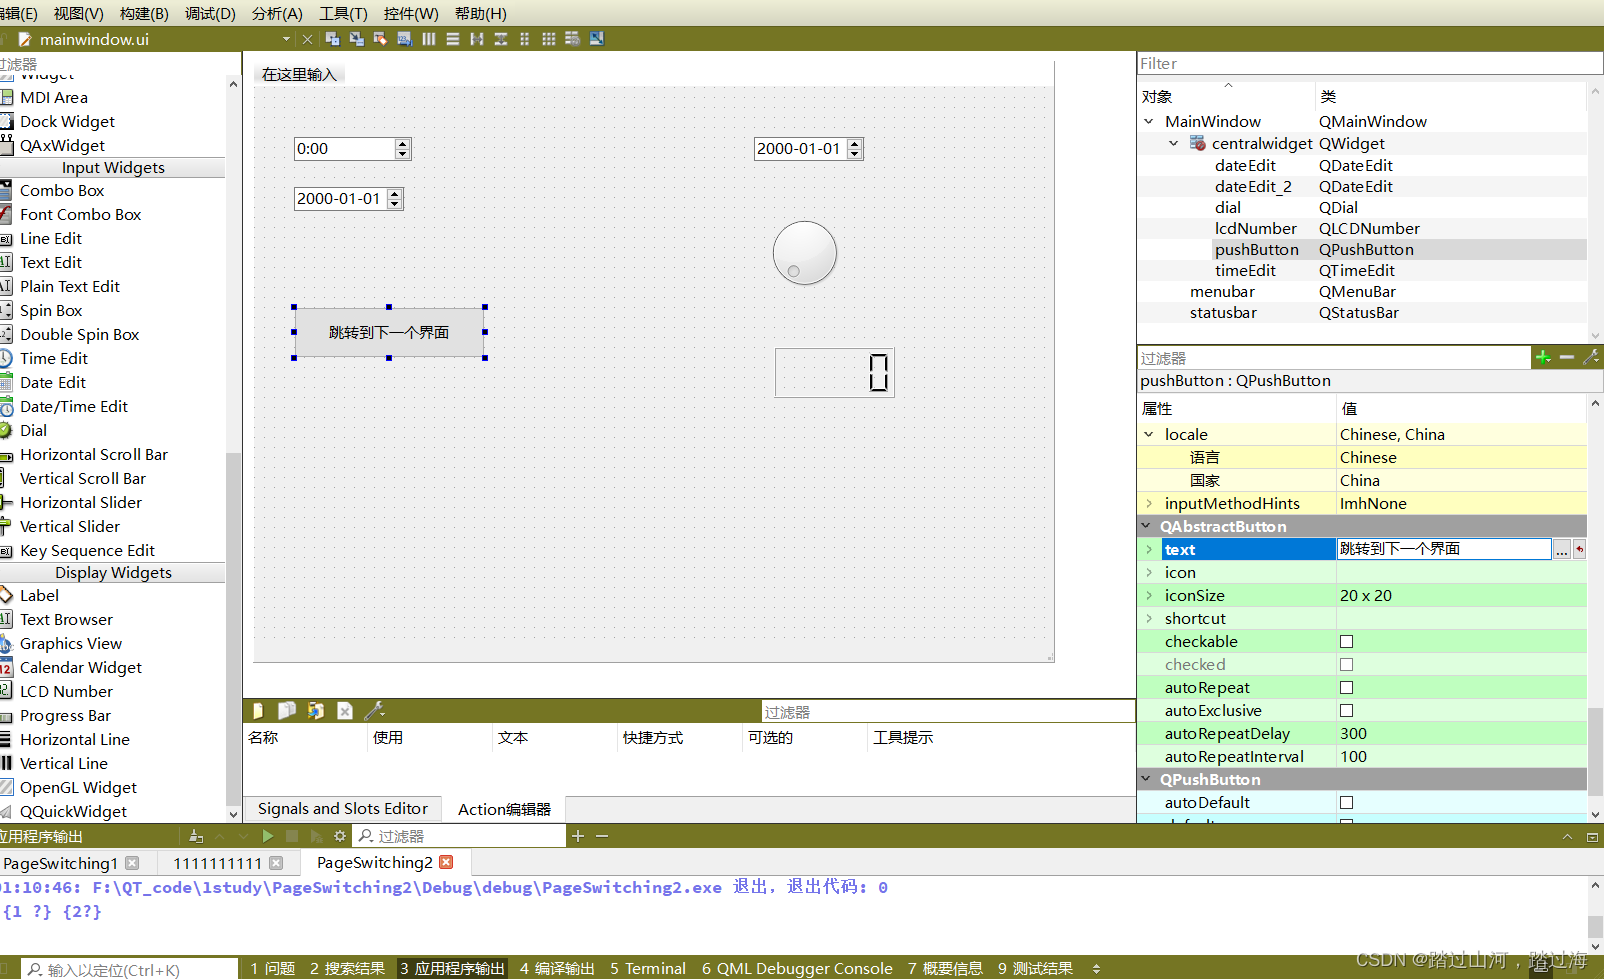
newmainwindow.ui
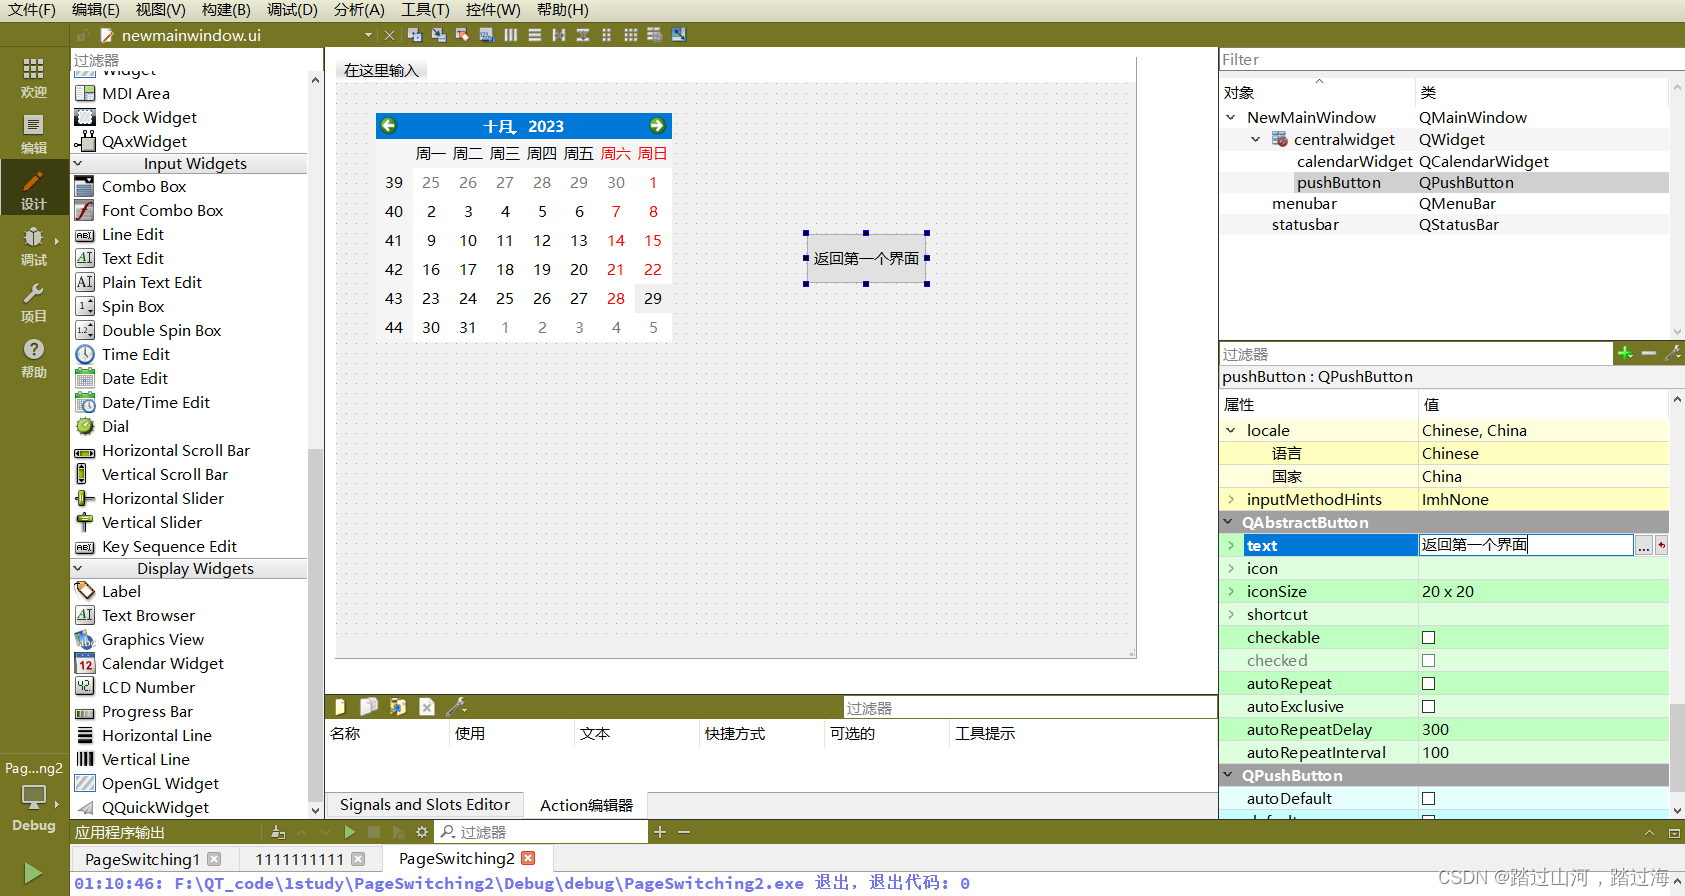
效果