基于hugging face的autogptq量化实践
1.量化并保存到本地的
#导入库:
from transformers import AutoModelForCausalLM, AutoTokenizer, GPTQConfig
model_id = "facebook/opt-125m"quantization_config = GPTQConfig(bits=4,group_size=128,dataset="c4",desc_act=False,
)tokenizer = AutoTokenizer.from_pretrained(model_id)
quant_model = AutoModelForCausalLM.from_pretrained(model_id, quantization_config=quantization_config, device_map='auto')
出现问题:
1.关于hugging face无法下载模型、数据的问题
OSError: We couldn’t connect to ‘https://huggingface.co’ to load this file, couldn’t find it in the cached files and it looks like facebook/opt-125m is not the path to a directory containing a file named config.json.
以及ConnectionError: Couldn’t reach ‘allenai/c4’ on the Hub (ConnectTimeout)
采用方法:在官网下载到本地。
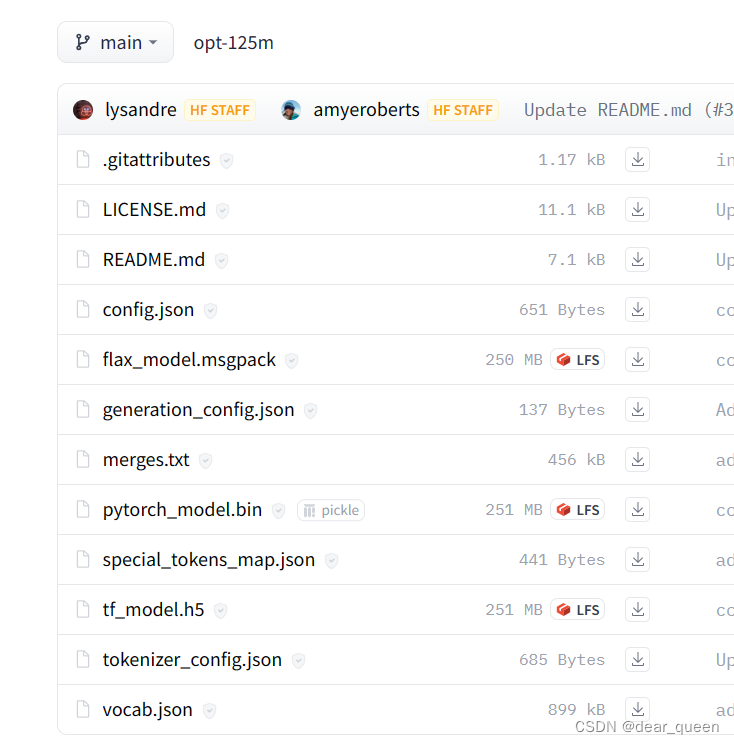
模型:https://huggingface.co/facebook/opt-125m/tree/main
数据集:https://huggingface.co/datasets
完整代码:
####实现基于hugging face的模型量化及保存
from transformers import AutoModelForCausalLM, AutoTokenizer, GPTQConfigmodel_id = "/pytorch/opt-125m"
#可选择公开数据集量化
tokenizer = AutoTokenizer.from_pretrained(model_id)
gptq_config = GPTQConfig(bits=4, dataset = "c4", tokenizer=tokenizer)
#或者采用自定义数据集量化
dataset = ["auto-gptq 是一个基于 GPTQ 算法的易于使用的模型量化库,具有用户友好的 api。"]
quantization = GPTQConfig(bits=4, dataset = dataset, tokenizer=tokenizer)#注意,quantization_config用于选择数据集,输出量化后的模型
quant_model = AutoModelForCausalLM.from_pretrained(model_id, device_map="auto",quantization_config=quantization)
#输出量化后权重,验证是否量化了
# print(quant_model.model.decoder.layers[0].self_attn.q_proj.__dict__)
#测试量化后的模型
text = "My name is"
inputs = tokenizer(text, return_tensors="pt").to(0)out = quant_model.generate(**inputs)
print(tokenizer.decode(out[0], skip_special_tokens=True))examples = [tokenizer("auto-gptq is an easy-to-use model quantization library with user-friendly apis, based on GPTQ algorithm.")
]
#保存量化模型:quant_model.save_pretrained("/pytorch/AutoGPTQ-main/demo/opt-125m-gptq")
tokenizer.save_pretrained("/pytorch/AutoGPTQ-main/demo/opt-125m-gptq")
从hugging face已经量化好的模型加载到本地
###加载hugging face Hub中已量化好的模型到本地,并测试其效果
from transformers import AutoTokenizer, AutoModelForCausalLM# model_id = "TheBloke/Llama-2-7b-Chat-GPTQ"
model_id = "/pytorch/llama"
model = AutoModelForCausalLM.from_pretrained(model_id, device_map="auto")
tokenizer = AutoTokenizer.from_pretrained(model_id)
print(model)
print(model.config.quantization_config.to_dict())
text = "Hello my name is"
inputs = tokenizer(text, return_tensors="pt").to(0)
out = model.generate(**inputs, max_new_tokens=50)
print(tokenizer.decode(out[0], skip_special_tokens=True))
参考:
colab文档关于autogptq量化模型实践
hugging face官网
github快速实践
github高阶实践
transformer bitsandbytes通过int4量化LLM
其他