Spring使用mongoDB步骤
1. 在Linux系统使用docker安装mongoDB
1.1. 安装
在docker运行的情况下,执行下述命令。
docker run \
-itd \
--name mongoDB \
-v mongoDB_db:/data/db \
-p 27017:27017 \
mongo:4.4 \
--auth
执行docker ps后,出现下列行,即表示mongoDB安装成功。(注意自行打开服务器防火墙和安全组)

1.2. 创建用户
登录mongo容器,并进入到【admin】数据库
docker exec -it mongo mongo admin
创建一个用户,mongo 默认没有用户
db.createUser({ user:'root',pwd:'123456',roles:[ { role:'userAdminAnyDatabase', db: 'admin'},'readWriteAnyDatabase']});
【user: 'root’ 】:设置用户名为root
【pwd: ‘123456’】:设置密码为123456
【role: ‘userAdminAnyDatabase’】:只在admin数据库中可用,赋予用户所有数据库的userAdmin权限
【db:‘admin’】:可操作的数据库
【 ‘readWriteAnyDatabase’】:赋予用户读写权限
dbAdmin:允许用户在指定数据库中执行管理函数,如索引创建、删除,查看统计或访问system.profile
1.3. 连接、测试
1.3.1. 使用docker连接mongo数据库(这里 admin不能换成其他数据库)
docker exec -it mongoDB mongo admin -u "root" -p "123456"
或者
docker exec -it mongoDB mongo admin
进入mongoDB后再输入:
db.auth('root', '123456')
1.3.2. 测试数据库,插入一条语句
db.user.insert({"name":"zhangsan","age":18})
1.3.3. 测试数据库,查询刚才插入的语句
db.user.find()

2. Mongodb Compass-图形化界面客户端
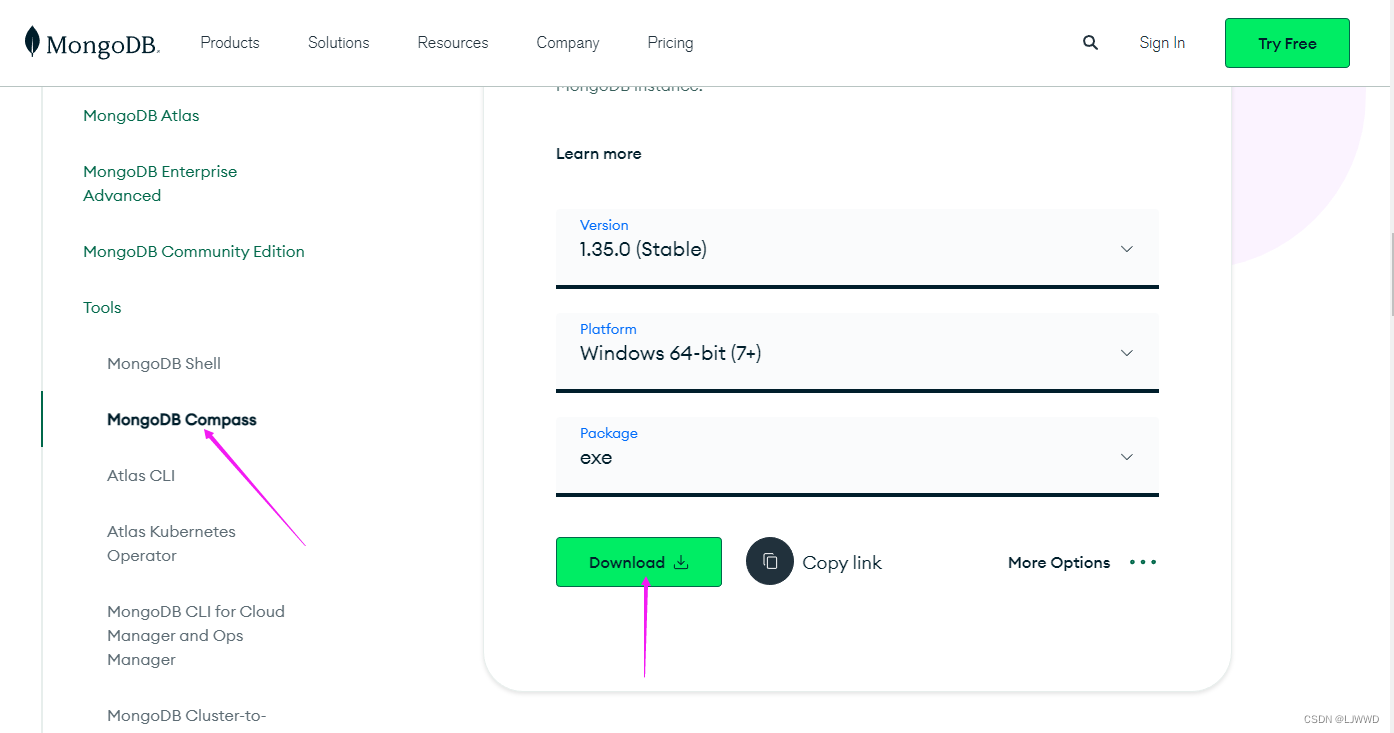
2.1. 下载
https://www.mongodb.com/try/download/compass
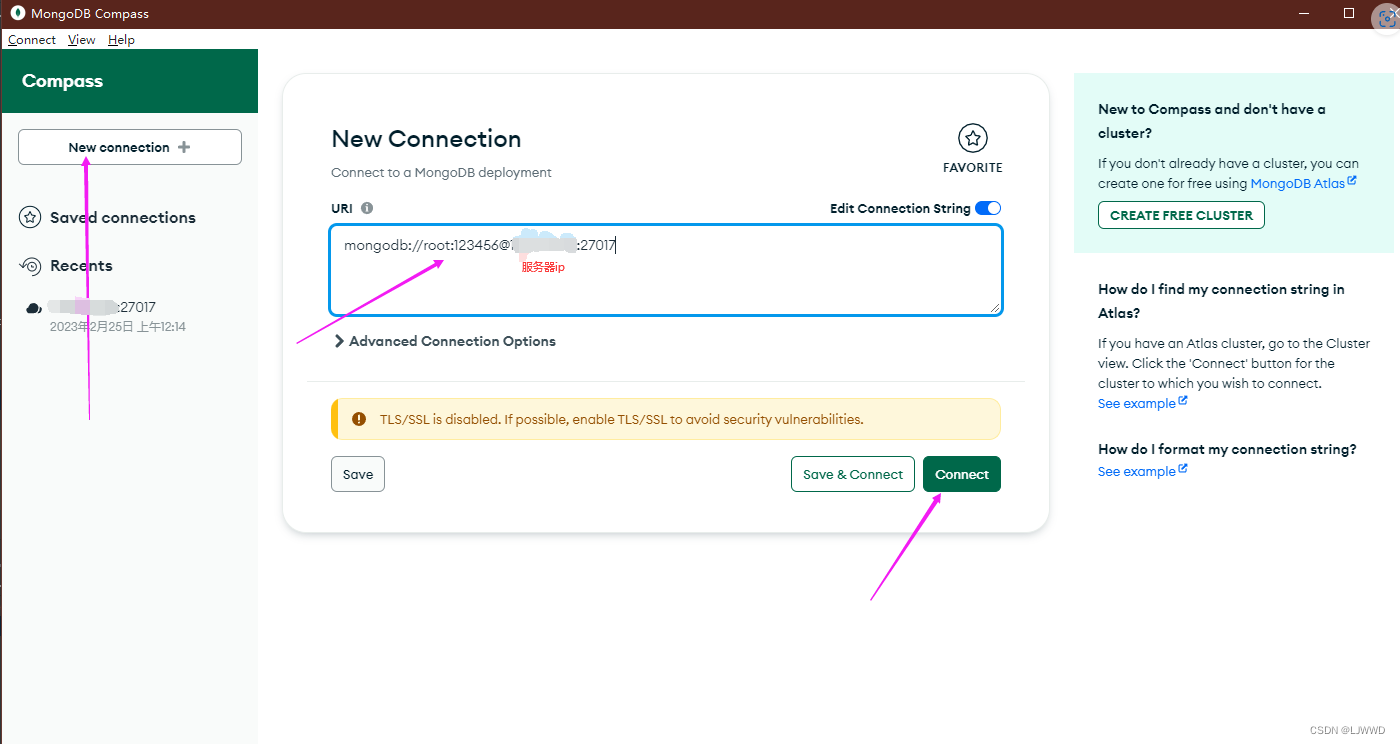
安装过程:
MongoDB Compass的安装及使用图文说明(非常详细)
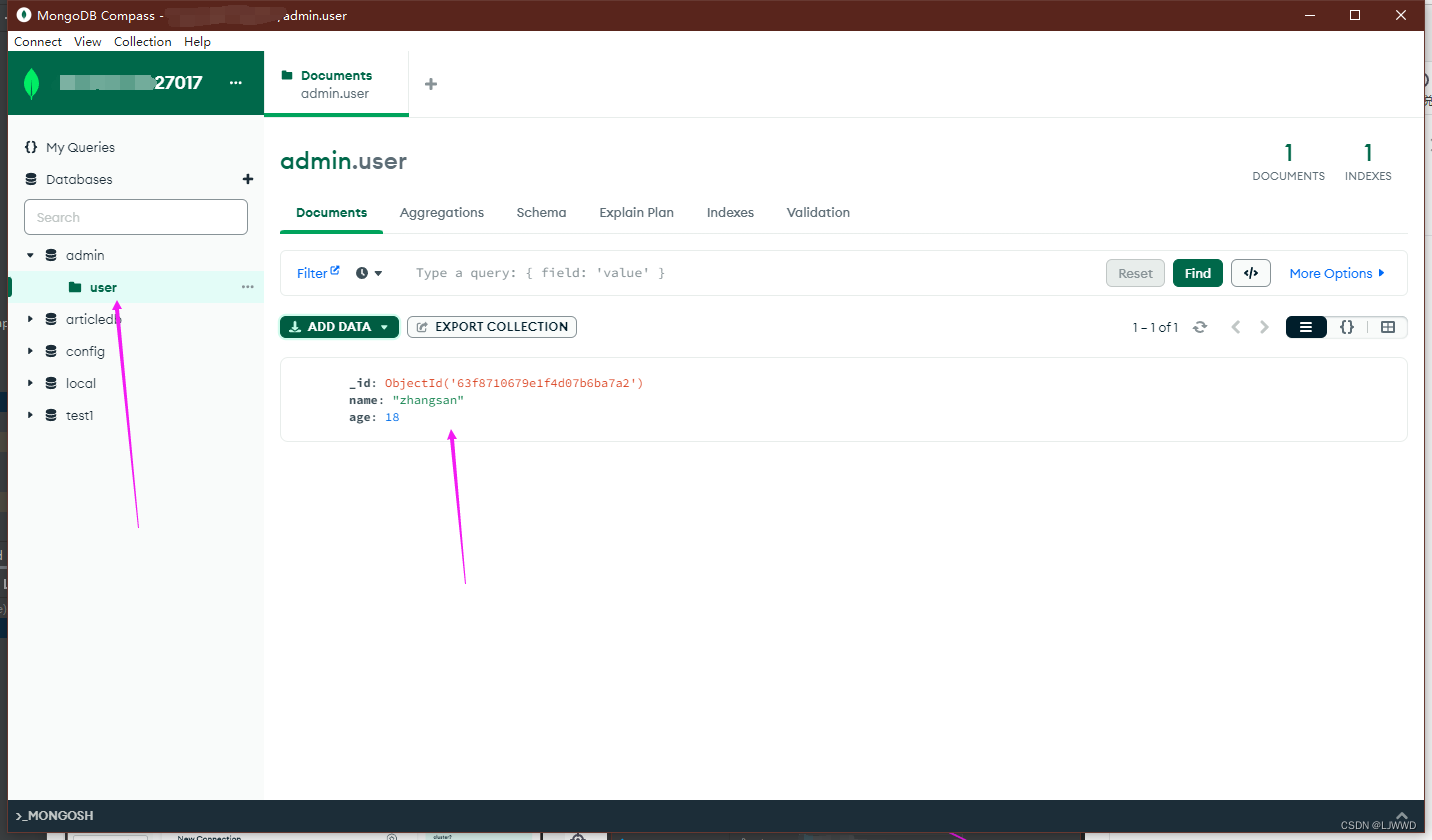
2.2. 使用
这里也可以看见我们刚才插入的数据。
3. Spring整合mongoDB
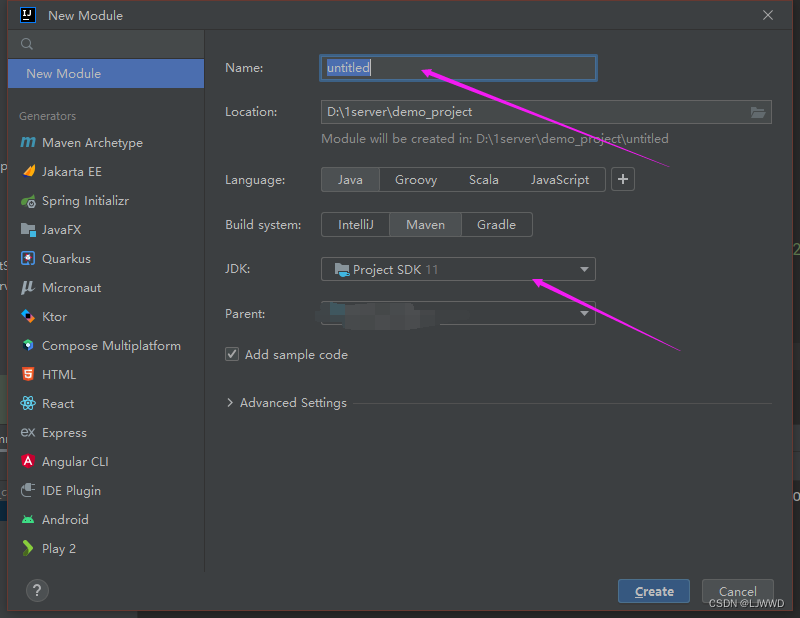
3.1. 创建工程
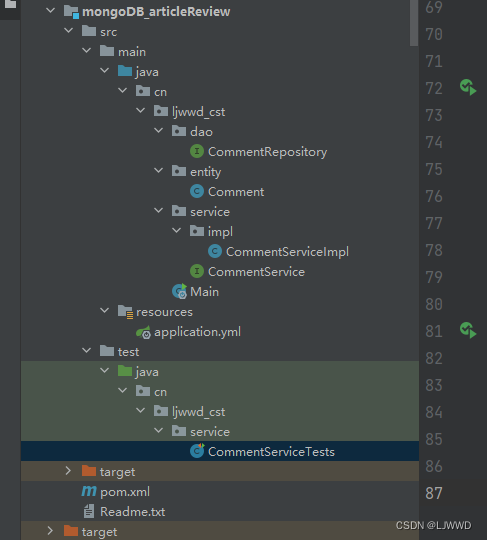
3.2. 测试项目目录结构
3.3. 引入依赖以及配置
pom.xml
	<parent><groupId>org.springframework.boot</groupId><artifactId>spring-boot-starter-parent</artifactId><version>2.3.9.RELEASE</version><relativePath/> <!-- lookup parent from repository --></parent><dependencies>
<!--        测试--><dependency><groupId>org.springframework.boot</groupId><artifactId>spring-boot-starter-test</artifactId><scope>test</scope></dependency>
<!--        mongodb--><dependency><groupId>org.springframework.boot</groupId><artifactId>spring-boot-starter-data-mongodb</artifactId></dependency>
<!--        lombok--><dependency><groupId>org.projectlombok</groupId><artifactId>lombok</artifactId><version>1.18.20</version><!--            <optional>true</optional>--></dependency></dependencies>
application.yml
spring: #数据源配置data:mongodb: # 主机地址uri: mongodb://root:123456@IP:27017/articledb?authSource=admin&authMechanism=SCRAM-SHA-1
3.4. 业务代码
CommentRepository
import cn.ljwwd_cst.entity.Comment;
import org.springframework.data.mongodb.repository.MongoRepository;//评论的持久层接口
public interface CommentRepository extends MongoRepository<Comment,String> {}
Comment
import lombok.Data;
import org.springframework.data.annotation.Id;
import org.springframework.data.mongodb.core.index.Indexed;
import org.springframework.data.mongodb.core.mapping.Document;
import org.springframework.data.mongodb.core.mapping.Field;
import java.io.Serializable;
import java.time.LocalDateTime;
import java.util.Date;
/*** 文章评论实体类 */
//把一个java类声明为mongodb的文档,可以通过collection参数指定这个类对应的文档。
// @Document(collection="mongodb 对应 collection 名")
// 若未加 @Document ,该 bean save 到 mongo 的 comment collection
// 若添加 @Document ,则 save 到 comment collection
@Document(collection="comment")// 可以省略,如果省略,则默认使用类名小写映射集合
// 复合索引   相当于mysql中的覆盖索引
// @CompoundIndex( def = "{'userid': 1, 'nickname': -1}")
@Data
public class Comment implements Serializable {//主键标识,该属性的值会自动对应mongodb的主键字段"_id",如果该属性名就叫“id”,则该注解可以省略,否则必须写@Idprivate String id;//主键// 该属性对应mongodb的字段的名字,如果一致,则无需该注解@Field("content")private String content;//吐槽内容private Date publishtime;//发布日期// 添加了一个单字段的索引  userid@Indexedprivate String userid;//发布人IDprivate String nickname;//昵称private LocalDateTime createdatetime;//评论的日期时间private Integer likenum;//点赞数private Integer replynum;//回复数private String state;//状态private String parentid;//上级IDprivate String articleid;//文章id
}
CommentServiceImpl
import cn.ljwwd_cst.dao.CommentRepository;
import cn.ljwwd_cst.entity.Comment;
import cn.ljwwd_cst.service.CommentService;
import org.springframework.beans.factory.annotation.Autowired;
import org.springframework.stereotype.Service;import java.util.List;
import java.util.Optional;@Service
public class CommentServiceImpl implements CommentService {//注入dao@Autowiredprivate CommentRepository commentRepository;/*** 保存一个评论* @param comment 评论对象*/@Overridepublic void saveComment(Comment comment){//如果需要自定义主键,可以在这里指定主键;如果不指定主键,MongoDB会自动生成主键// 设置一些默认初始值。。。// 调用daocommentRepository.save(comment);}/*** 更新评论* @param comment 评论对象*/@Overridepublic void updateComment(Comment comment){//调用daocommentRepository.save(comment);}/*** 根据id删除评论* @param id 评论id*/@Overridepublic void deleteCommentById(String id){//调用daocommentRepository.deleteById(id);}/*** 查询所有评论* @return List<Comment>*/@Overridepublic List<Comment> findCommentList(){//调用daoreturn commentRepository.findAll();}/**** 根据id查询评论* @param id  评论id* @return  Comment*/@Overridepublic Comment findCommentById(String id){//调用daofinal Optional<Comment> byId = commentRepository.findById(id);if (byId.isEmpty()){return new Comment();}return byId.get();}
}
CommentService
import cn.ljwwd_cst.entity.Comment;
import java.util.List;public interface CommentService {/*** 保存一个评论* @param comment 评论对象*/public void saveComment(Comment comment);/*** 更新评论* @param comment 评论对象*/public void updateComment(Comment comment);/*** 根据id删除评论* @param id 评论id*/public void deleteCommentById(String id);/*** 查询所有评论* @return List<Comment>*/public List<Comment> findCommentList();/**** 根据id查询评论* @param id  评论id* @return  Comment*/public Comment findCommentById(String id);
}
Main
import org.springframework.boot.SpringApplication;
import org.springframework.boot.autoconfigure.SpringBootApplication;
@SpringBootApplication
public class Main {public static void main(String[] args) {SpringApplication.run(Main.class, args);}
}
CommentServiceTests
import cn.ljwwd_cst.Main;
import cn.ljwwd_cst.entity.Comment;
import org.junit.Test;
import org.junit.runner.RunWith;
import org.springframework.beans.factory.annotation.Autowired;
import org.springframework.boot.test.context.SpringBootTest;
import org.springframework.test.context.junit4.SpringRunner;import java.time.LocalDateTime;//测试评论的业务层
//SpringBoot的Junit集成测试
@RunWith(SpringRunner.class)
//SpringBoot的测试环境初始化,参数:启动类
@SpringBootTest(classes = Main.class)
public class CommentServiceTests {//注入Service@Autowiredprivate CommentService commentService;final Comment comment = new Comment();/*** 测试* 保存一个评论*/@Testpublic void testSaveComment(){comment.setArticleid("100000");comment.setContent("测试添加的数据");comment.setCreatedatetime(LocalDateTime.now());comment.setUserid("1001");comment.setNickname("test");comment.setState("1");comment.setLikenum(0);comment.setReplynum(0);System.out.println(comment.getId());commentService.saveComment(comment);System.out.println(comment.getId());}/*** 测试* 更新评论*/@Testpublic void updateComment(){comment.setUserid("1000");commentService.updateComment(comment);}/*** 根据id删除评论*/@Testpublic void deleteCommentById(){commentService.deleteCommentById("63f8e4506edd972c92b7f7dd");}/*** 查询所有评论*/@Testpublic void findCommentList(){System.out.println(commentService.findCommentList());}/**** 根据id查询评论*/@Testpublic void findCommentById(){final Comment commentById = commentService.findCommentById("63f8e4506edd972c92b7f7dd");System.out.println(commentById);}
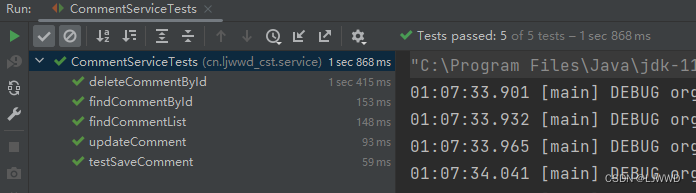
}测试成功如下。(注意测试代码需自行修改)