AI项目十:Swin Transformer目标检测环境搭建
若该文为原创文章,转载请注明原文出处。
Swin Transformer是做什么的这里不做介绍,主要是记录下学习的全过程,Swin Transformer在搭建和训练的过程中,折腾了很久,主要是在折腾环境。
一、AutoDL租用实例
个人没有GPU电脑,使用的是租的,平台是AutoDL。
GPU使的是RTX 2080Ti,一小时0.88元,整个过程大概3-5小时,很划算。

实例创建过程自行了解,创建后打开,界面如下:

二、环境搭建
1、创建虚拟机
conda create -n swin_env python=3.82、激活虚拟机
conda activate swin_env激活出错:IMPORTANT: You may need to close and restart your shell after running 'conda init'.
重新进入虚拟环境
source activate3、CUDA和pytorch版本安装
根据文档,先查出对应版本
python -c 'import torch;print(torch.__version__);print(torch.version.cuda)'
根据CUDA版本安装pytorch,对应版本查询Previous PyTorch Versions | PyTorch
根据CUDA版本对应安装,我安装的是下面版本,安装过程比较久,耐心等待:
conda install pytorch==1.7.1 torchvision==0.8.2 torchaudio==0.7.2 cudatoolkit=10.1 -c pytorch4、安装mmcv
git clone -b v1.4.0 https://github.com/open-mmlab/mmcv.git.
cd mmcv
MMCV_WITH_OPS=1 pip install -e .
pip list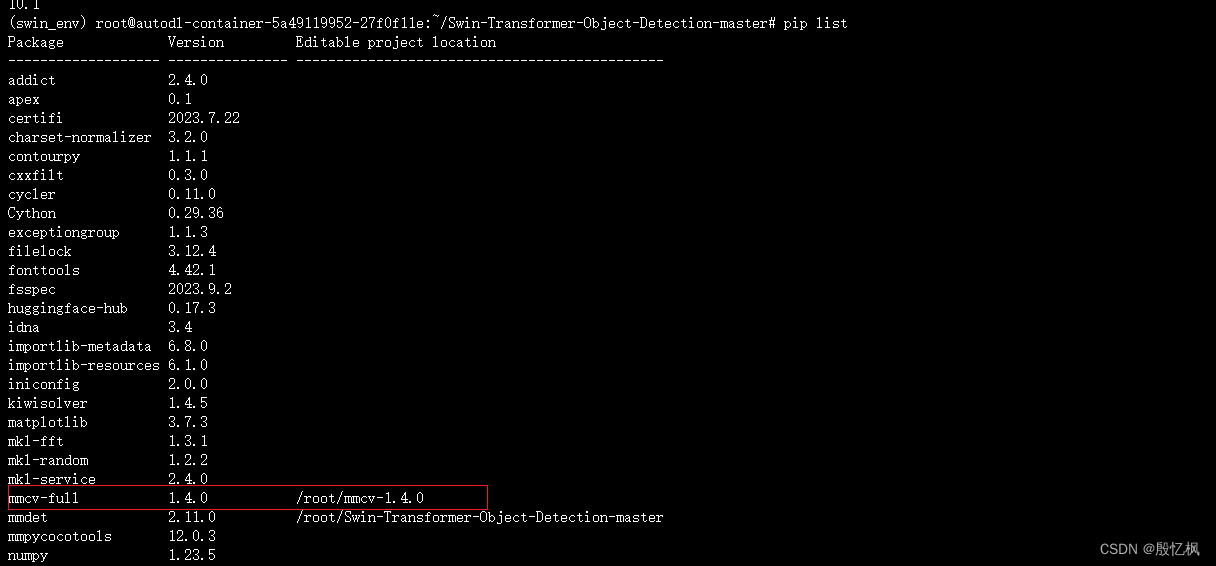
5、安装mmdetection
git clone -b v2.25.0 https://github.com/open-mmlab/mmdetection.git
cd mmdetection
pip install -r requirements/build.txt
pip install -v -e . # or "python setup.py
根据测试,在运行时会出错,

这个原因是cython版本问题,所以需要降级:
pip install cython==0.29.36降级后重新安装,运行正常。
6、安装apex
安装apex是个坑,在后面测试时,出错了AttributeError: module ‘torch.distributed’ has no attribute ‘_all_gather_base’这个错误,这个是错误是apex安装不对造成的,所以要安装对。
git clone https://github.com/NVIDIA/apex.git
cd apex
git checkout f3a960f80244cf9e80558ab30f7f7e8cbf03c0a0
python setup.py install
pip install -v --no-cache-dir ./
7、Swin-Transformer-Object-Detection下载
git clone https://github.com/SwinTransformer/Swin-Transformer-ObjectDetection.git
cd Swin-Transformer-Object-Detection
python setup.py develop 
安装一切都比较正常,接下来就是测试,测试需要预训练权重文件,所以先下载权重文件。
8、下载预训练权重文件
下载mask_rcnn_swin_tiny_patch4_window7_1x.pth权重文件,并放置在Swin-Transformer-ObjectDetection文件夹下
百度网盘下载链接:
链接:https://pan.baidu.com/s/1cO3ln3fokP3cazveC-bjuw
提取码:uzzk
下载后放在Swin-Transformer-Object-Detection目录下。
9、测试
直接在Swin-Transformer-Object-Detection目录下执行下面命令:
python demo/image_demo.py demo/demo.jpg configs/swin/mask_rcnn_swin_tiny_patch4_window7_mstrain_480-800_adamw_1x_coco.py mask_rcnn_swin_tiny_patch4_window7_1x.pth在运行过程中,有报错:
1、报错 :AttributeError: module ‘torch.distributed’ has no attribute ‘_all_gather_base’
如果是根据上面的安装apex应该是不会出错的。
2、报错 :UserWarning: "ImageToTensor" pipeline is replaced by "DefaultFormatBundle" for batch inference. It is recommended to manually replace it in the test data pipeline in your config file.
处理:参考安装mmdetection进行测试不出图片和报错记录_"userwarning: "imagetotensor" pipeline is replac-CSDN博客
提示我们需要将pipline中的“ImgeToTensor”换成“DefaultFormatBundle”,文件夹指引configs——>base——>datasets——>coco_detection.py,按ctrl+F进行搜索“test_pipeline”,将transforms下的“ImageToTensor”改为“DefaultFormatBundle”,然后删除后面的 keys=[‘img’]。
这里有个需要注意的,使用的是ubuntu虚拟机,所以无法显示,所以修改了下代码,把结果保存下来。
# demo/image_demo.pyfrom argparse import ArgumentParserfrom mmdet.apis import inference_detector, init_detector, show_result_pyplotdef main():parser = ArgumentParser()parser.add_argument('img', help='Image file')parser.add_argument('config', help='Config file')parser.add_argument('checkpoint', help='Checkpoint file')parser.add_argument('--device', default='cuda:0', help='Device used for inference')parser.add_argument('--score-thr', type=float, default=0.3, help='bbox score threshold')args = parser.parse_args()# build the model from a config file and a checkpoint filemodel = init_detector(args.config, args.checkpoint, device=args.device)# test a single imageresult = inference_detector(model, args.img)# show the results#show_result_pyplot(model, args.img, result, score_thr=args.score_thr)model.show_result(args.img, result, out_file='result.jpg')if __name__ == '__main__':main()运行后,有保存成result.jpg图片。

到此,环境搭建完成并实现了目标检测和分割。
如有侵权,或需要完整代码,请及时联系博主。