论文复现--lightweight-human-pose-estimation-3d-demo.pytorch(单视角多人3D实时动作捕捉DEMO)
分类:动作捕捉
github地址:https://github.com/Daniil-Osokin/lightweight-human-pose-estimation-3d-demo.pytorch
所需环境:
Windows10,conda 4.13.0;
目录
- conda环境配置
- 安装Pytorch全家桶
- 安装TensorRT(可选)
- 安装torch2trt(可选)
- 模型转换为TensorRT兼容格式(可选)
- 运行指令
- 运行结果
- conda list
- 以下是执行setup失败后的尝试 实际上不需要编译setup也可执行demo 只是实时性不好(但是我需要的是算法 读者不用看以下部分 这是我自己的记录)
- Opencv4.8.0配置环境变量
- Cmake3.27配置环境变量
- 参考链接
conda环境配置
conda create -n lwmhpe3d python=3.8
conda activate lwmhpe3d
D:
cd D:\WLm_Project\MotionCatch\lwmhpe3d
安装Pytorch全家桶
pip install "torch-1.13.1+cu116-cp38-cp38-win_amd64.whl"# 离线安装 需要预先下载
pip install torch==1.13.1+cu116 torchvision==0.14.1+cu116 torchaudio==0.13.1 --extra-index-url https://download.pytorch.org/whl/cu116
cd lwmhpe3d
pip install -r requirements.txt -i https://pypi.tuna.tsinghua.edu.cn/simple
安装TensorRT(可选)
python -m pip install nvidia-pyindex
# nvidia官网下载TensorRT-8.6.1.6.Windows10.x86_64.cuda-11.8.zip:https://developer.nvidia.com/nvidia-tensorrt-8x-download
# 下载完成后 移动并解压缩
cd D:\WLm_Project\MotionCatch\lwmhpe3d\TensorRT-8.6.1.6.Windows10.x86_64.cuda-11.8\TensorRT-8.6.1.6\python
# 因为是python3.8环境 要安装这个
pip install tensorrt-8.6.1-cp38-none-win_amd64.whl


安装成功

将这tensorRT的三个文件夹复制到CUDA下( 记得复制之前CUDA的原始三个文件夹做好副本 注意路径)


安装torch2trt(可选)
cd D:\WLm_Project\MotionCatch\lwmhpe3d
git clone https://github.com/NVIDIA-AI-IOT/torch2trt
cd torch2trt
pip3 install packaging -i https://pypi.tuna.tsinghua.edu.cn/simple
pip install -e .

模型转换为TensorRT兼容格式(可选)
# 转换human-pose-estimation-3d.pth为human-pose-estimation-3d-trt.pth
python scripts/convert_to_trt.py --checkpoint-path human-pose-estimation-3d.pth
很奇怪 我的convert_to_trt.py没法找到上级目录中models与modules的文件

简单粗暴的解决办法是: 把lwmhpe3d\lwmhpe3d\models和lwmhpe3d\lwmhpe3d\modules的所有文件都复制到lwmhpe3d\lwmhpe3d\scripts下
并修改convert_to_trt.py ; with_mobilenet.py脚本 使python脚本变为同级文件夹寻址:


运行指令
# 构建pose_extractor模块:
cd D:\WLm_Project\MotionCatch\lwmhpe3d\lwmhpe3d
# python setup.py build_ext
# 将构建文件夹添加到PYTHONPATH:
# export PYTHONPATH=pose_extractor/build/:$PYTHONPATH# 安装完依赖项后可以直接运行 无需编译
# 使用GPU
python demo.py --model human-pose-estimation-3d.pth --video 0 --device GPU# 使用tensorRT(可选)
python demo.py --model human-pose-estimation-3d-trt.pth --use-tensorrt --video 0
使用tensorRT运行指令报错:
[09/06/2023-09:32:05] [TRT] [E] 3: [executionContext.cpp::nvinfer1::rt::ExecutionContext::validateInputBindings::2083] Error Code 3: API Usage Error (Parameter check failed at: executionContext.cpp::nvinfer1::rt::ExecutionContext::validateInputBindings::2083, condition: profileMinDims.d[i] <= dimensions.d[i]. Supplied binding dimension [1,3,256,336] for bindings[0] exceed min ~ max range at index 3, maximum dimension in profile is 448, minimum dimension in profile is 448, but supplied dimension is 336.

这个问题 作者在github上有说明
TensorRT does not support dynamic network input size reshape. Make sure you have set proper network input height, width with --height and --width options during conversion (if not, there will be no detections). Default values work for a usual video with 16:9 aspect ratio (1280x720, 1920x1080). You can check the network input size with print(scaled_img.shape) in the demo.py
TensorRT 不支持动态网络输入大小重塑。确保您在转换过程中设置了正确的网络输入高度、宽度和–height选项–width(如果没有,将不会进行检测)。默认值适用于宽高比为 16:9 的普通视频(1280x720、1920x1080)。print(scaled_img.shape)您可以在 demo.py 中检查网络输入大小
可以在demo.py中加入打印语句

运行GPU推理时果然显示

所以需要手动更改这个值 在convert_to_trt.py的位置如下:将448改成336即可

再次运行使用TensorRT推理指令即可成功!
运行结果
按esc退出
GPU运行

TensorRT加速

TensorRT的FPS提升了一倍 接近60帧 然而GPU只有30帧 虽然视觉上差不了太多
conda list
# packages in environment at D:\Anaconda3\envs\lwmhpe3d:
#
# Name                    Version                   Build  Channel
ca-certificates           2023.05.30           haa95532_0
certifi                   2023.7.22                pypi_0    pypi
charset-normalizer        3.2.0                    pypi_0    pypi
idna                      3.4                      pypi_0    pypi
libffi                    3.4.4                hd77b12b_0
numpy                     1.24.4                   pypi_0    pypi
nvidia-pyindex            1.0.9                    pypi_0    pypi
onnx                      1.14.1                   pypi_0    pypi
opencv-python             4.8.0.76                 pypi_0    pypi
openssl                   3.0.10               h2bbff1b_2
packaging                 23.1                     pypi_0    pypi
pillow                    10.0.0                   pypi_0    pypi
pip                       23.2.1           py38haa95532_0
protobuf                  4.24.2                   pypi_0    pypi
python                    3.8.17               h1aa4202_0
requests                  2.31.0                   pypi_0    pypi
setuptools                68.0.0           py38haa95532_0
sqlite                    3.41.2               h2bbff1b_0
tensorrt                  8.6.1                    pypi_0    pypi
torch                     1.13.1+cu116             pypi_0    pypi
torch2trt                 0.4.0                     dev_0    <develop>
torchaudio                0.13.1+cu116             pypi_0    pypi
torchvision               0.14.1+cu116             pypi_0    pypi
typing-extensions         4.7.1                    pypi_0    pypi
urllib3                   2.0.4                    pypi_0    pypi
vc                        14.2                 h21ff451_1
vs2015_runtime            14.27.29016          h5e58377_2
wheel                     0.38.4           py38haa95532_0
以下是执行setup失败后的尝试 实际上不需要编译setup也可执行demo 只是实时性不好(但是我需要的是算法 读者不用看以下部分 这是我自己的记录)
官网要求:
Python 3.5(或更高版本 )–>环境是3.8
CMake 3.10(或更高版本 )–>环境是3.27
C++ 编译器(g++ 或 MSVC ) -->环境是C:/Program Files (x86)/Microsoft Visual Studio/2017/Community/VC/Tools/MSVC/14.16.27023/bin/Hostx86/x64/cl.exe
OpenCV 4.0(或更高版本)–>环境是4.8.0
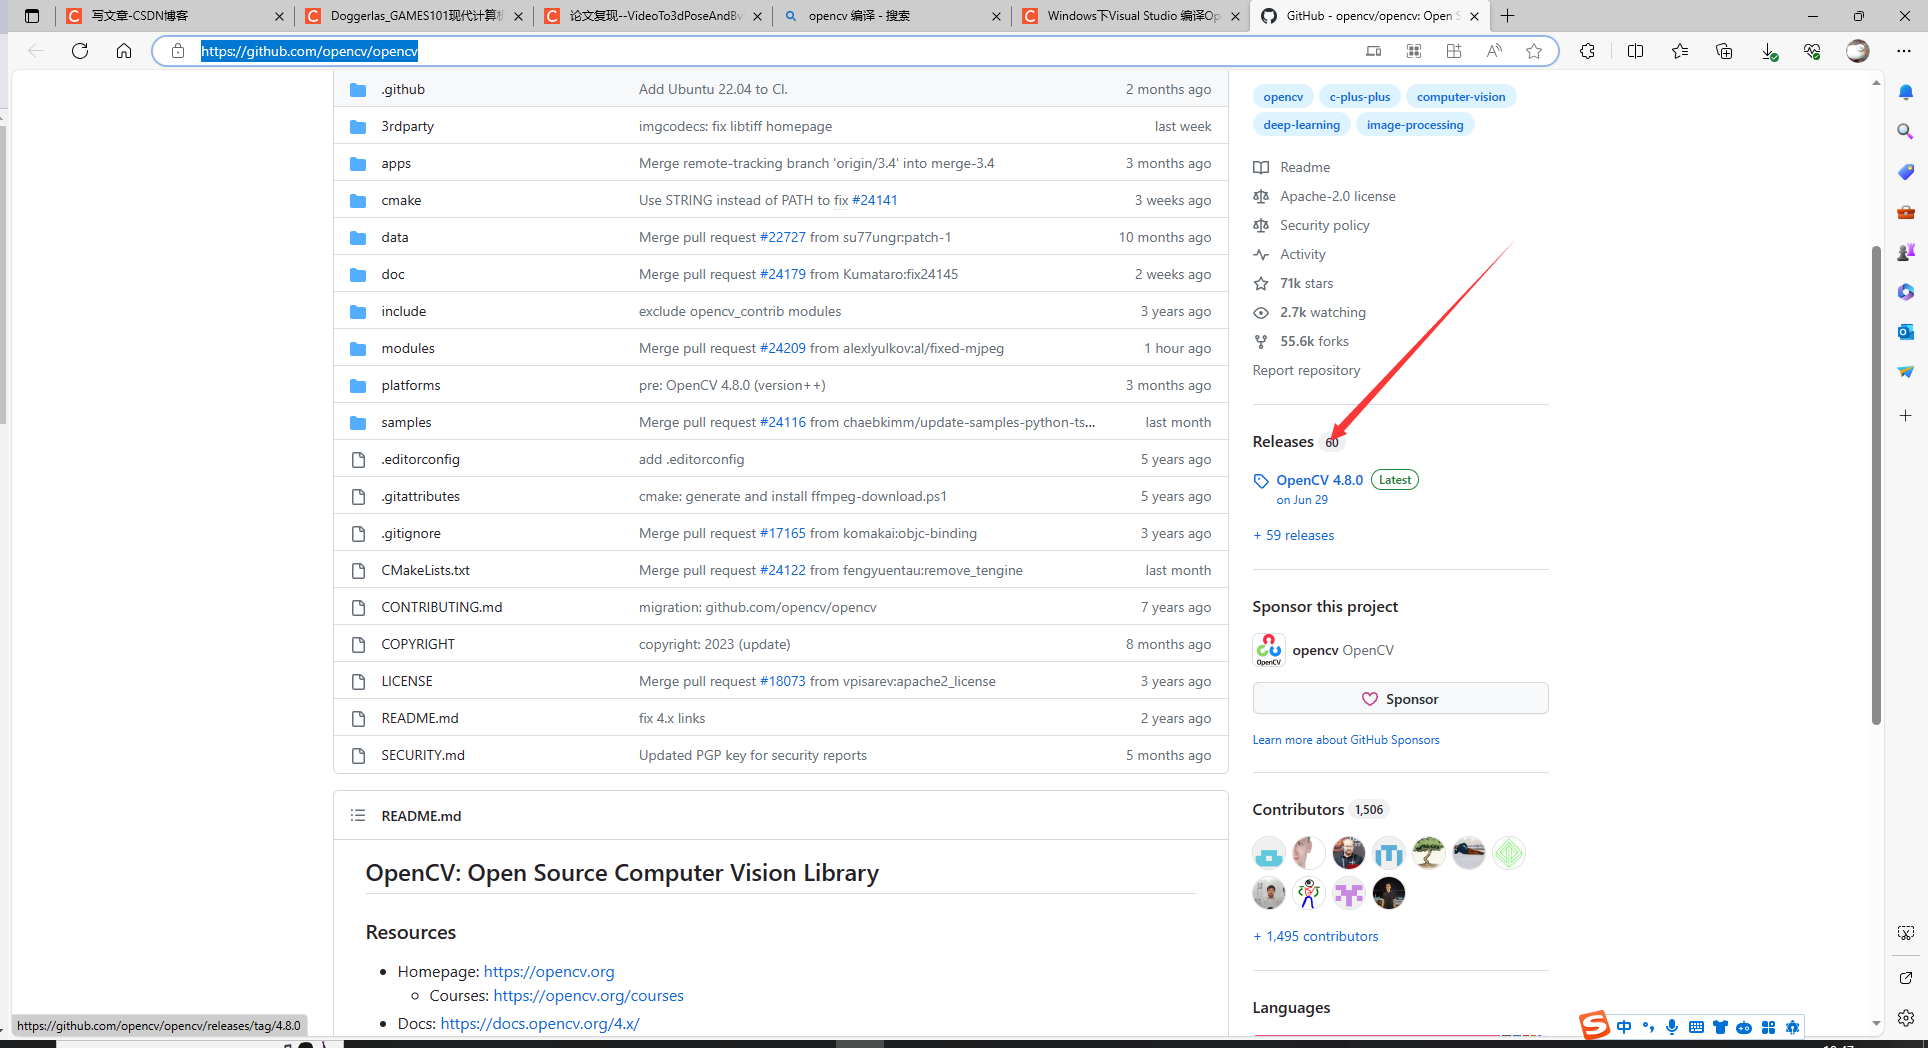
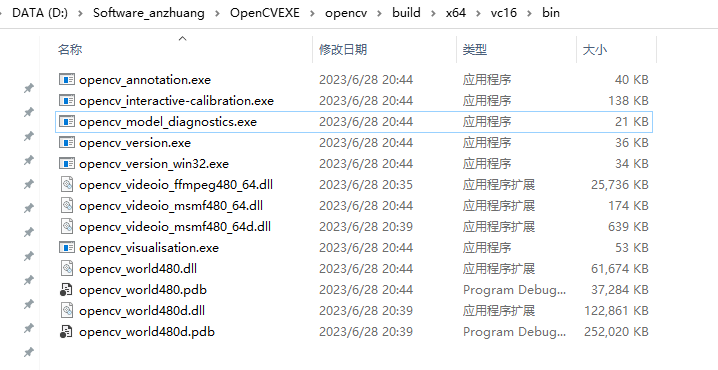
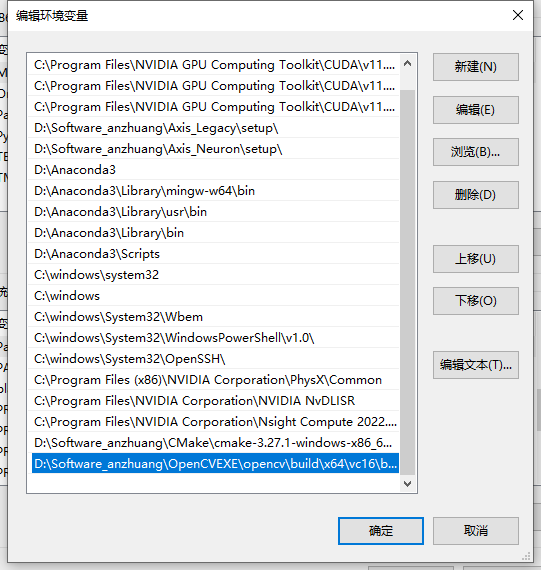
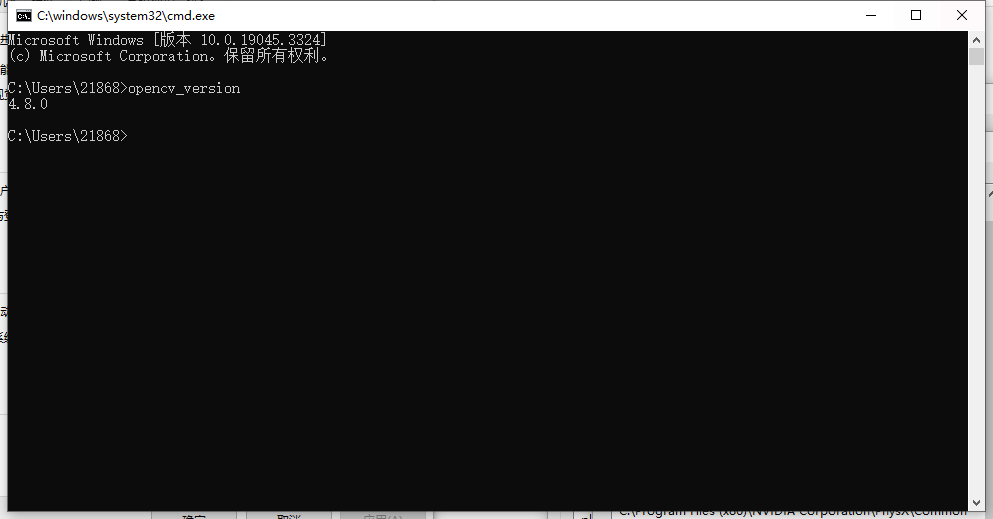
Opencv4.8.0配置环境变量
需要提前编译好并配置环境变量
https://github.com/opencv/opencv

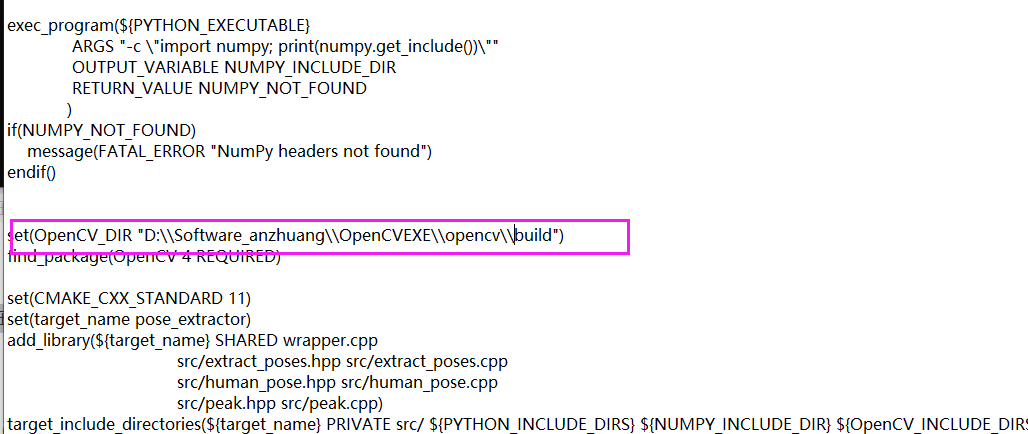
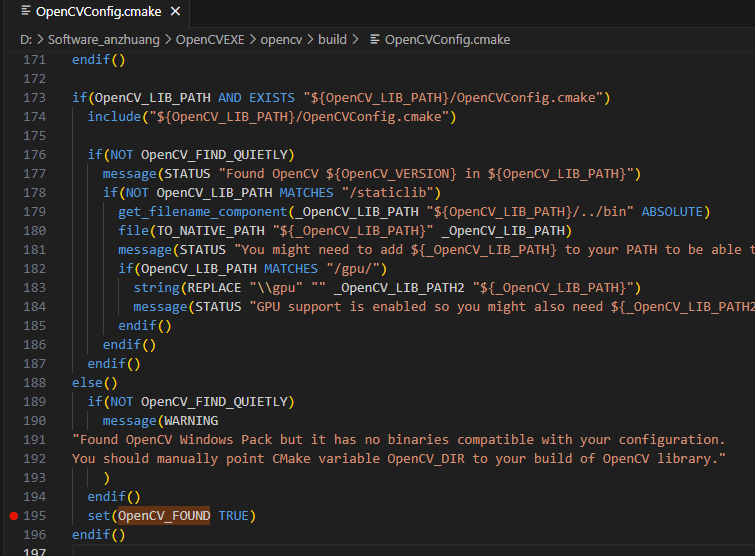
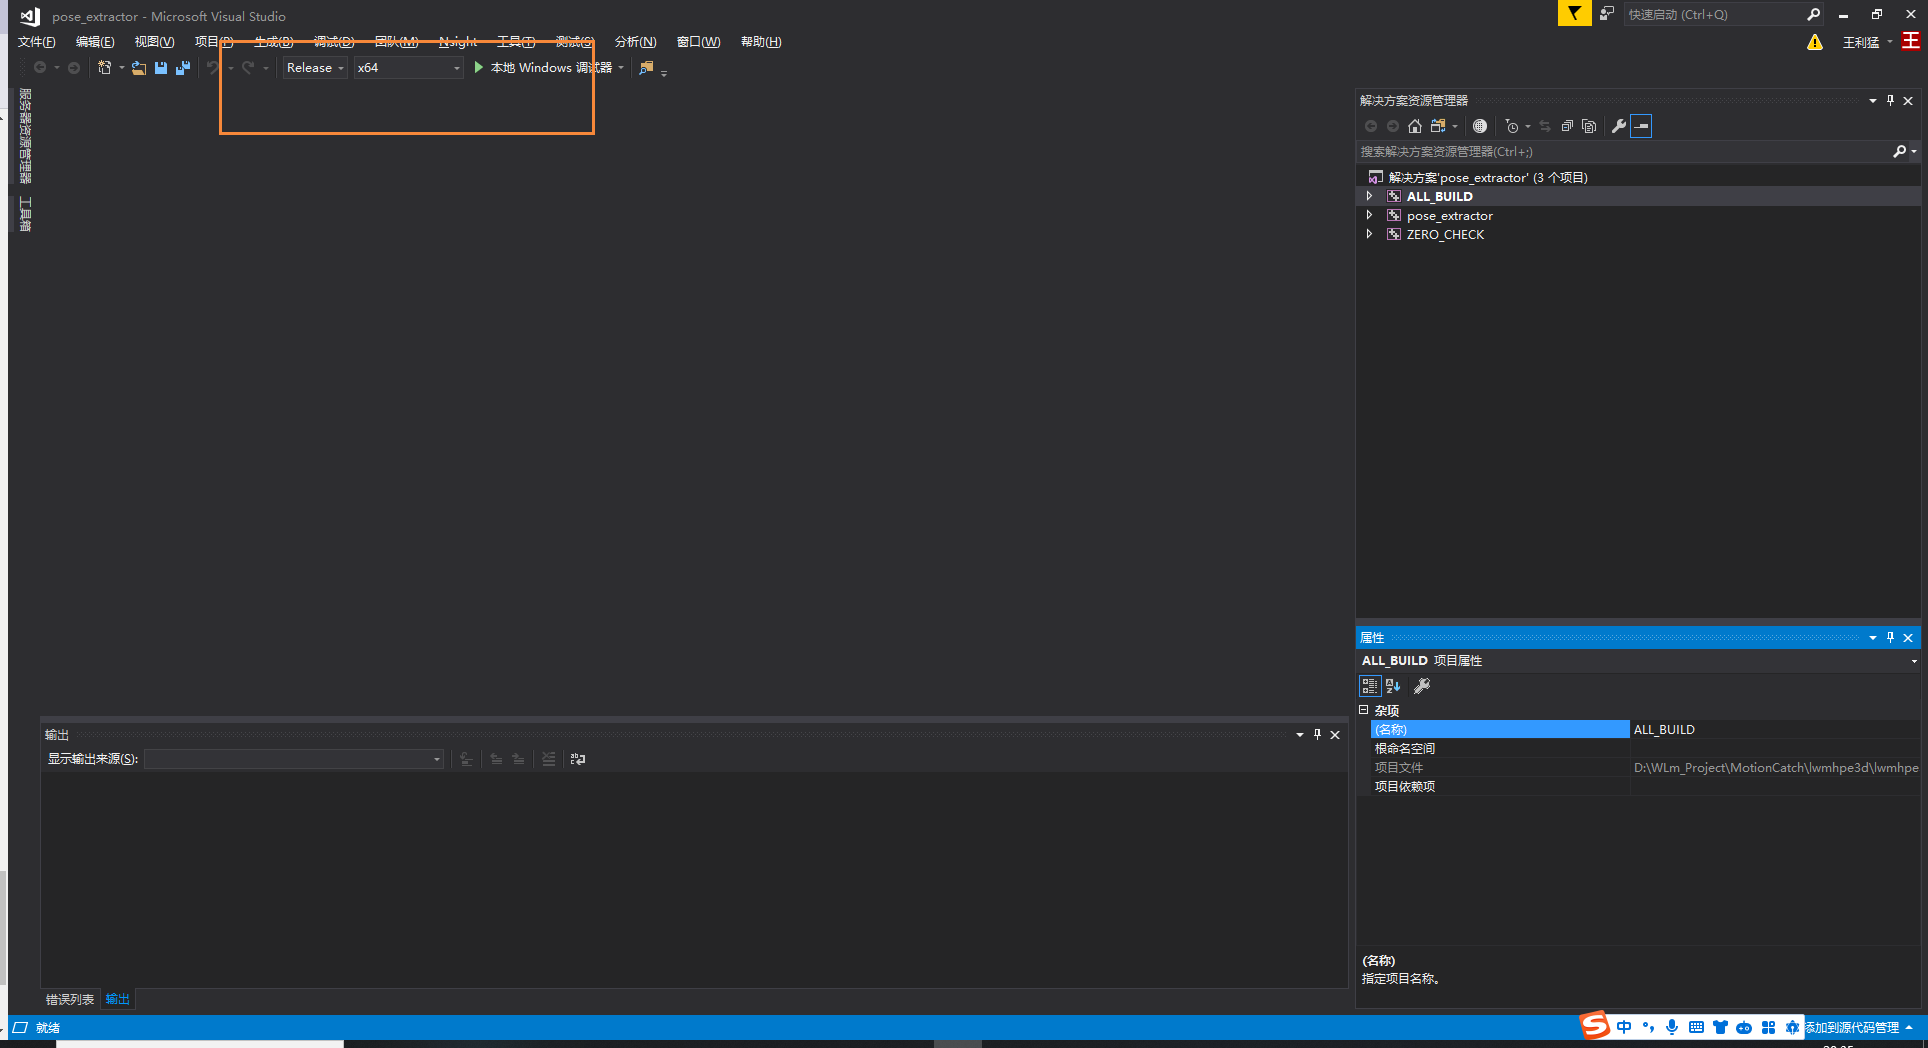
无法解决的问题:
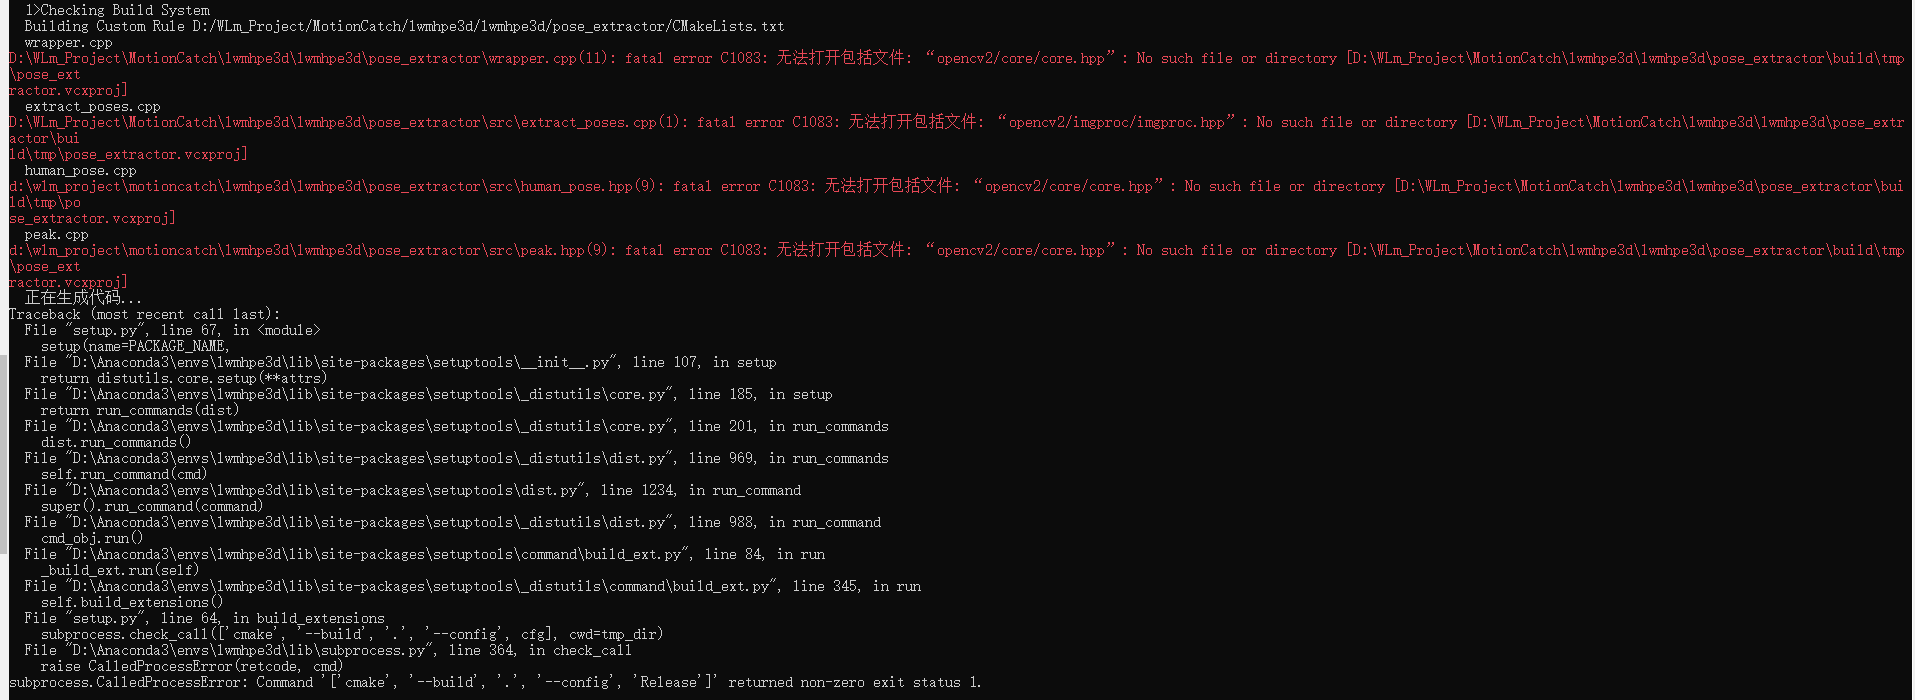
Cmake3.27配置环境变量
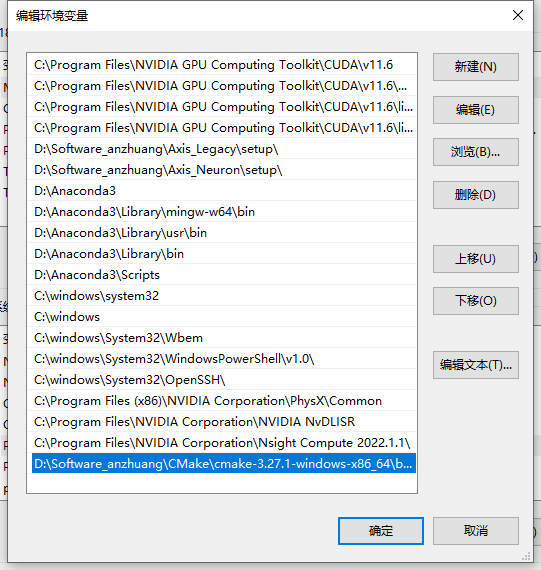
直接下载压缩包 将bin下的exe存在的路径按下图添加到path环境变量
https://cmake.org
cmake --version# 需要先配置环境变量

参考链接
https://blog.51cto.com/u_15273495/2914994#:~:text=%E7%BB%99cmake.exe%E6%B7%BB%E5%8A%A0%E7%8E%AF%E5%A2%83,%E5%B0%B1%E8%AF%B4%E6%98%8E%E9%85%8D%E7%BD%AE%E6%88%90%E5%8A%9F%E4%BA%86%E3%80%82
https://blog.csdn.net/excelNo1/article/details/118142075
https://sourceforge.net/projects/opencvlibrary/files/
