Spring容器及实例化
一、前言
Spring 容器是 Spring 框架的核心部分,它负责管理和组织应用程序中的对象(Bean)。Spring 容器负责创建、配置和组装这些对象,并且可以在需要时将它们提供给应用程序的其他部分。
Spring 容器提供了两种主要类型的容器:BeanFactory 和 ApplicationContext。BeanFactory 是最基本的容器,提供了基本的 Bean 生命周期管理和依赖注入的功能。ApplicationContext 是 BeanFactory 的一个子接口,它提供了更多的企业级功能,例如国际化、事件传播、资源加载等。
在 Spring 中,通常通过配置文件或注解来定义和配置 Bean。当 Spring 容器启动时,它会根据配置的信息来实例化和初始化对象。
二、xml配置初步使用
2.1 添加依赖
创建maven项目,并在pom.xml中添加Spring的依赖。
<?xml version="1.0" encoding="UTF-8"?>
<project xmlns="http://maven.apache.org/POM/4.0.0"xmlns:xsi="http://www.w3.org/2001/XMLSchema-instance"xsi:schemaLocation="http://maven.apache.org/POM/4.0.0 http://maven.apache.org/xsd/maven-4.0.0.xsd"><modelVersion>4.0.0</modelVersion><groupId>org.example</groupId><artifactId>spring_01</artifactId><version>1.0</version><dependencies><dependency><groupId>org.springframework</groupId><artifactId>spring-context</artifactId><version>5.3.22</version></dependency><dependency><groupId>junit</groupId><artifactId>junit</artifactId><version>4.11</version><scope>test</scope></dependency><dependency><groupId>ch.qos.logback</groupId><artifactId>logback-classic</artifactId><version>1.2.11</version></dependency></dependencies></project>
2.2 xml方式配置bean
新建bean.xml文件,目录结构
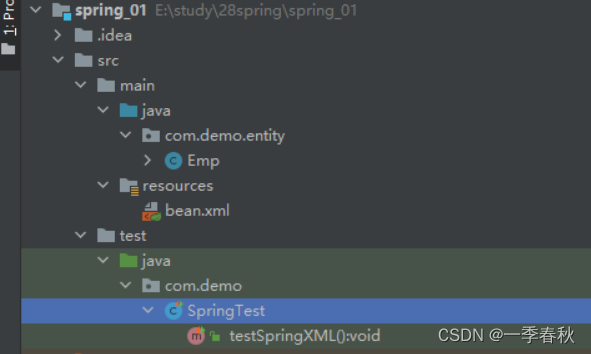
bean.xml
<?xml version="1.0" encoding="UTF-8"?>
<beans xmlns="http://www.springframework.org/schema/beans"xmlns:xsi="http://www.w3.org/2001/XMLSchema-instance"xsi:schemaLocation="http://www.springframework.org/schema/beanshttps://www.springframework.org/schema/beans/spring-beans.xsd"><!--    构造函数实例化--><bean id="employ" class="com.demo.entity.Employ"><!--        没有构造函数的时候--><!--        <constructor-arg index="0" value="hanzhe"/>--><!--        <constructor-arg index="1" value="18"/>--><!--        <property name="username" value="hanzhe"></property>--><!--        <property name="password" value="18"></property>--></bean></beans>
2.3 测试类查看效果
SpringTest.java
package com.demo;
/*** @author zhe.han* @date 2023/2/2 14:28*/
public class SpringTest {/*** xml形式的简单入门* <p>* 1:instantiation with a constructor 构造函数实例化*/@Testpublic void test1() {/*** 加载文件的方式:使用resource加载文件**/ApplicationContext context = new ClassPathXmlApplicationContext("classpath:/test1.xml");// ApplicationContext context = new ClassPathXmlApplicationContext("file:E:\\study\\28spring\\spring_01\\src\\main\\resources\\test1.xml");Emp employ = (Emp) context.getBean("employ");final String password = employ.getPassword();final String username = employ.getUsername();System.out.println(username);System.out.println(password);}
}
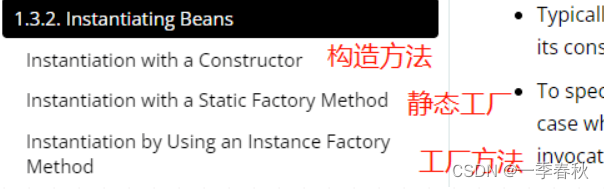
三、实例化 Bean
官网中提到实例化bean,有三种方式
3.1 默认的无参构造函数
bean.xml
<?xml version="1.0" encoding="UTF-8"?>
<beans xmlns="http://www.springframework.org/schema/beans"xmlns:xsi="http://www.w3.org/2001/XMLSchema-instance"xsi:schemaLocation="http://www.springframework.org/schema/beanshttps://www.springframework.org/schema/beans/spring-beans.xsd"><!--构造函数实例化bean    --><bean id="emp" class="com.demo.entity.Emp"></bean>
</beans>
public class Emp {final Log log = LogFactory.getLog(Emp.class);private String username;private String password;public Emp(String username, String password) {this.username = username;this.password = password;}public Emp() {log.info("构造方法实例化......");}@Overridepublic String toString() {return "Emp{" +"username='" + username + '\'' +", password='" + password + '\'' +'}';}
}测试类:
@Testpublic void test1() {/*** 加载文件的方式:使用resource加载文件**/ApplicationContext context = new ClassPathXmlApplicationContext("classpath:/test1.xml");Emp employ = context.getBean("employ", Emp.class);log.info(employ);}debug跟踪源码,了解实例化过程。
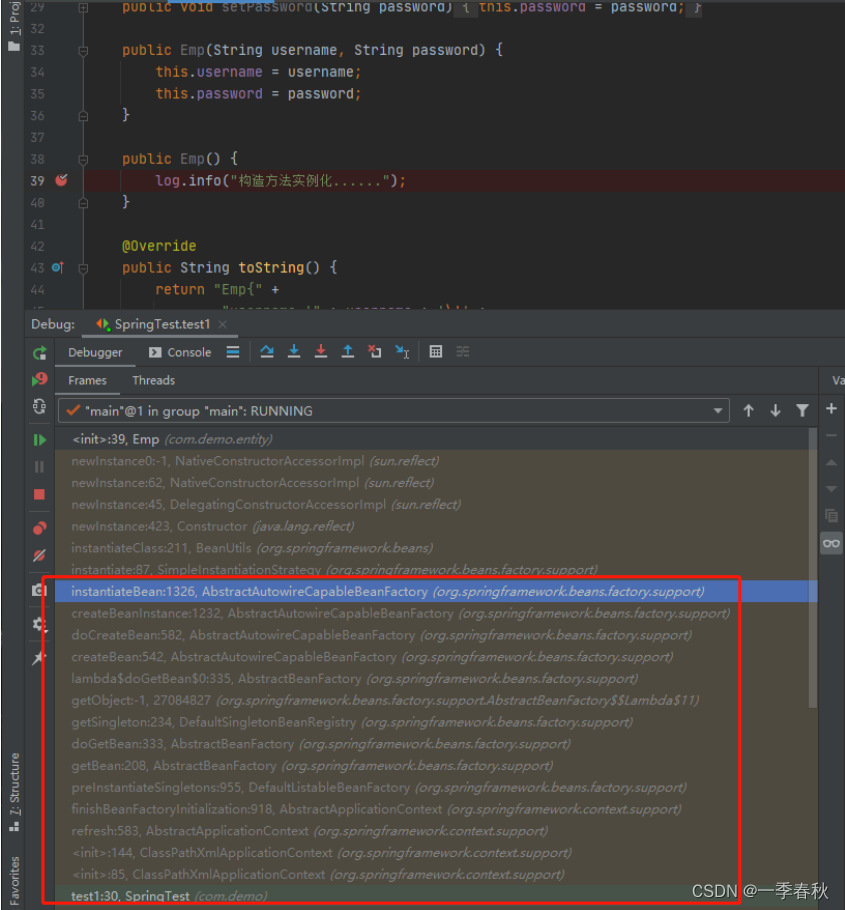
debug定位到这个方法中:
org.springframework.beans.factory.support.AbstractAutowireCapableBeanFactory#createBeanInstance
最终执行到这个方法:使用无参构造函数实例化bean
// No special handling: simply use no-arg constructor.
return instantiateBean(beanName, mbd);
3.2 静态工程方法
<?xml version="1.0" encoding="UTF-8"?>
<beans xmlns="http://www.springframework.org/schema/beans"xmlns:xsi="http://www.w3.org/2001/XMLSchema-instance"xsi:schemaLocation="http://www.springframework.org/schema/beanshttps://www.springframework.org/schema/beans/spring-beans.xsd"><!--    静态工厂实例化--><bean id="employ2_2" class="com.demo.entity.Emp2" factory-method="createInstance"></bean>
</beans>/*** Bean的实例化:** <p>* 2:instantiation with a static Factory Method:静态工厂实例化* <p>*/@Testpublic void test2() {ApplicationContext context = new ClassPathXmlApplicationContext("classpath:/test2.xml");// 静态工厂实例化Emp2 employ = context.getBean("employ2_2", Emp2.class);log.info(employ);}
断点调试:
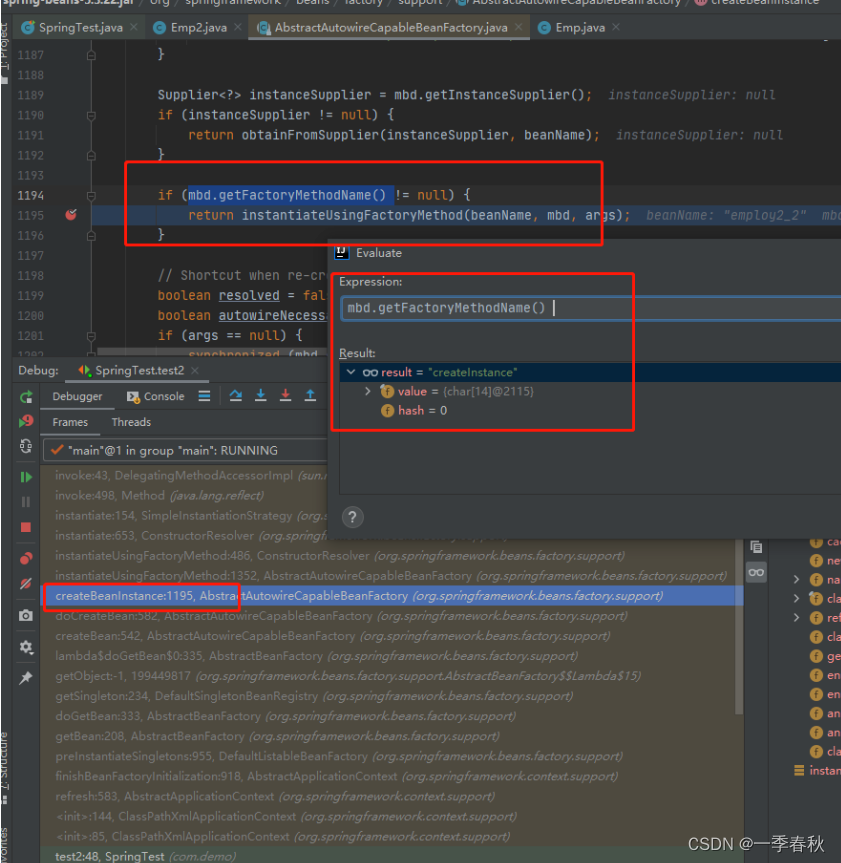
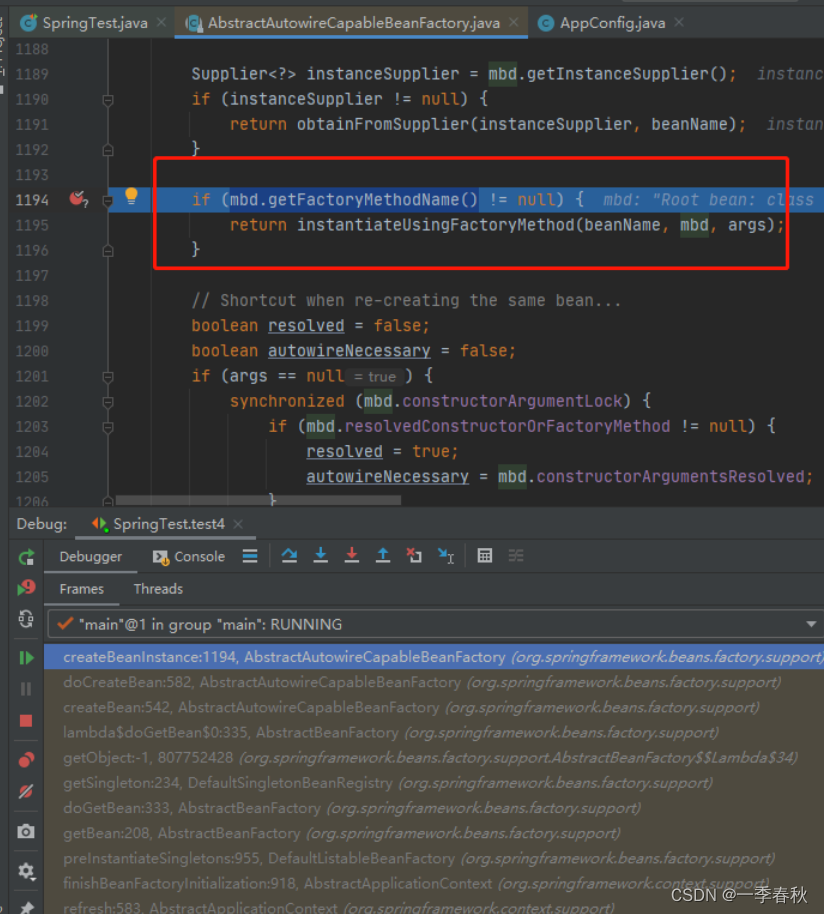
debug定位到这个方法中:‘
org.springframework.beans.factory.support.AbstractAutowireCapableBeanFactory#createBeanInstance
最终执行到这个方法:使用无参构造函数实例化bean
// 判断BeanDefination中是否有factory-method 这个属性
if (mbd.getFactoryMethodName() != null) {return instantiateUsingFactoryMethod(beanName, mbd, args);}
3.3 实例工厂方法
test3.xml
<?xml version="1.0" encoding="UTF-8"?>
<beans xmlns="http://www.springframework.org/schema/beans"xmlns:xsi="http://www.w3.org/2001/XMLSchema-instance"xsi:schemaLocation="http://www.springframework.org/schema/beanshttps://www.springframework.org/schema/beans/spring-beans.xsd"><!-- the factory bean, which contains a method called createInstance() --><bean id="serviceLocator" class="com.demo.factory.DefaultServiceLocator"></bean><!-- the bean to be created via the factory bean --><bean id="employ3"factory-bean="serviceLocator"factory-method="createEmploy2_3Instance"/></beans>
DefaultServiceLocator
public class DefaultServiceLocator {final static Log log = LogFactory.getLog(Emp2.class);private static Emp2 employ = new Emp2();public Emp2 createInstance() {employ.setPassword("password");employ.setUsername("username");log.info("实例工厂方法");return employ;}}断点发现实例化流程和静态工厂方法一样:

四、注解方式配置bean
4.1 使用Configuration 和Bean配置
// @Configuration 作为配置类,@Bean 用于实例化、配置、初始化Spring的bean对象AppConfig
@Configuration
public class AppConfig {/*** 等价于在xml中配置:** <beans>*       <bean id="mmp" class="com.demo.entity.Emp"/>* </beans>* @return*/@Beanpublic Emp emp() {return new Emp("zhang san", "123456");}}/*** 注解方式配置spring的bean*/@Testpublic void test4() {ApplicationContext context = new AnnotationConfigApplicationContext(AppConfig.class);Emp bean = context.getBean(Emp.class);log.info(bean);}
最终的实例化方法和静态工厂、工厂实例化方法一致。
以上就是Spring的初步使用和Bean的实例化的方法的了解。