第3篇:vscode搭建esp32 arduino开发环境
第1篇:Arduino与ESP32开发板的安装方法
第2篇:ESP32 helloword第一个程序示范点亮板载LED
1.下载vscode并安装
https://code.visualstudio.com/
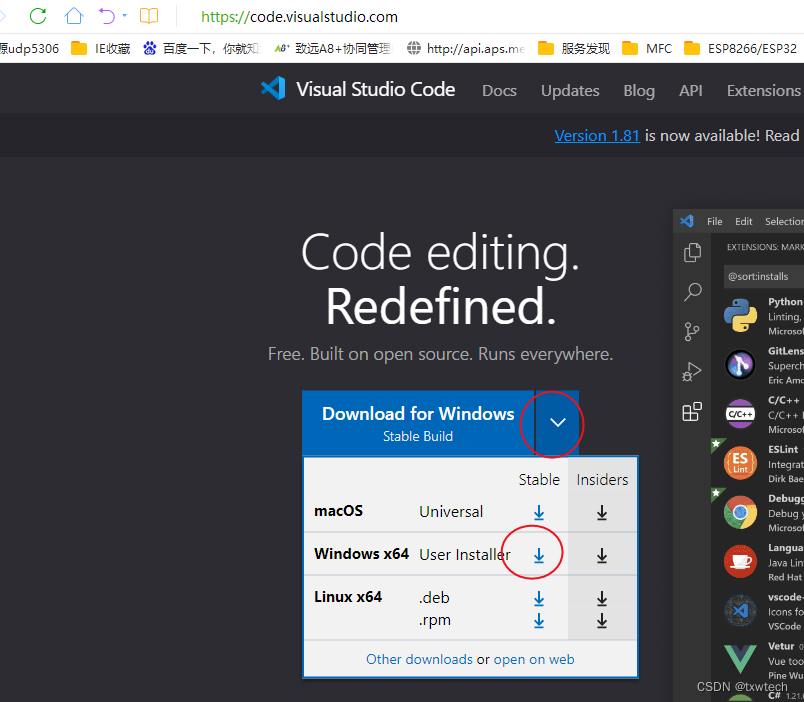
运行VSCodeUserSetup-x64-1.80.1.exe
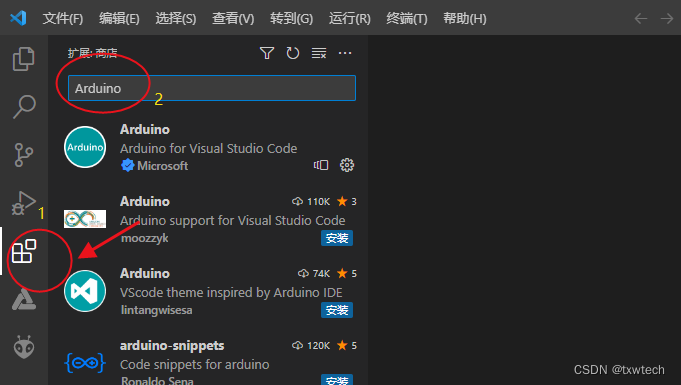
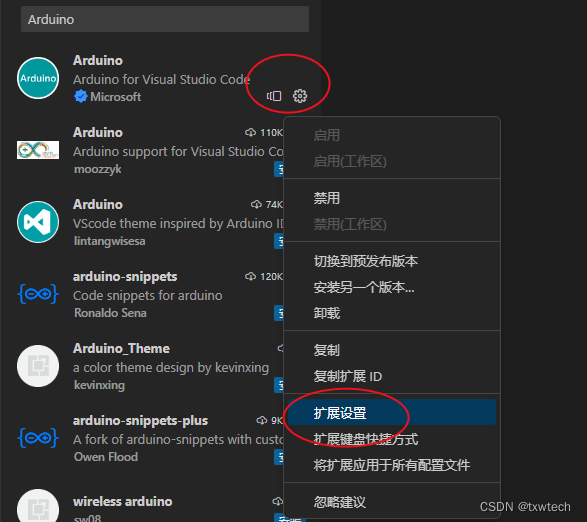
2.点击扩展,搜索arduino,并点击安装
3.点击扩展设置,配置arduinoIDE安装路径
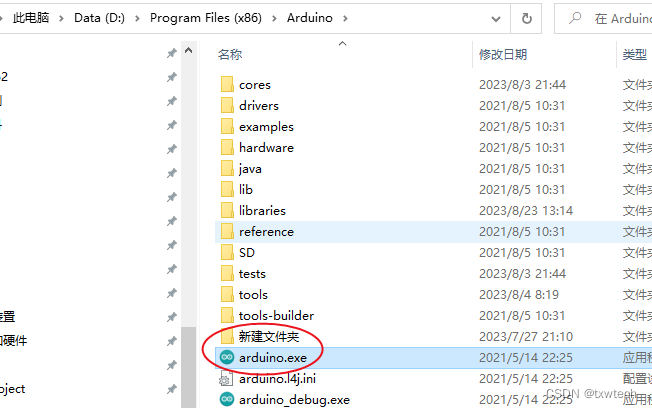
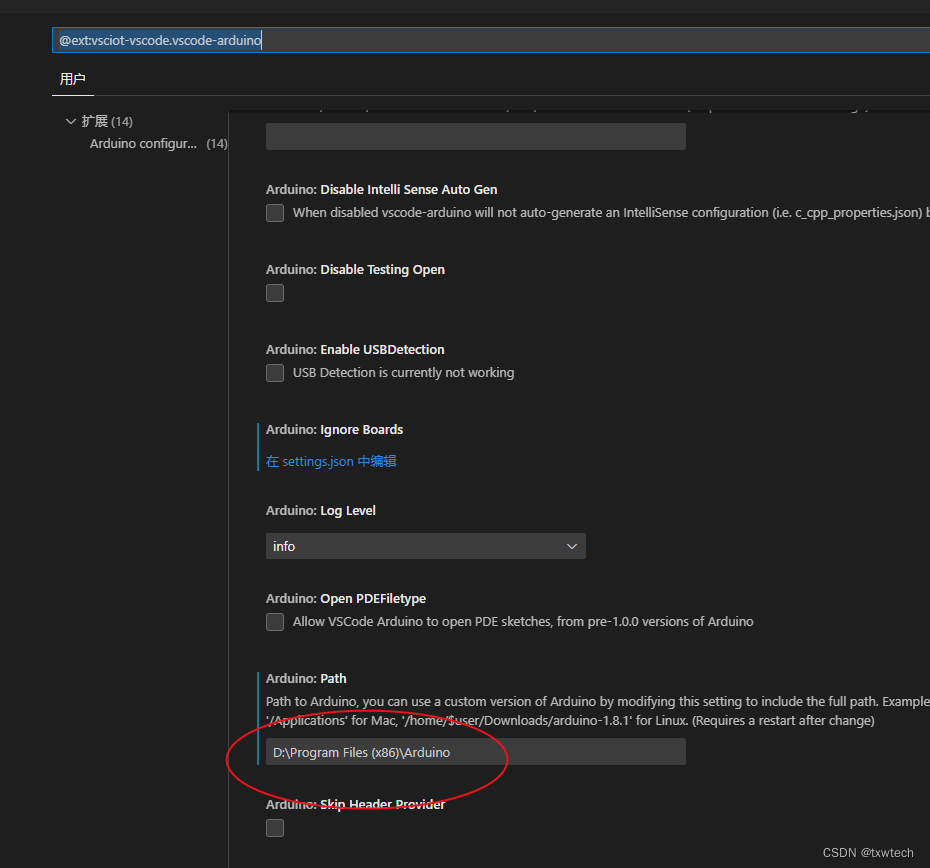 根据arduino.exe的安装目录进行配置
4.输入Chinese,安装中文语言包

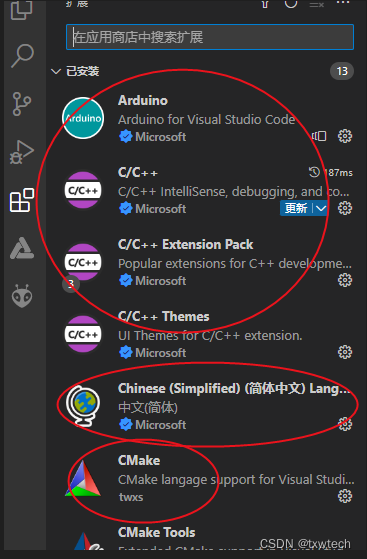
5.安装其余插件
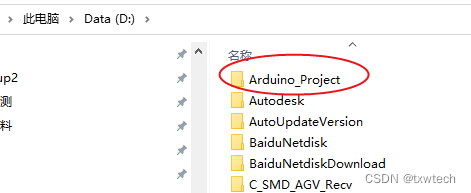
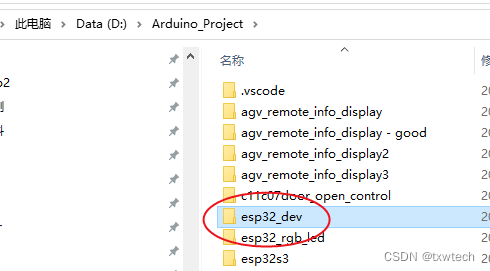
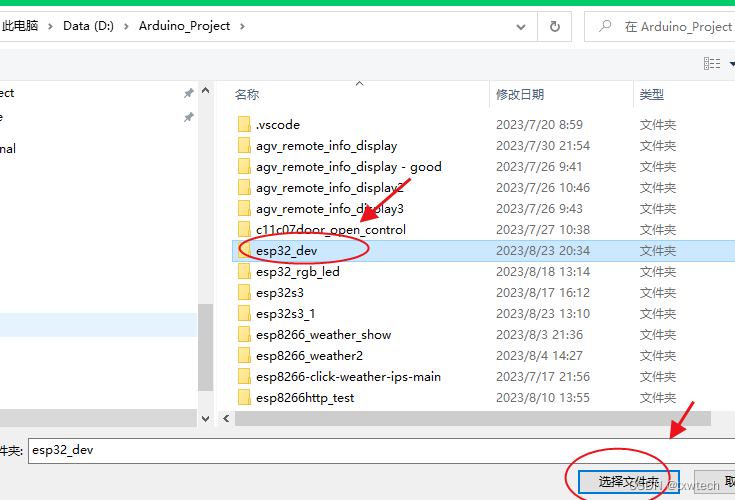
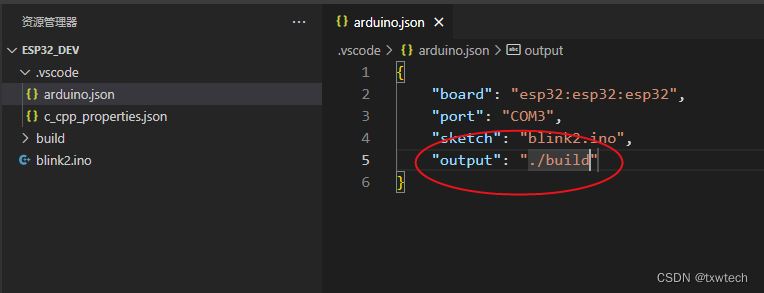
6.创建项目目录
D:\Arduino_Project\esp32_dev
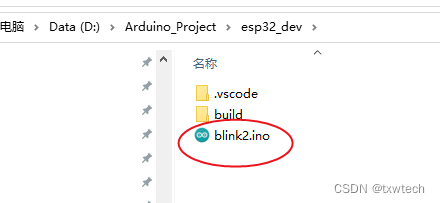
D:\Arduino_Project\esp32_dev目录下创建blink2.txt 把txt后缀改为blink2.ino
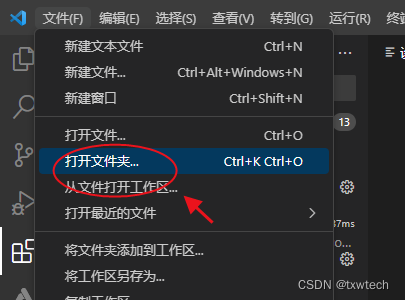
7.用vsocde打开文件夹
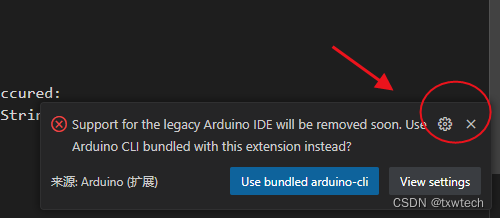
关闭提示Arduino CLI提示
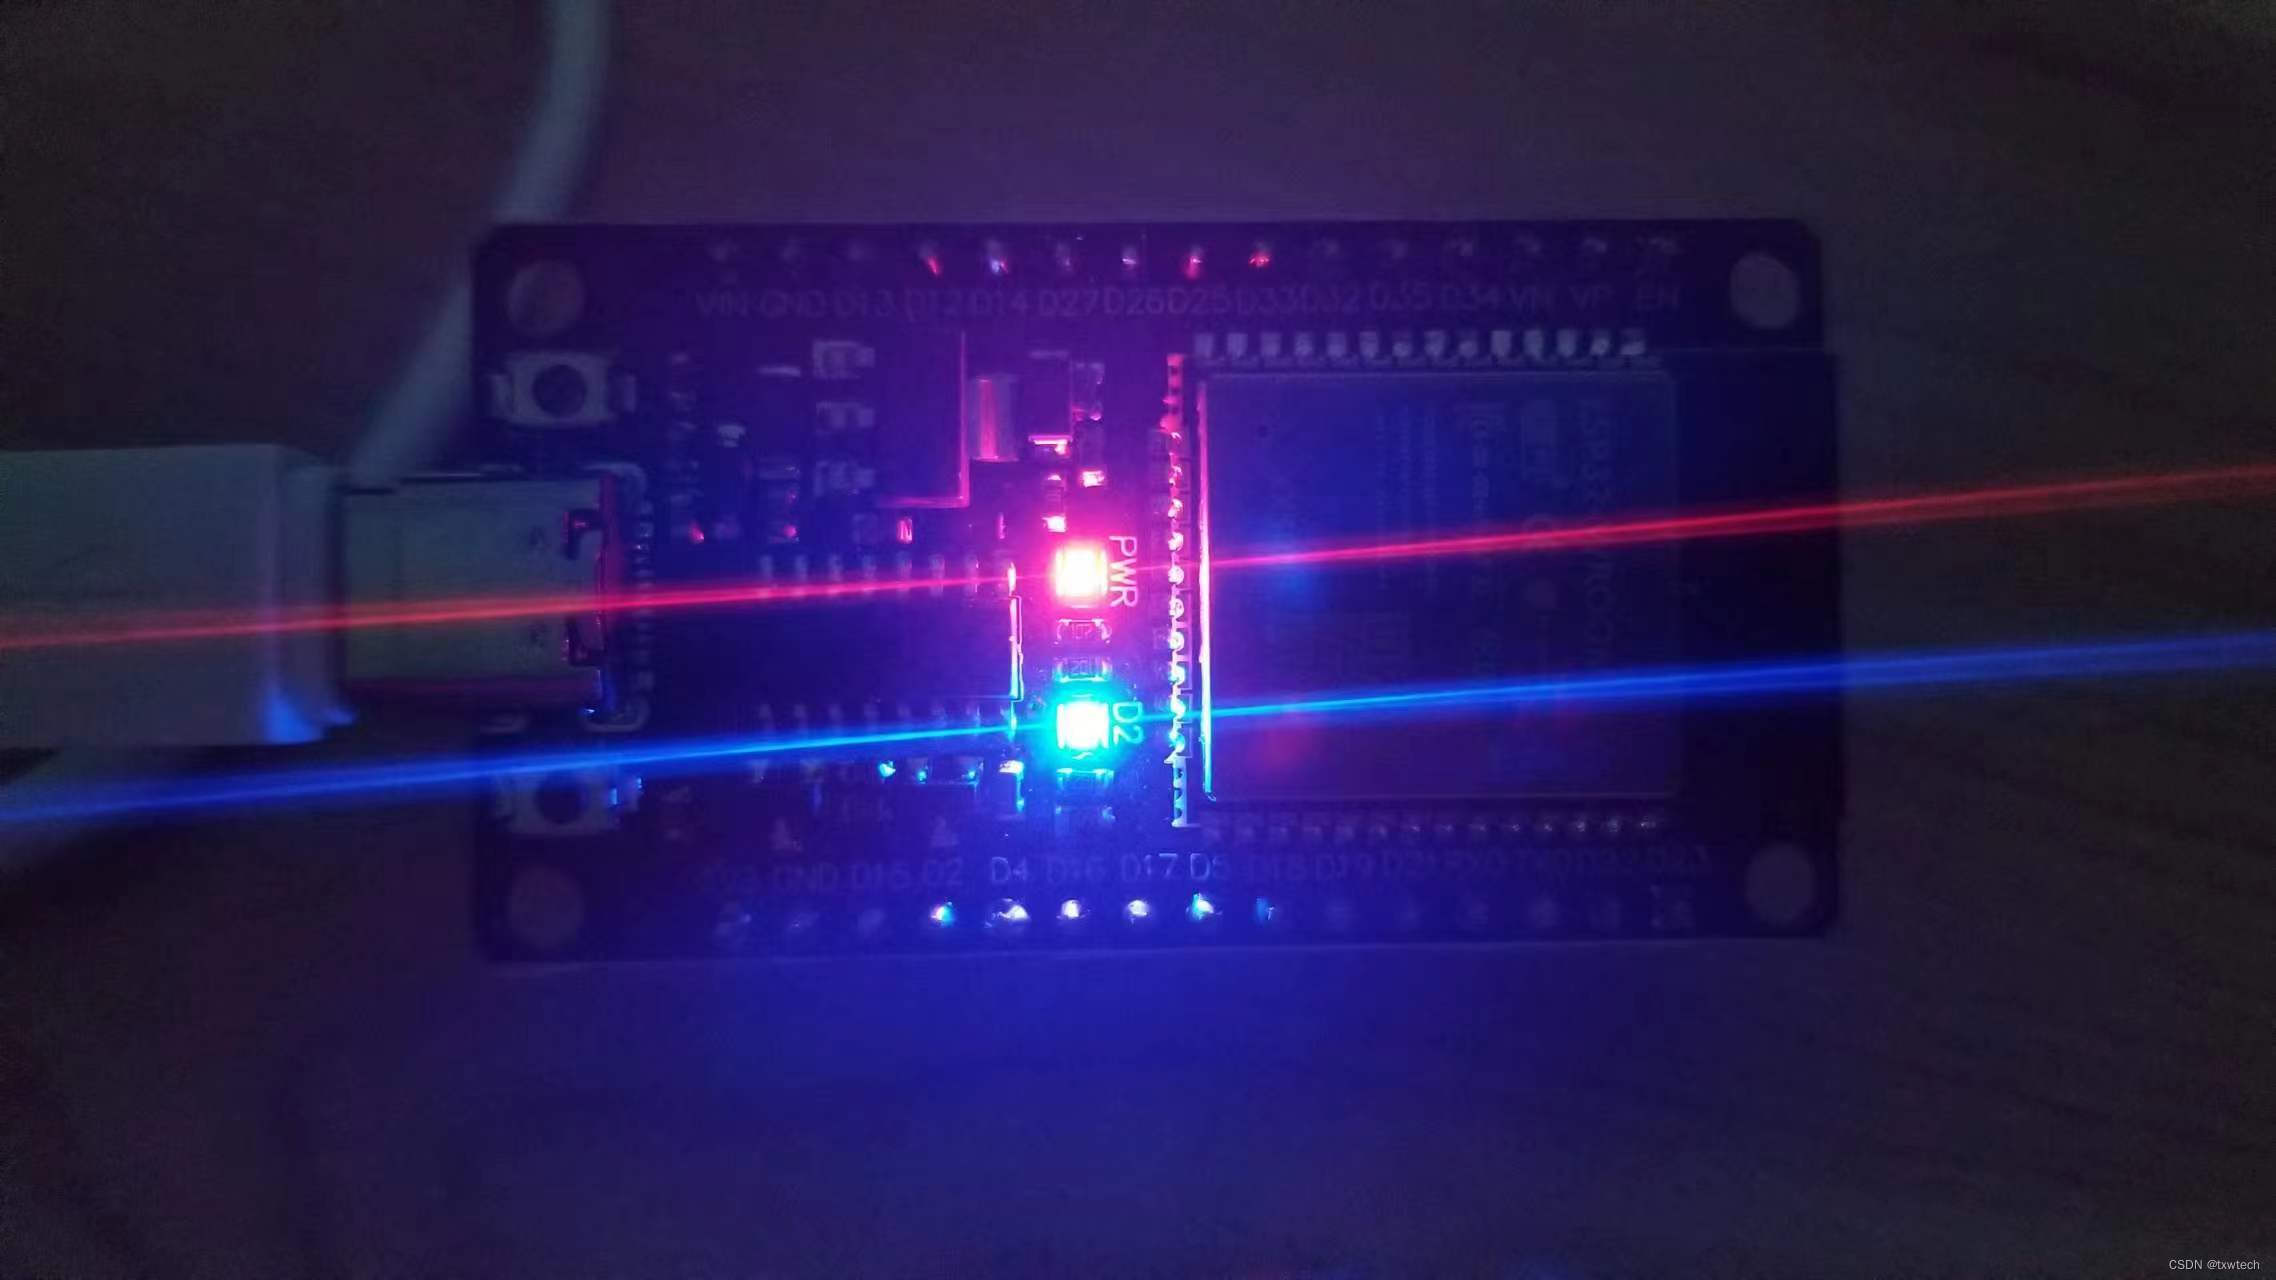
7.打开ino,拷贝blink 点亮led的测试程序

/*BlinkTurns an LED on for one second, then off for one second, repeatedly.Most Arduinos have an on-board LED you can control. On the UNO, MEGA and ZEROit is attached to digital pin 13, on MKR1000 on pin 6. LED_BUILTIN is set tothe correct LED pin independent of which board is used.If you want to know what pin the on-board LED is connected to on your Arduinomodel, check the Technical Specs of your board at:https://www.arduino.cc/en/Main/Productsmodified 8 May 2014by Scott Fitzgeraldmodified 2 Sep 2016by Arturo Guadalupimodified 8 Sep 2016by Colby NewmanThis example code is in the public domain.https://www.arduino.cc/en/Tutorial/BuiltInExamples/Blink
*/// the setup function runs once when you press reset or power the board
//esp32 dev module#define led 2
void setup() {// initialize digital pin LED_BUILTIN as an output.Serial.begin(115200);pinMode(led, OUTPUT);
}// the loop function runs over and over again forever
void loop() {digitalWrite(led, HIGH); // turn the LED on (HIGH is the voltage level)delay(1000); Serial.println("led is high"); // wait for a seconddigitalWrite(led, LOW); // turn the LED off by making the voltage LOWdelay(1000); Serial.println("led is low"); // wait for a second
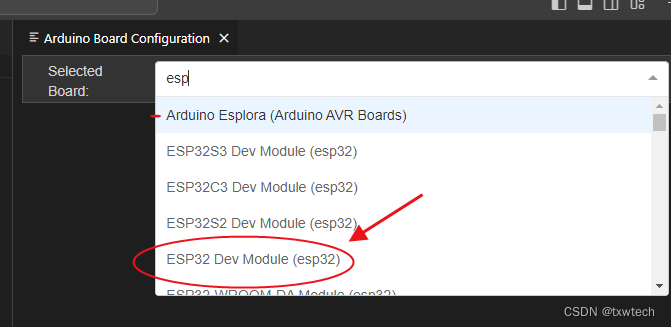
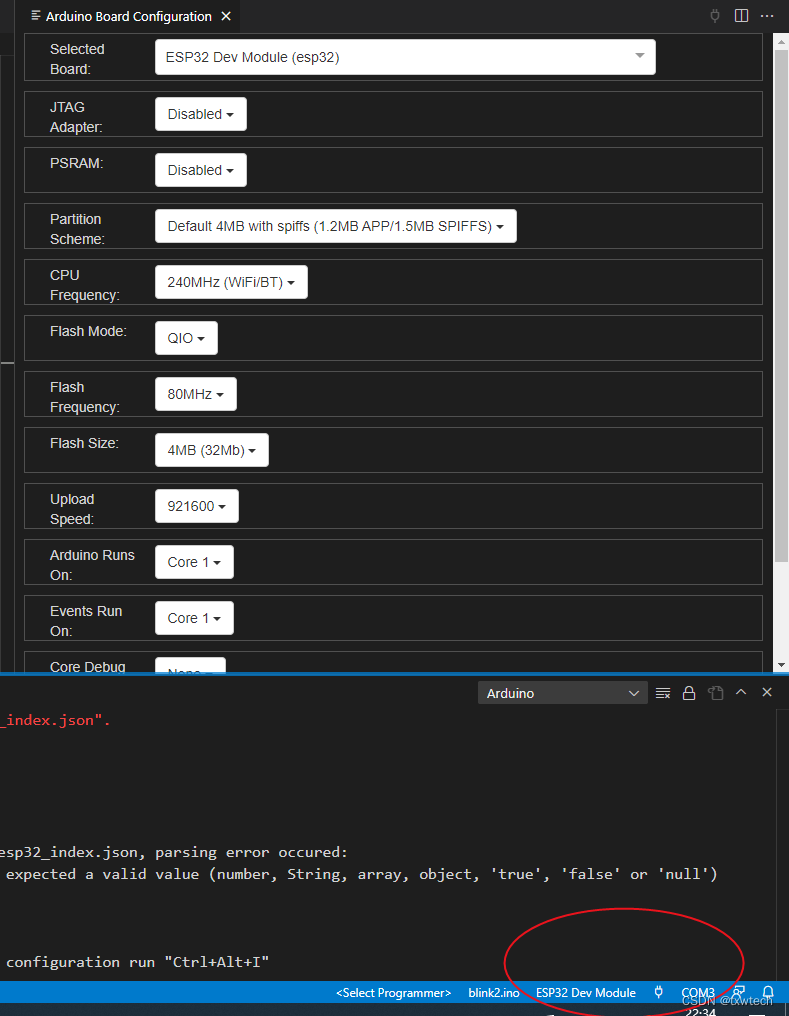
}8.选择开发板

9.配置端口
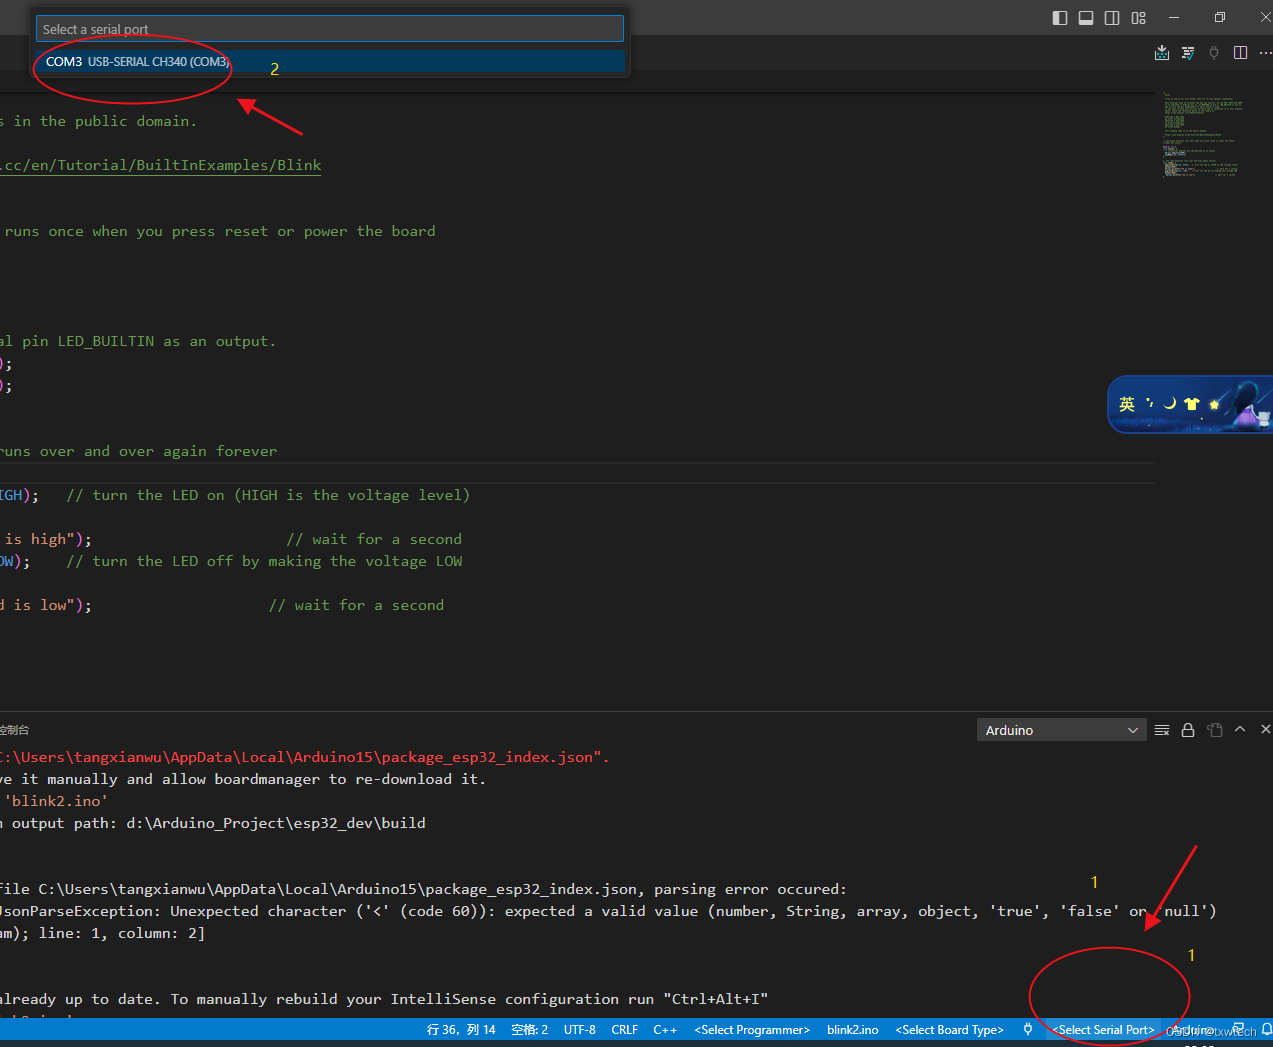
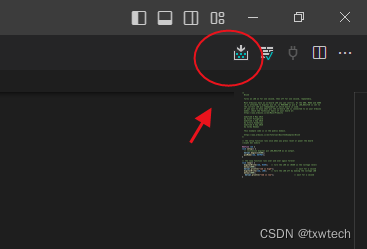
10.开始编译

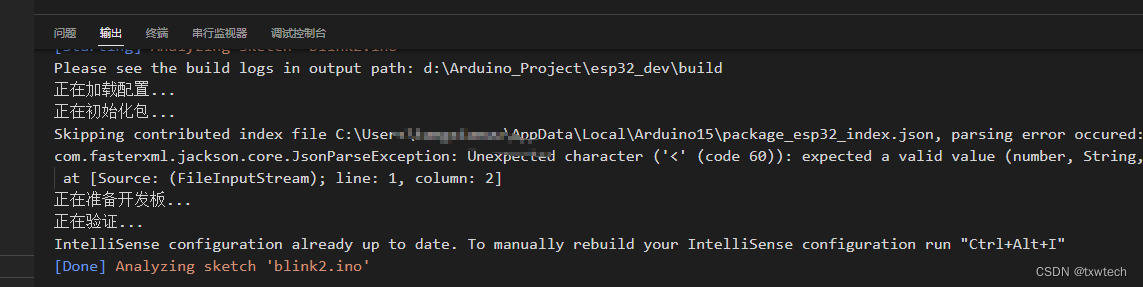
[Warning] Output path is not specified. Unable to reuse previously compiled files. Build will be slower. See README.
11.上传程序