永久设置pip指定国内镜像源(windows内)
1.首先列出国内四个镜像源网站:
一、清华源 https://pypi.tuna.tsinghua.edu.cn/simple/
二、阿里源 https://mirrors.aliyun.com/pypi/simple
三、中科大源 https://pypi.mirrors.ustc.edu.cn/simple/
四、豆瓣源 http://pypi.douban.com/simple/
2.一般下载所需要的python库包使用以下命令:
#手动使用清华源
pip install xxx -i https://pypi.tuna.tsinghua.edu.cn/simple/
#手动使用阿里源
pip install xxx -i https://mirrors.aliyun.com/pypi/simple
#手动使用中科大源
pip install xxx -i https://pypi.mirrors.ustc.edu.cn/simple/
#手动使用豆瓣源
pip install xxx -i http://pypi.douban.com/simple/
3.我们的问题来了,有时候手动去使用命令下载python库包时,手动去使用国内pip源复制一下没问题,但是下载python库包多了时总是需要去复制网址就会觉得很烦躁,下面我们就来说一说如何永久配置pip源(Windows内),以清华源为例。
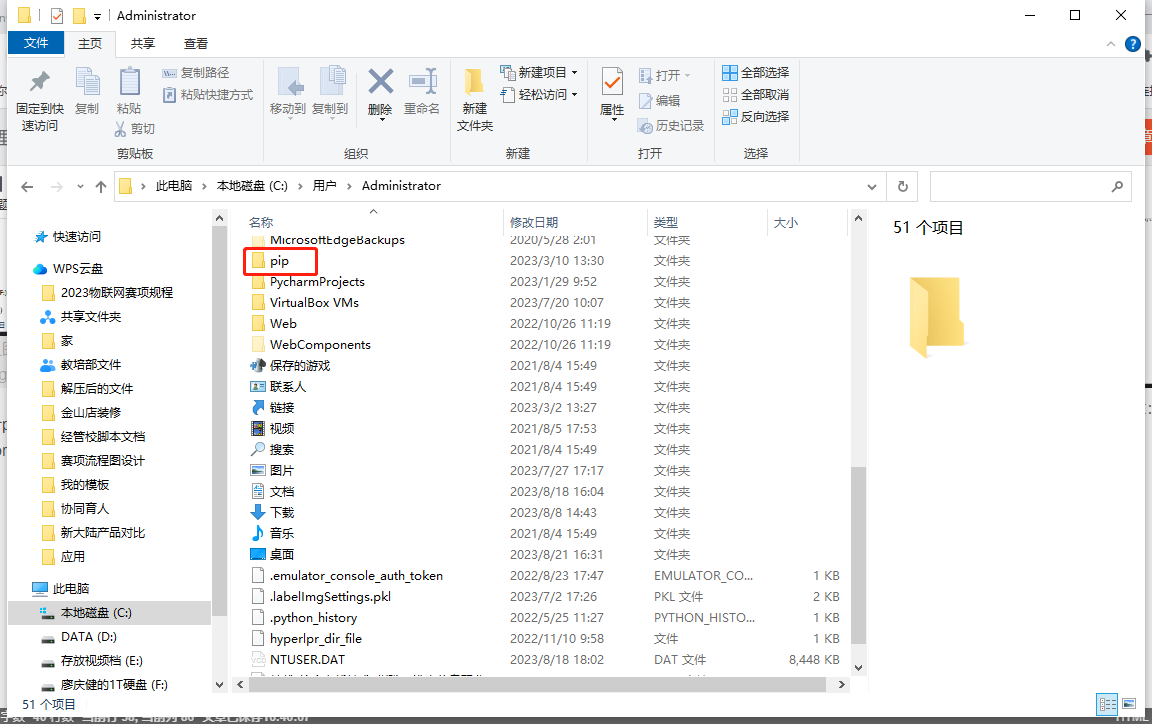
(1)新建一个文件夹叫pip

(2)进入pip文件夹内,新建一个txt文件叫pip.txt
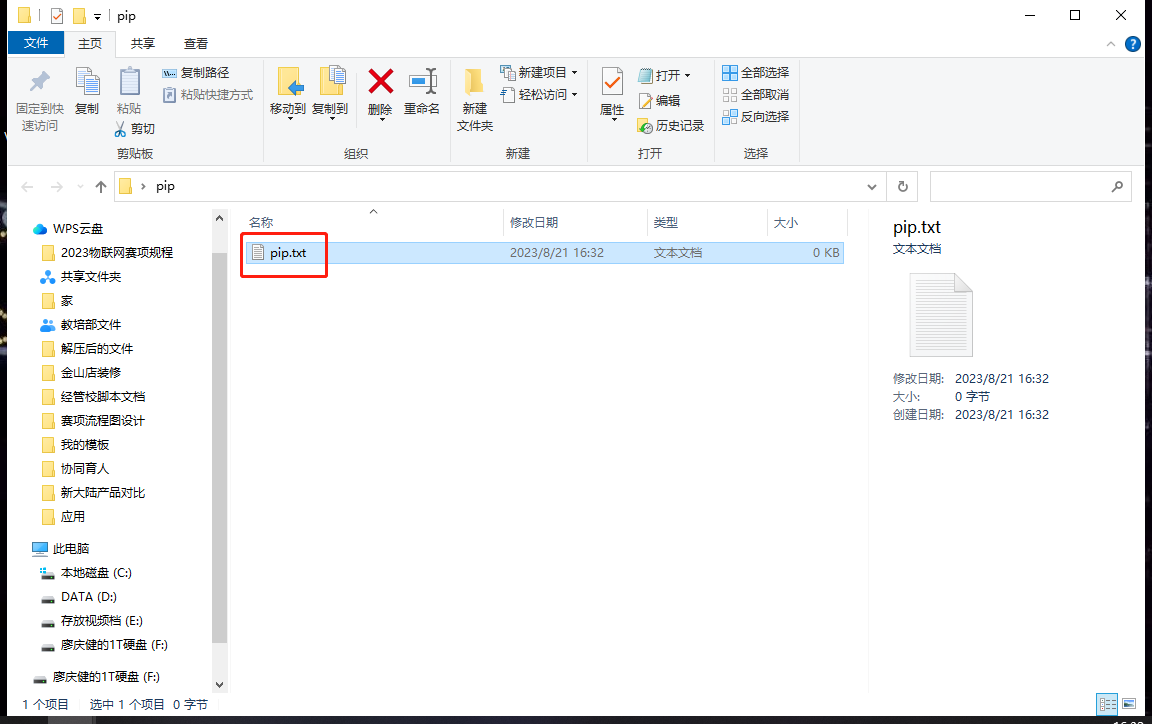
(3)使用记事本打开pip.txt
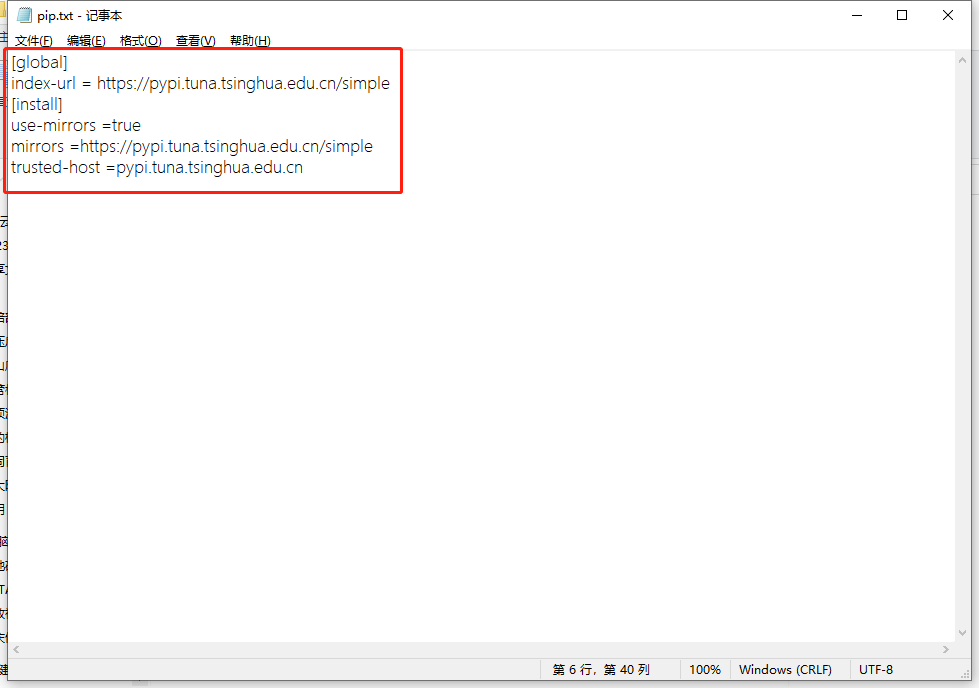
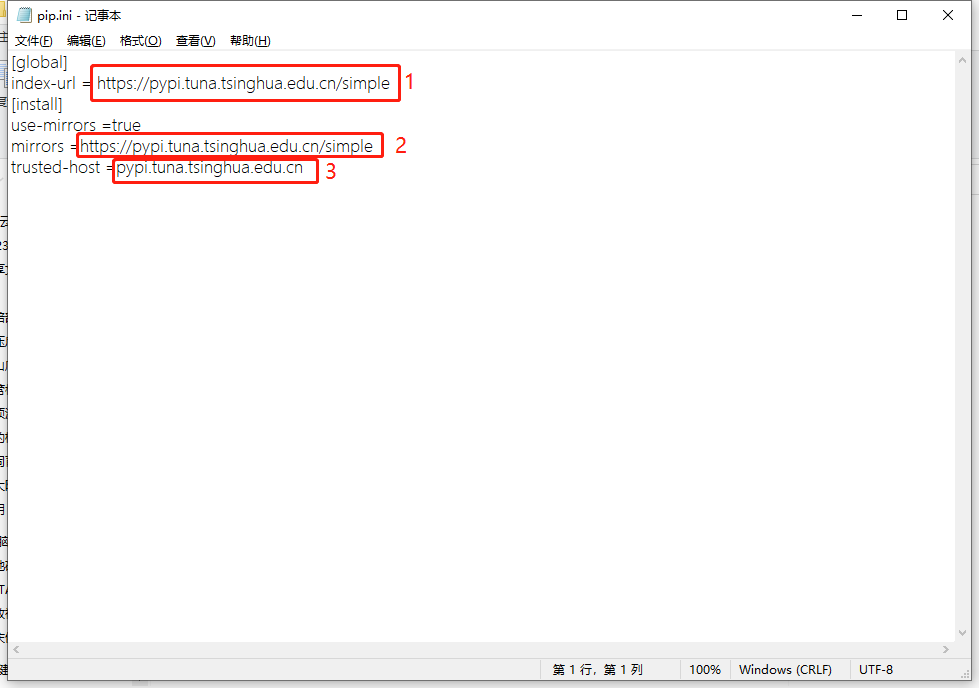
(4)输入pip清华源的配置代码
[global]
index-url = https://pypi.tuna.tsinghua.edu.cn/simple
[install]
use-mirrors =true
mirrors =https://pypi.tuna.tsinghua.edu.cn/simple
trusted-host =pypi.tuna.tsinghua.edu.cn
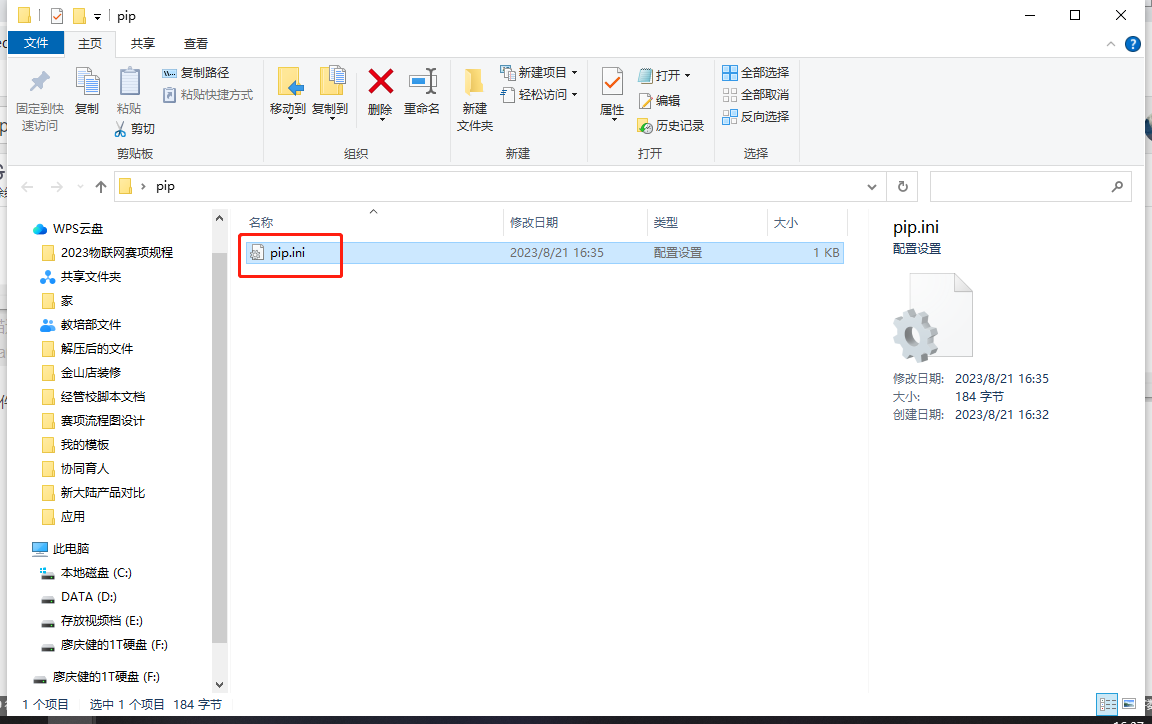
(5)保存pip.txt文件并且将pip.txt文件名后缀修改成pip.ini
(6)将包含pip.ini文件的pip文件夹放入路径C:\Users\Administrator中(注意:其中Administrator名字不是唯一,根据自己的名字路径来)
(7)复制粘贴成功后,准备下载一个python库包进行测试,按住Windows+R键,输入cmd打开命令窗口,输入:
pip install pyyaml
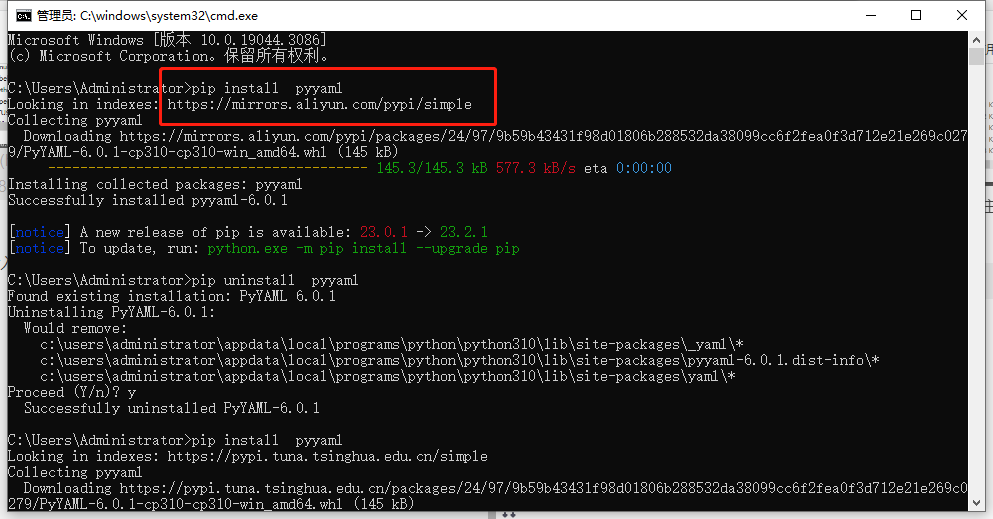
4.最后出现Looking in indexes: https://mirrors.aliyun.com/pypi/simple标志着使用国内清华源镜像成功,想要使用其他镜像的可以根据网址修改代码部分,有3处需要修改,修改的位置如下
5.换成阿里源代码如下
[global]
index-url = https://mirrors.aliyun.com/pypi/simple
[install]
use-mirrors =true
mirrors = https://mirrors.aliyun.com/pypi/simple
trusted-host = mirrors.aliyun.com
6.换成中科大源代码如下
[global]
index-url = https://pypi.mirrors.ustc.edu.cn/simple/
[install]
use-mirrors =true
mirrors = https://pypi.mirrors.ustc.edu.cn/simple/
trusted-host = pypi.mirrors.ustc.edu.cn
7.换成豆瓣源代码如下
[global]
index-url = http://pypi.douban.com/simple/
[install]
use-mirrors =true
mirrors = http://pypi.douban.com/simple/
trusted-host = pypi.douban.com/simple
8.总结,有时候pip源不稳定就需要换其他的源,比如现在2023年8月21号,豆瓣源用不了了,因为它的网站好像有问题,下载库包一直卡在那里不动半个多小时,只能换源解决了。大家觉得写的不错的,记得给我一键三连哦!