Three.js 设置模型材质纹理贴图和修改材质颜色,材质透明度,材质网格
相关API的使用:
1 traverse (模型循环遍历方法)
2. THREE.TextureLoader(用于加载和处理图片纹理)
3. THREE.MeshLambertMaterial(用于创建材质)
4. getObjectByProperty(通过材质的属性值获取材质信息)
在上一篇 Three.js加载外部glb,fbx,gltf,obj 模型文件 的文章基础上加入onSetSystemModelMap (设置模型材质方法)和onSetModelMaterial(设置材质属性方法)
首先在 setModel 方法里获取到当前模型所有的材质 (traverse)
setModel({ filePath, fileType, scale, position }) {return new Promise((resolve, reject) => {const loader = this.fileLoaderMap[fileType]loader.load(filePath, (result) => {//加载不同类型的文件switch (fileType) {case 'glb':this.model = result.scene break;case 'fbx':this.model = resultbreak;case 'gltf':this.model = result.scenebreak;case 'obj':this.model = resultbreak;default:break;}this.model.traverse((v) => {const { uuid } = vif (v.isMesh && v.materia) {this.modelMaterialList.push(v)}})// 设置模型大小if (scale) {this.model.scale.set(scale, scale, scale);}// 设置模型位置 if (position) {const { x, y, z } = positionthis.model.position.set(x, y, z)}// 设置相机位置this.camera.position.set(0, 2, 6)// 设置相机坐标系this.camera.lookAt(0, 0, 0)// 将模型添加到场景中去 this.scene.add(this.model)resolve(true)}, () => {}, (err) => {console.log(err)reject()})})}通过 getObjectByProperty 方法传入 uuid 获取到当前材质信息
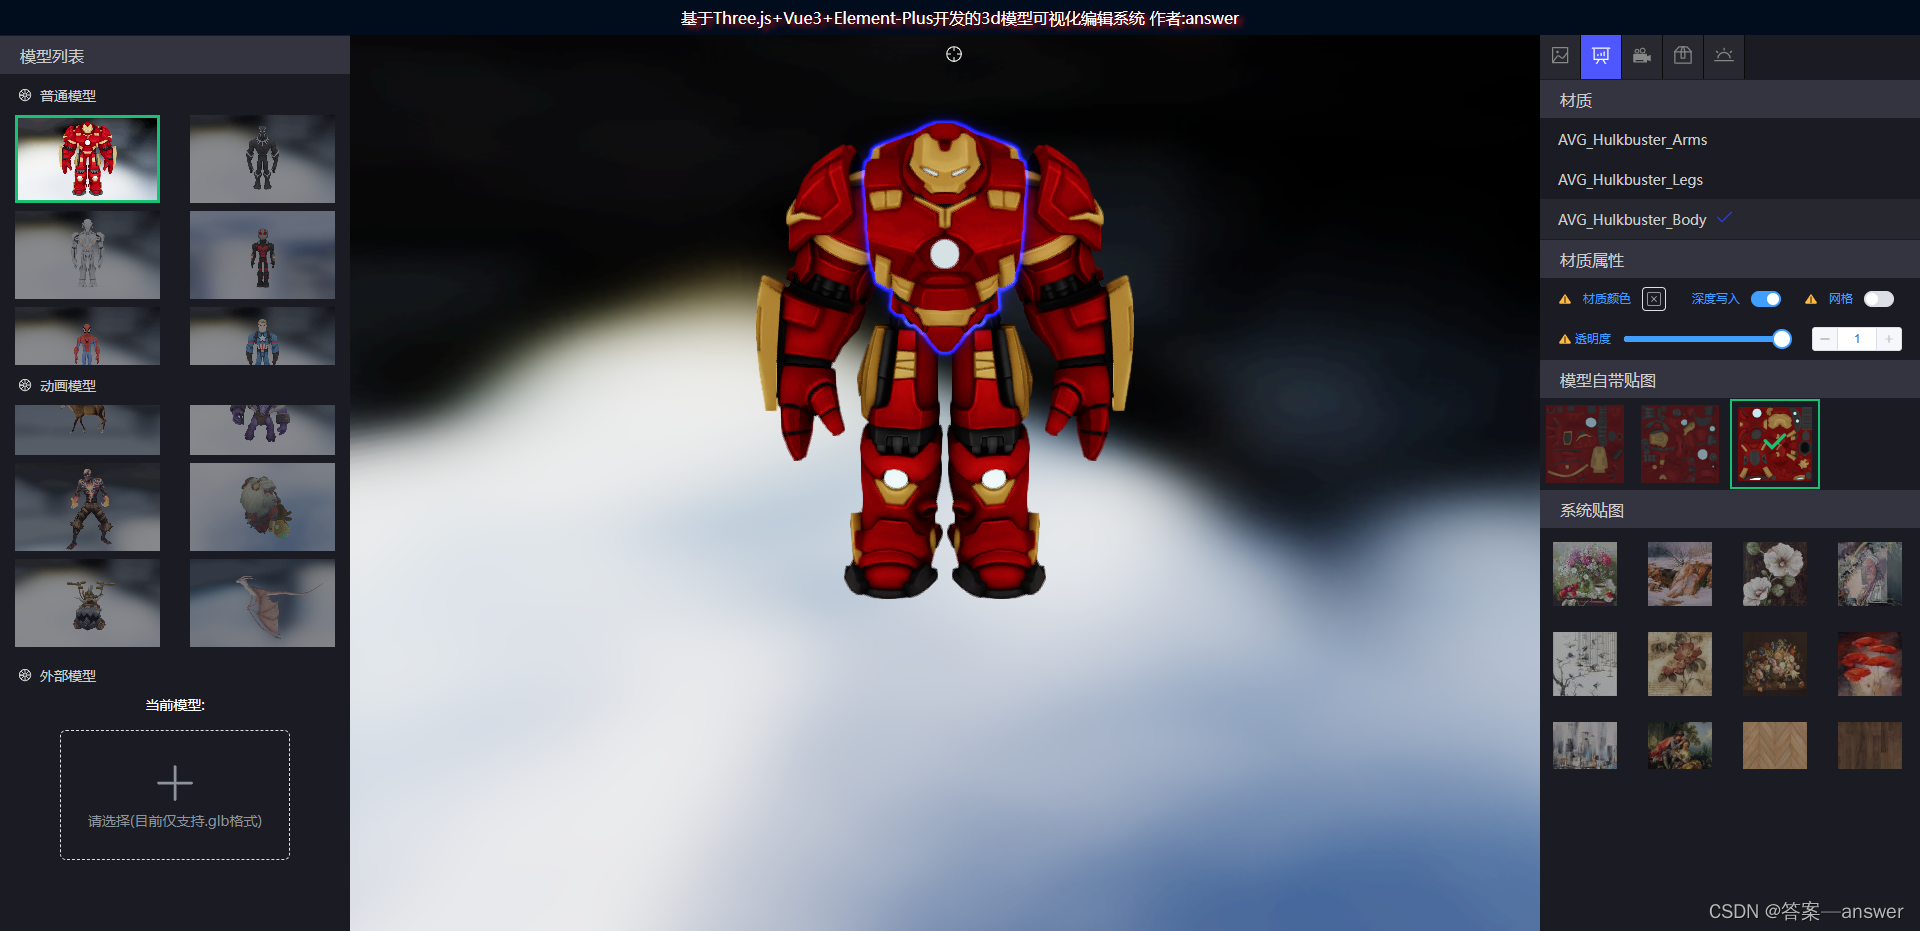
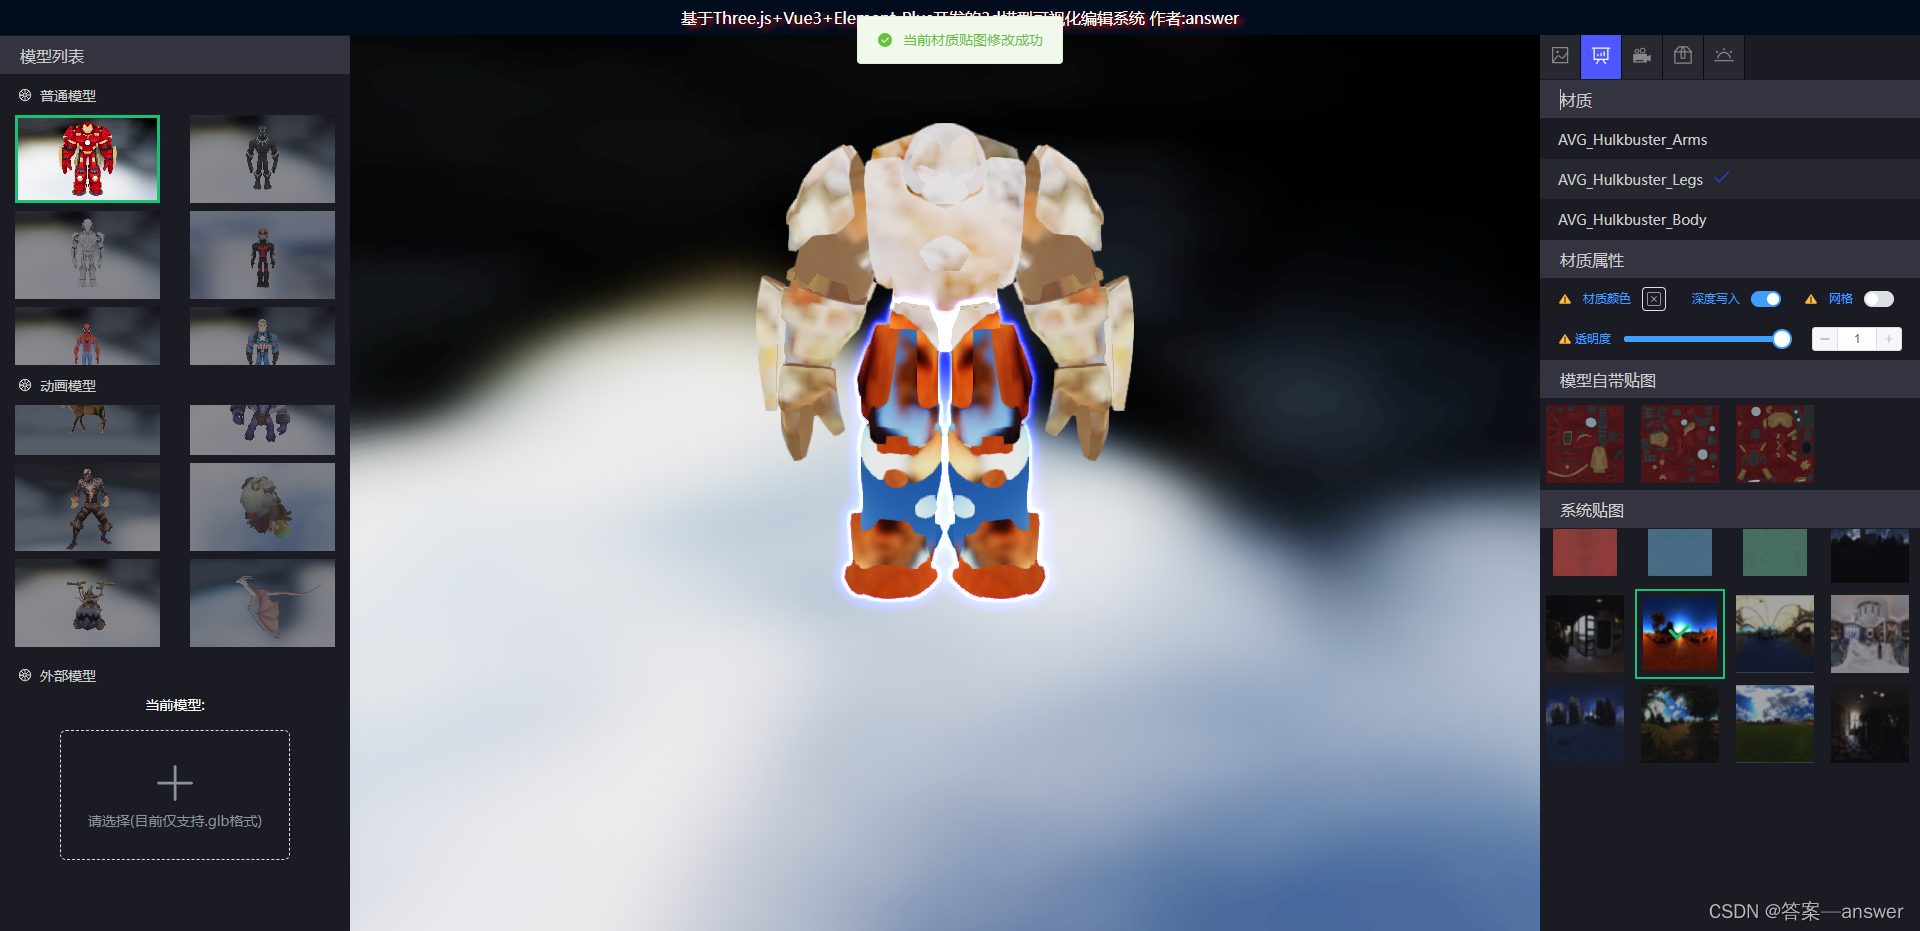
设置模型贴图
onSetSystemModelMap({ url }) {// 当前uuid const uuid = store.state.selectMesh.uuid// 通过uuid 获取需要设置的材质const mesh = this.scene.getObjectByProperty('uuid', uuid)const { name, color } = mesh.material// 获取到贴图 url(图片实际地址)const mapTexture = new THREE.TextureLoader().load(url)mesh.material = new THREE.MeshLambertMaterial({map: mapTexture,transparent: true, // 允许材质可透明color,name,})}
设置材质属性
// 设置材质属性onSetModelMaterial(config) {const { color, wireframe, depthWrite, opacity } = configconst uuid = store.state.selectMesh.uuidconst mesh = this.scene.getObjectByProperty('uuid', uuid)if (mesh && mesh.material) {//设置材质颜色mesh.material.color.set(new THREE.Color(color))//设置网格mesh.material.wireframe = wireframe// 设置深度写入mesh.material.depthWrite = depthWrite//设置透明度mesh.material.transparent = truemesh.material.opacity = opacity}}
完整的代码可参考:https://gitee.com/ZHANG_6666/Three.js3D/blob/master/src/views/renderModel.js
界面效果: