SpringBoot 异步、邮件任务
异步任务
-
创建一个Hello项目
-
创建一个类AsyncService
异步处理还是非常常用的,比如我们在网站上发送邮件,后台会去发送邮件,此时前台会造成响应不动,直到邮件发送完毕,响应才会成功,所以我们一般会采用多线程的方式去处理这些任务。
编写方法,假装正在处理数据,使用线程设置一些延时,模拟同步等待的情况;
@Service public class AsyncService {public void hello(){try {Thread.sleep(3000);} catch (InterruptedException e) {e.printStackTrace();}System.out.println("业务进行中....");} } -
编写AsyncController类
我们去写一个Controller测试一下
@RestController public class AsyncController {@Autowiredprivate AsyncService asyncService;@GetMapping("/hello")public String hello(){asyncService.hello();return "OK";}} -
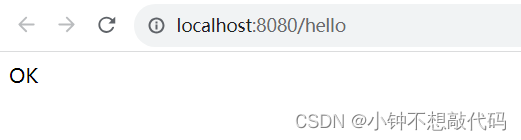
访问http://localhost:8080/hello进行测试,3秒后出现OK,这是同步等待的情况。
问题:我们如果想让用户直接得到消息,就在后台使用多线程的方式进行处理即可,但是每次都需要自己手动去编写多线程的实现的话,太麻烦了,我们只需要用一个简单的办法,在我们的方法上加一个简单的注解即可,如下:
-
给hello方法添加
@Async注解;//告诉Spring这是一个异步方法 @Async public void hello(){try {Thread.sleep(3000);} catch (InterruptedException e) {e.printStackTrace();}System.out.println("业务进行中...."); }SpringBoot就会自己开一个线程池,进行调用!但是要让这个注解生效,我们还需要在主程序上添加一个注解
@EnableAsync,开启异步注解功能;@EnableAsync //开启异步注解功能 @SpringBootApplication public class SpringbootTaskApplication {public static void main(String[] args) {SpringApplication.run(SpringbootTaskApplication.class, args);}}
7、重启测试,网页瞬间响应,后台代码依旧执行!
邮件任务
邮件发送,在我们的日常开发中,也非常的多,Springboot也帮我们做了支持
- 邮件发送需要引入
spring-boot-start-mail - SpringBoot 自动配置
MailSenderAutoConfiguration - 定义
MailProperties内容,配置在application.yml中 - 自动装配
JavaMailSender - 测试邮件发送
测试:
-
引入pom依赖
<dependency><groupId>org.springframework.boot</groupId><artifactId>spring-boot-starter-mail</artifactId>
</dependency>
看它引入的依赖,可以看到 jakarta.mail
<dependency><groupId>com.sun.mail</groupId><artifactId>jakarta.mail</artifactId><scope>compile</scope> </dependency> -
查看自动配置类:MailSenderAutoConfiguration

这个类中存在bean,
JavaMailSenderImpl
然后我们去看下配置文件
@ConfigurationProperties(prefix = "spring.mail") public class MailProperties {private static final Charset DEFAULT_CHARSET = StandardCharsets.UTF_8;private String host;private Integer port;private String username;private String password;private String protocol = "smtp";private Charset defaultEncoding = DEFAULT_CHARSET;private Map<String, String> properties = new HashMap<>();private String jndiName;//set、get方法省略。。。 } -
配置文件:
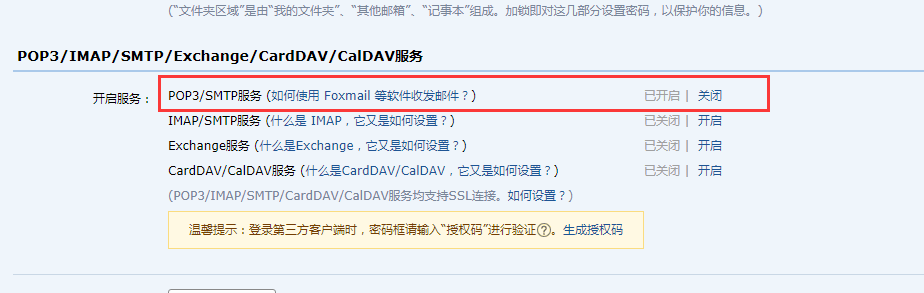
spring:mail:username: 2356731504@qq.compassword: 你的qq授权码host: smtp.qq.comproperties:mail:smtp:ssl:enable: true # qq需要配置ssl获取授权码:在QQ邮箱中的设置->账户->开启pop3和smtp服务
-
Spring单元测试
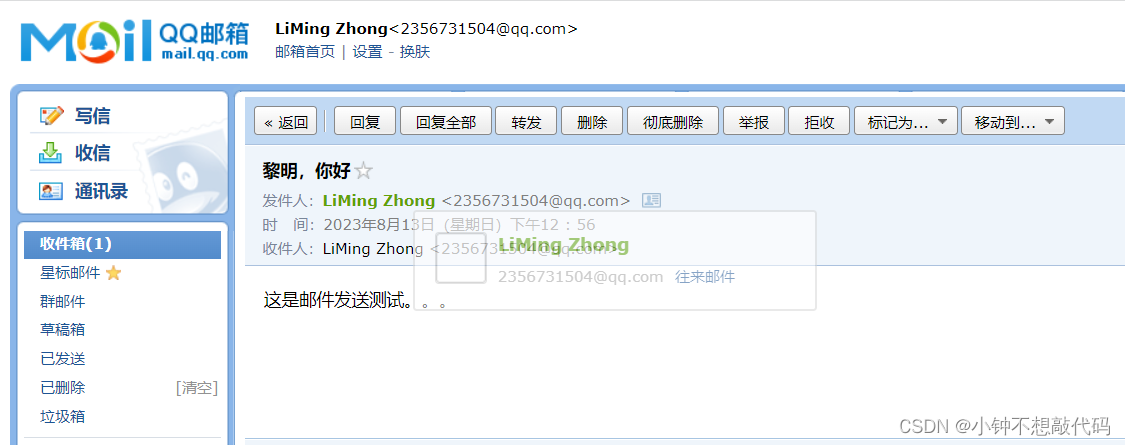
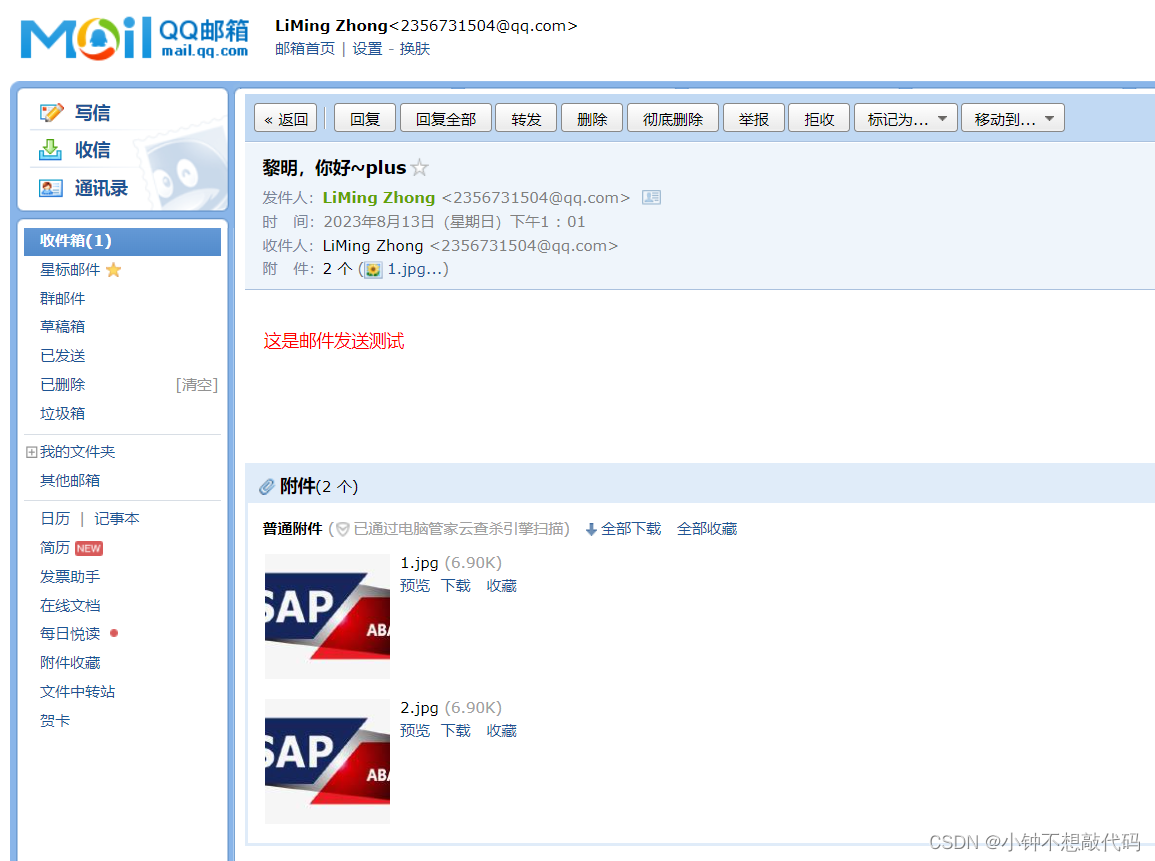
package com.liming;import org.junit.jupiter.api.Test;import org.springframework.beans.factory.annotation.Autowired;import org.springframework.boot.test.context.SpringBootTest;import org.springframework.mail.SimpleMailMessage;import org.springframework.mail.javamail.JavaMailSenderImpl;import org.springframework.mail.javamail.MimeMessageHelper;import javax.mail.MessagingException;import javax.mail.internet.MimeMessage;import java.io.File;@SpringBootTestclass HelloApplicationTests {@Autowiredprivate JavaMailSenderImpl javaMailSender;//邮件设置1:一个简单的邮件@Testvoid contextLoads() {SimpleMailMessage mailMessage = new SimpleMailMessage();mailMessage.setSubject("黎明,你好"); // 主题mailMessage.setText("这是邮件发送测试。。。"); // 正文mailMessage.setTo("2356731504@qq.com"); // 发送给谁mailMessage.setFrom("2356731504@qq.com"); // 谁发javaMailSender.send(mailMessage);}// 一个复杂的邮件@Testvoid contextLoads2() throws MessagingException {MimeMessage mimeMessage = javaMailSender.createMimeMessage();//组装MimeMessageHelper helper = new MimeMessageHelper(mimeMessage, true);//正文helper.setSubject("黎明,你好~plus");helper.setText("<p style='color:red'>这是邮件发送测试</p>", true);//附件helper.addAttachment("1.jpg", new File("D:\\Users\\Pictures\\Saved Pictures\\SAP-ABAP.jpg"));helper.addAttachment("2.jpg", new File("D:\\Users\\Pictures\\Saved Pictures\\SAP-ABAP.jpg"));helper.setTo("2356731504@qq.com");helper.setFrom("2356731504@qq.com");javaMailSender.send(mimeMessage);}}