TFRecords详解
内容目录
- TFRecords 是什么
- 序列化(Serialization)
- tf.data
- 图像序列化(Serializing Images)
- tf.Example
- 函数封装
- 小结
TFRecords 是什么
TPU拥有八个核心,充当八个独立的工作单元。我们可以通过将数据集分成多个文件或分片(shards),更有效地将数据传输给每个核心。这样,每个核心都可以在需要时获取数据的独立部分。
在TensorFlow中,用于分片的最方便的文件类型是TFRecord。TFRecord是一种包含字节串序列的二进制文件。数据在写入TFRecord之前需要被序列化(编码为字节串)。
在TensorFlow中,最方便的数据序列化方式是使用tf.Example封装数据。这是一种基于谷歌的protobufs的记录格式,但专为TensorFlow设计。它更或多或少地类似于带有一些类型注释的字典。
首先,我们将介绍如何使用TFRecords读取和写入数据。然后,我们将介绍如何使用tf.Example封装数据。
Protobufs(Protocol Buffers),也称为Protocol Buffers语言,是一种由Google开发的数据序列化格式。它可以用于结构化数据的序列化、反序列化以及跨不同平台和语言的数据交换。通过在一个结构体定义文件中定义数据结构,然后使用相应的编译器将其编译为特定语言的类,您可以方便地在不同的系统和编程语言之间共享和传输数据。
序列化(Serialization)
TFRecord是TensorFlow用于存储二进制数据的一种文件类型。TFRecord包含字节串序列。下面是一个非常简单的TFRecord示例:
import tensorflow as tf
import numpy as npPATH = '/kaggle/working/data.tfrecord'with tf.io.TFRecordWriter(path=PATH) as f:f.write(b'123') # write one recordf.write(b'xyz314') # write another recordwith open(PATH, 'rb') as f:print(f.read())

TFRecord是一系列字节,因此在将数据放入TFRecord之前,我们必须将数据转换为字节串。我们可以使用tf.io.serialize_tensor将张量转换为字节串,使用tf.io.parse_tensor将其转换回张量。在解析字符串并将其再次转换为张量时,保持张量的数据类型(在这种情况下为tf.uint8)非常重要,因为您必须在解析过程中指定该数据类型。
x = tf.constant([[1, 2], [3, 4]], dtype=tf.uint8)
print('x:', x, '\n')x_bytes = tf.io.serialize_tensor(x)
print('x_bytes:', x_bytes, '\n')print('x:', tf.io.parse_tensor(x_bytes, out_type=tf.uint8))

tf.data
那么如何将数据集写入TFRecord呢?如果您的数据集由字节串组成,您可以使用data.TFRecordWriter。要再次读取数据集,可以使用data.TFRecordsDataset。
from tensorflow.data import Dataset, TFRecordDataset
from tensorflow.data.experimental import TFRecordWriter# 创建一个小数据集
ds = Dataset.from_tensor_slices([b'abc', b'123'])# 写入数据
writer = TFRecordWriter(PATH)
writer.write(ds)# 读取数据集
ds_2 = TFRecordDataset(PATH)
for x in ds_2:print(x)
如果您的数据集由张量组成,请首先通过在数据集上映射tf.io.serialize_tensor来进行序列化。然后,在读取数据时,使用tf.io.parse_tensor来将字节串转换回张量。
features = tf.constant([[1, 2],[3, 4],[5, 6],
], dtype=tf.uint8)
ds = Dataset.from_tensor_slices(features)# 对张量进行序列化操作
# 通过使用 `map` 函数,可以在数据集中的每个张量上应用 `tf.io.serialize_tensor` 进行序列化操作。
ds_bytes = ds.map(tf.io.serialize_tensor)# 写入数据
writer = TFRecordWriter(PATH)
writer.write(ds_bytes)# 读取数据(反序列化)
ds_bytes_2 = TFRecordDataset(PATH)
ds_2 = ds_2.map(lambda x: tf.io.parse_tensor(x, out_type=tf.uint8))# They are the same!
for x in ds:print(x)
print()
for x in ds_2:print(x)

# 简化
def parse_serialized(serialized):return tf.io.parse_tensor(serialized, out_type=tf.uint8)  # 修改 out_type 根据您的张量数据类型ds_3 = TFRecordDataset(PATH)ds_3 = ds_3.map(parse_serialized)for x in ds_3:print(x) #结果和上面一致
图像序列化(Serializing Images)
对图像进行序列化有多种方法:
- 使用tf.io.serialize_tensor进行原始编码,使用tf.io.parse_tensor进行解码。
- 使用tf.io.encode_jpeg进行JPEG编码,使用tf.io.decode_jpeg或tf.io.decode_and_crop_jpeg进行解码。
- 使用tf.io.encode_png进行PNG编码,使用tf.io.decode_png进行解码。
只需确保使用与您选择的编码器相对应的解码器。通常,在使用TPU时,使用JPEG编码对图像进行编码是一个不错的选择,因为这可以对数据进行一定程度的压缩,从而可能提高数据传输速度。
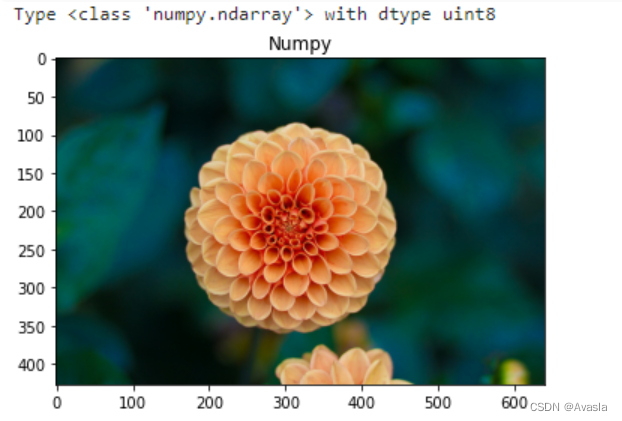
from sklearn.datasets import load_sample_image
import matplotlib.pyplot as plt# Load numpy array
image_raw = load_sample_image('flower.jpg')
print("Type {} with dtype {}".format(type(image_raw), image_raw.dtype))
plt.imshow(image_raw)
plt.title("Numpy")
plt.show()
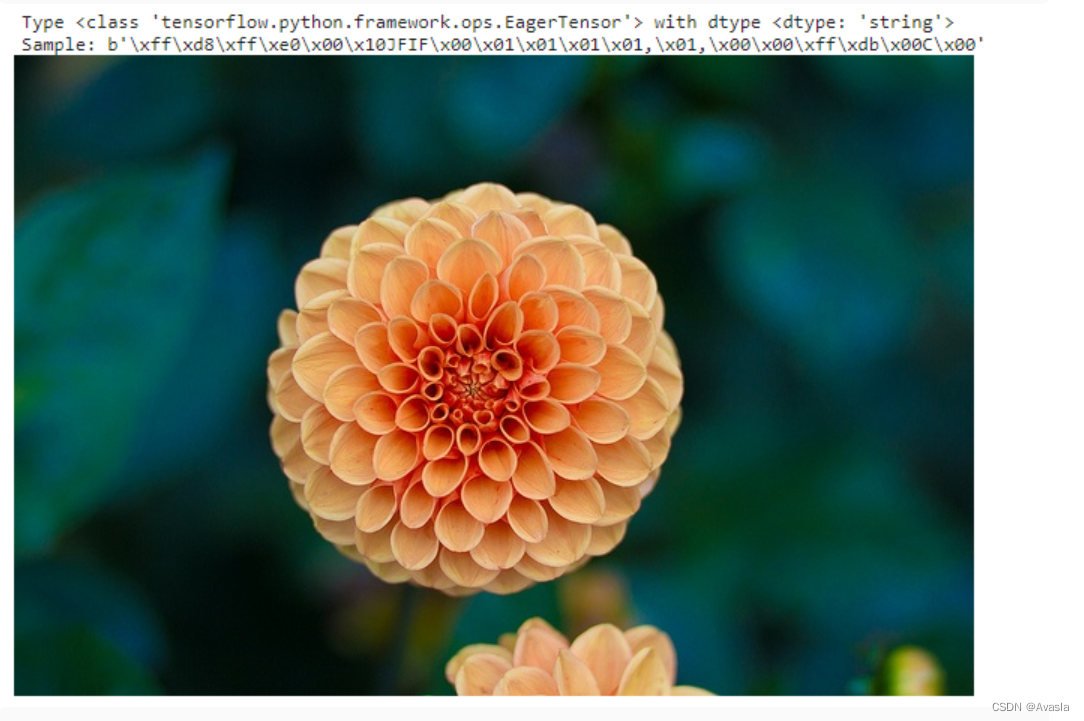
from IPython.display import Image# jpeg encode / decode
image_jpeg = tf.io.encode_jpeg(image_raw)
print("Type {} with dtype {}".format(type(image_jpeg), image_jpeg.dtype))
print("Sample: {}".format(image_jpeg.numpy()[:25])) #显示前25个编码后的字节
Image(image_jpeg.numpy())
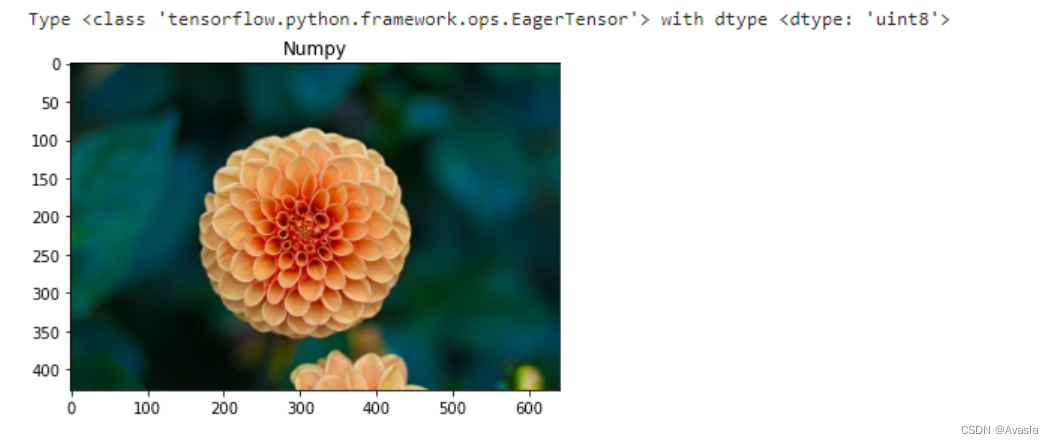
image_raw_2 = tf.io.decode_jpeg(image_jpeg)print("Type {} with dtype {}".format(type(image_raw_2), image_raw_2.dtype))
plt.imshow(image_raw_2)
plt.title("Numpy")
plt.show()
tf.Example
如果您有结构化数据,比如成对的图像和标签,该怎么办?TensorFlow还包括用于结构化数据的API,即tf.Example。它们基于谷歌的Protocol Buffers。
一个单独的Example旨在表示数据集中的一个实例,比如一个(图像、标签)对。每个Example都有Features,这被描述为特征名称和值的字典。一个值可以是BytesList、FloatList或Int64List,每个值都包装为单独的Feature。没有用于张量的值类型;相反,使用tf.io.serialize_tensor对张量进行序列化,通过numpy方法获取字节串,并将其编码为BytesList。
以下是我们如何对带有标签的图像数据进行编码的示例:
from tensorflow.train import BytesList, FloatList, Int64List
from tensorflow.train import Example, Features, Feature# The Data
image = tf.constant([ # this could also be a numpy array[0, 1, 2],[3, 4, 5],[6, 7, 8],
])
label = 0
class_name = "Class A"# Wrap with Feature as a BytesList, FloatList, or Int64List
image_feature = Feature(bytes_list=BytesList(value=[tf.io.serialize_tensor(image).numpy(),])
)
label_feature = Feature(int64_list=Int64List(value=[label]),
)
class_name_feature = Feature(bytes_list=BytesList(value=[class_name.encode()])
)# Create a Features dictionary
features = Features(feature={'image': image_feature,'label': label_feature,'class_name': class_name_feature,
})# Wrap with Example
example = Example(features=features)print(example)
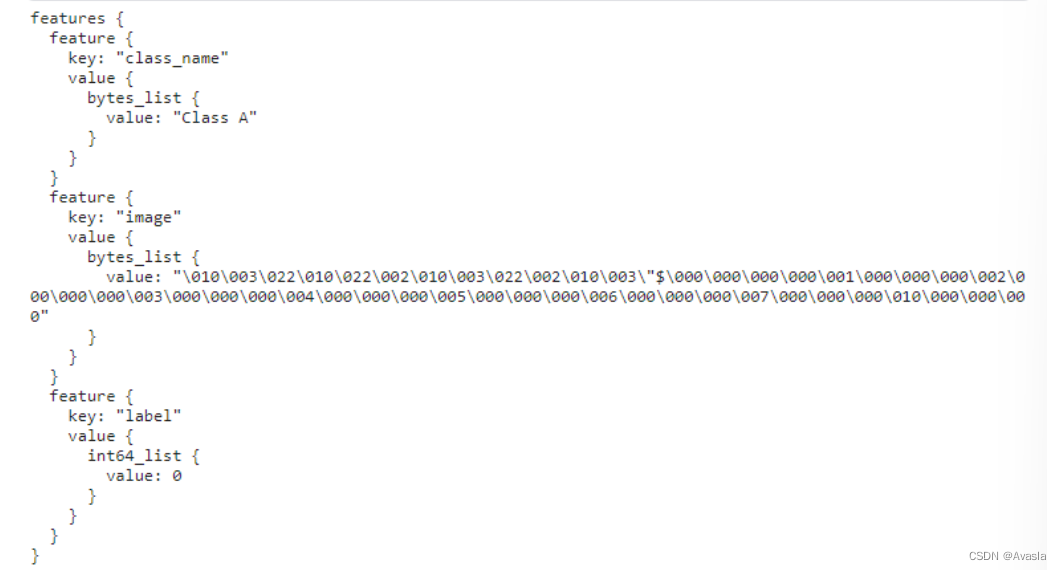
查看标签内容
![![[Pasted image 20230810140233.png]]![[Pasted image 20230810140309.png]]](https://img-blog.csdnimg.cn/d51faf40c20d4d288129ae47561d8fa8.png)
一旦所有内容都被编码为一个示例(Example),可以使用SerializeToString方法将其序列化。
![![[Pasted image 20230810140347.png]]](https://img-blog.csdnimg.cn/101e5f6972094aa1b2f6eaa93121e756.png)
函数封装
def make_example(image, label, class_name):image_feature = Feature(bytes_list=BytesList(value=[tf.io.serialize_tensor(image).numpy(),]))label_feature = Feature(int64_list=Int64List(value=[label,]))class_name_feature = Feature(bytes_list=BytesList(value=[class_name.encode(),]))features = Features(feature={'image': image_feature,'label': label_feature,'class_name': class_name_feature,})example = Example(features=features)return example.SerializeToString()
函数使用如下:
example = make_example(image=np.array([[1, 2], [3, 4]]),label=1,class_name="Class B",
)print(example)
![![[Pasted image 20230810140530.png]]](https://img-blog.csdnimg.cn/e0417b0185b54e3baf64a8353f9b6d66.png)
小结
整个过程可能如下所示:
- 使用
tf.data.Dataset构建数据集。您可以使用from_generator或from_tensor_slices方法。 - 通过使用
make_example遍历数据集来序列化数据集。 - 使用
io.TFRecordWriter或data.TFRecordWriter将数据集写入TFRecords。
然而,请注意,如果要在数据集的map方法中使用make_example之类的函数,您需要首先使用tf.py_function对其进行包装,因为TensorFlow以图模式执行数据集变换。您可以编写类似以下的代码:
ds_bytes = ds.map(lambda image, label: tf.py_function(func=make_example, inp=[image, label], Tout=tf.string))
其他资料
API文档tf.data.Dataset | TensorFlow v2.13.0。