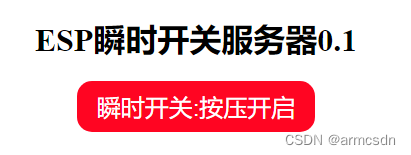
ESP8266 WebServer③-基于AsyncElegantOTA.h网页OTA升级
目标:实现本地网页OTA升级ESP8266
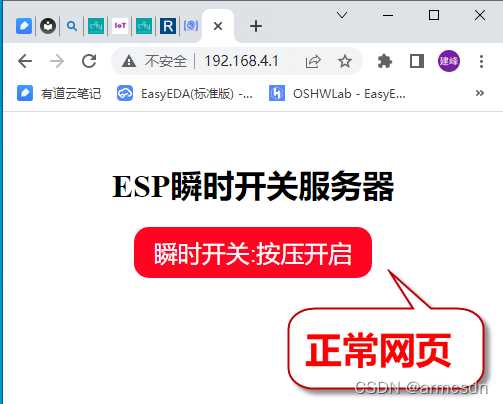
技术要点:ESP8266作为AP,可以接入电脑、手机的浏览器访问
完整工程文件
OTA升级时的网页,在地址栏里多输入/update,即可开启OTA升级界面
http://192.168.4.1/update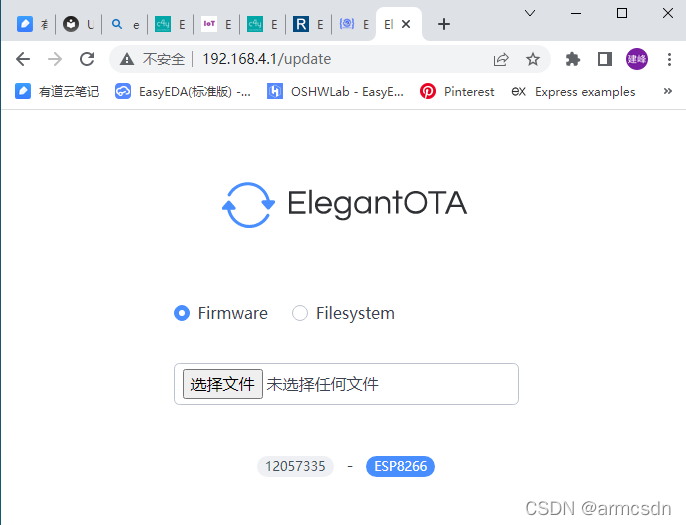
platformio.ini工程配置
[env:nodemcuv2]
platform = espressif8266
board = nodemcuv2
framework = arduino
board_build.filesystem = littlefs
monitor_speed = 115200
upload_speed = 921600
lib_deps = me-no-dev/ESPAsyncTCP@^1.2.2esphome/ESPAsyncWebServer-esphome@^2.1.0ayushsharma82/AsyncElegantOTA@^2.2.6
源码
#ifdef ESP32
#include <WiFi.h>
#include <AsyncTCP.h>
#else
#include <ESP8266WiFi.h>
#include <ESPAsyncTCP.h>
#endif#include "ESPAsyncWebServer.h"#include "FS.h"
#include <LittleFS.h>#include <AsyncElegantOTA.h>
const int led_output = 2;AsyncWebServer server(80);const char *ssid = "ESP8266热点";
const char *password = "12345678";void setupServer()
{server.on("/", HTTP_GET, [](AsyncWebServerRequest *request){request->send(LittleFS, "/index.html","text/html", false); Serial.println("Client Connected"); });// Receive an HTTP GET requestserver.on("/ON", HTTP_GET, [](AsyncWebServerRequest *request){digitalWrite(led_output, LOW);request->send(200, "text/plain", "OK"); });// Receive an HTTP GET requestserver.on("/OFF", HTTP_GET, [](AsyncWebServerRequest *request){digitalWrite(led_output, HIGH);request->send(200, "text/plain", "OK"); });
}void setup()
{// your other setup stuff...Serial.begin(115200);pinMode(led_output, OUTPUT);digitalWrite(led_output, HIGH);if (!LittleFS.begin()){Serial.println("An Error has occurred while mounting LITTLEFS");return;}Serial.println();Serial.println("Setting up AP Mode");WiFi.mode(WIFI_AP);WiFi.softAP(ssid, password);IPAddress IP = WiFi.softAPIP();Serial.print("AP IP address: ");Serial.println(IP);setupServer();// more handlers...AsyncElegantOTA.begin(&server);server.begin();Serial.println("All Done!");
}void loop()
{
}
网页文件
<!DOCTYPE HTML><html><head><title>ESP Web Server</title><meta name="viewport" content="width=device-width, initial-scale=1"/><meta charset="UTF-8"><style>body { font-family: Times New Roman; text-align: center; margin:0px auto; padding-top: 30px;}.button {padding: 10px 20px;font-size: 24px;text-align: center;outline: none;color: #fff;background-color: #ff0522;border: none;border-radius: 15px;cursor: pointer;-webkit-touch-callout: none;-webkit-user-select: none;-khtml-user-select: none;-moz-user-select: none;-ms-user-select: none;user-select: none;-webkit-tap-highlight-color: rgba(0,0,0,0);} .button:hover {background-color: #ff0522 }.button:active {background-color: #1fe036;transform: translateY(2px);}</style></head><body><h1>ESP瞬时开关服务器</h1><button class="button" onmousedown="toggleCheckbox('ON');" ontouchstart="toggleCheckbox('ON');" onmouseup="toggleCheckbox('OFF');" ontouchend="toggleCheckbox('OFF');">瞬时开关:按压开启</button><script>function toggleCheckbox(x) {var xhr = new XMLHttpRequest();xhr.open("GET", "/" + x, true);xhr.send();}</script></body>编译文件系统,第一次串口上传
重点说明一下(由于本人对HTML不熟悉):

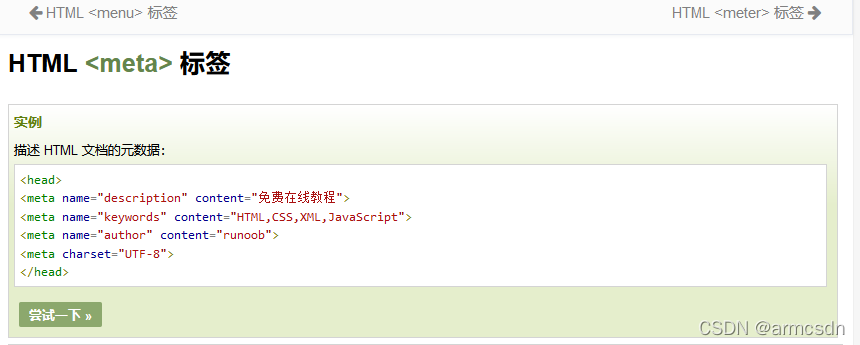
网页第5行没写的话,中文在网页上显示是乱码,添加之后正常显示。
菜鸟教程关于HTML <meta> 标签说明
现把网页修改一下,然后通过网页OTA升级文件系统
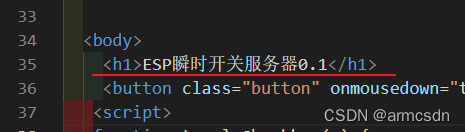
红线处是改动的地方,修改后保存。
画红线的是Build Filesystem Image生成的文件系统,其显示了存放的位置和文件名称。只要把littlefs.bin文件通过WIFI上传到ESP8266即可完成OTA升级。

具体步骤参看动图,
成功后显示画面,表明升级成功