vite+tailwind封装组件库
前言
演示视频
https://www.bilibili.com/video/BV1EST3zPEyP/?spm_id_from=333.1387.homepage.video_card.click
参考
https://juejin.cn/post/7112295067682865166
https://juejin.cn/post/7046187185615142949
代码仓库
https://gitee.com/malguy/vite-components-lib-tutorial
初始化项目
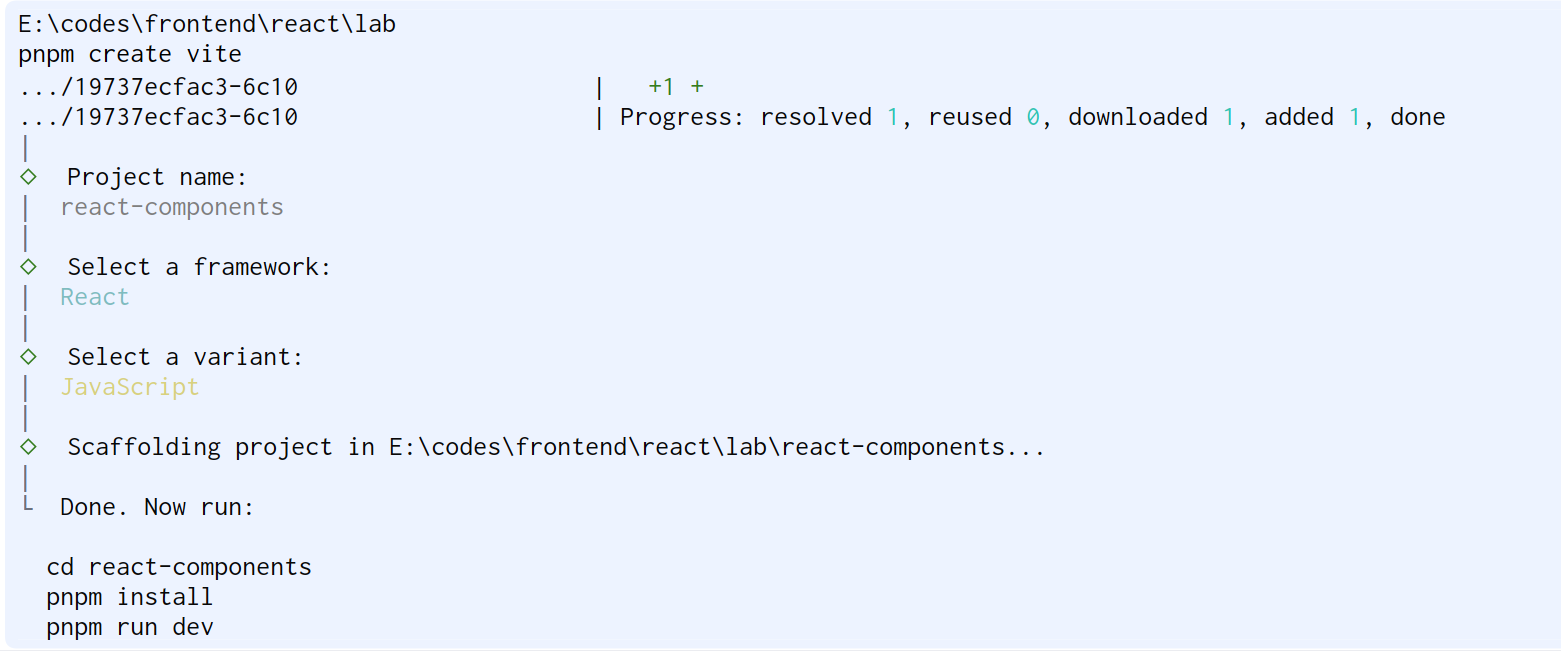
创建vite
直接使用命令行
pnpm create vite react-components
cd react-components
pnpm i
你也可以用我的脚手架面板(推销一下😁🤓)
malred/cli-panel
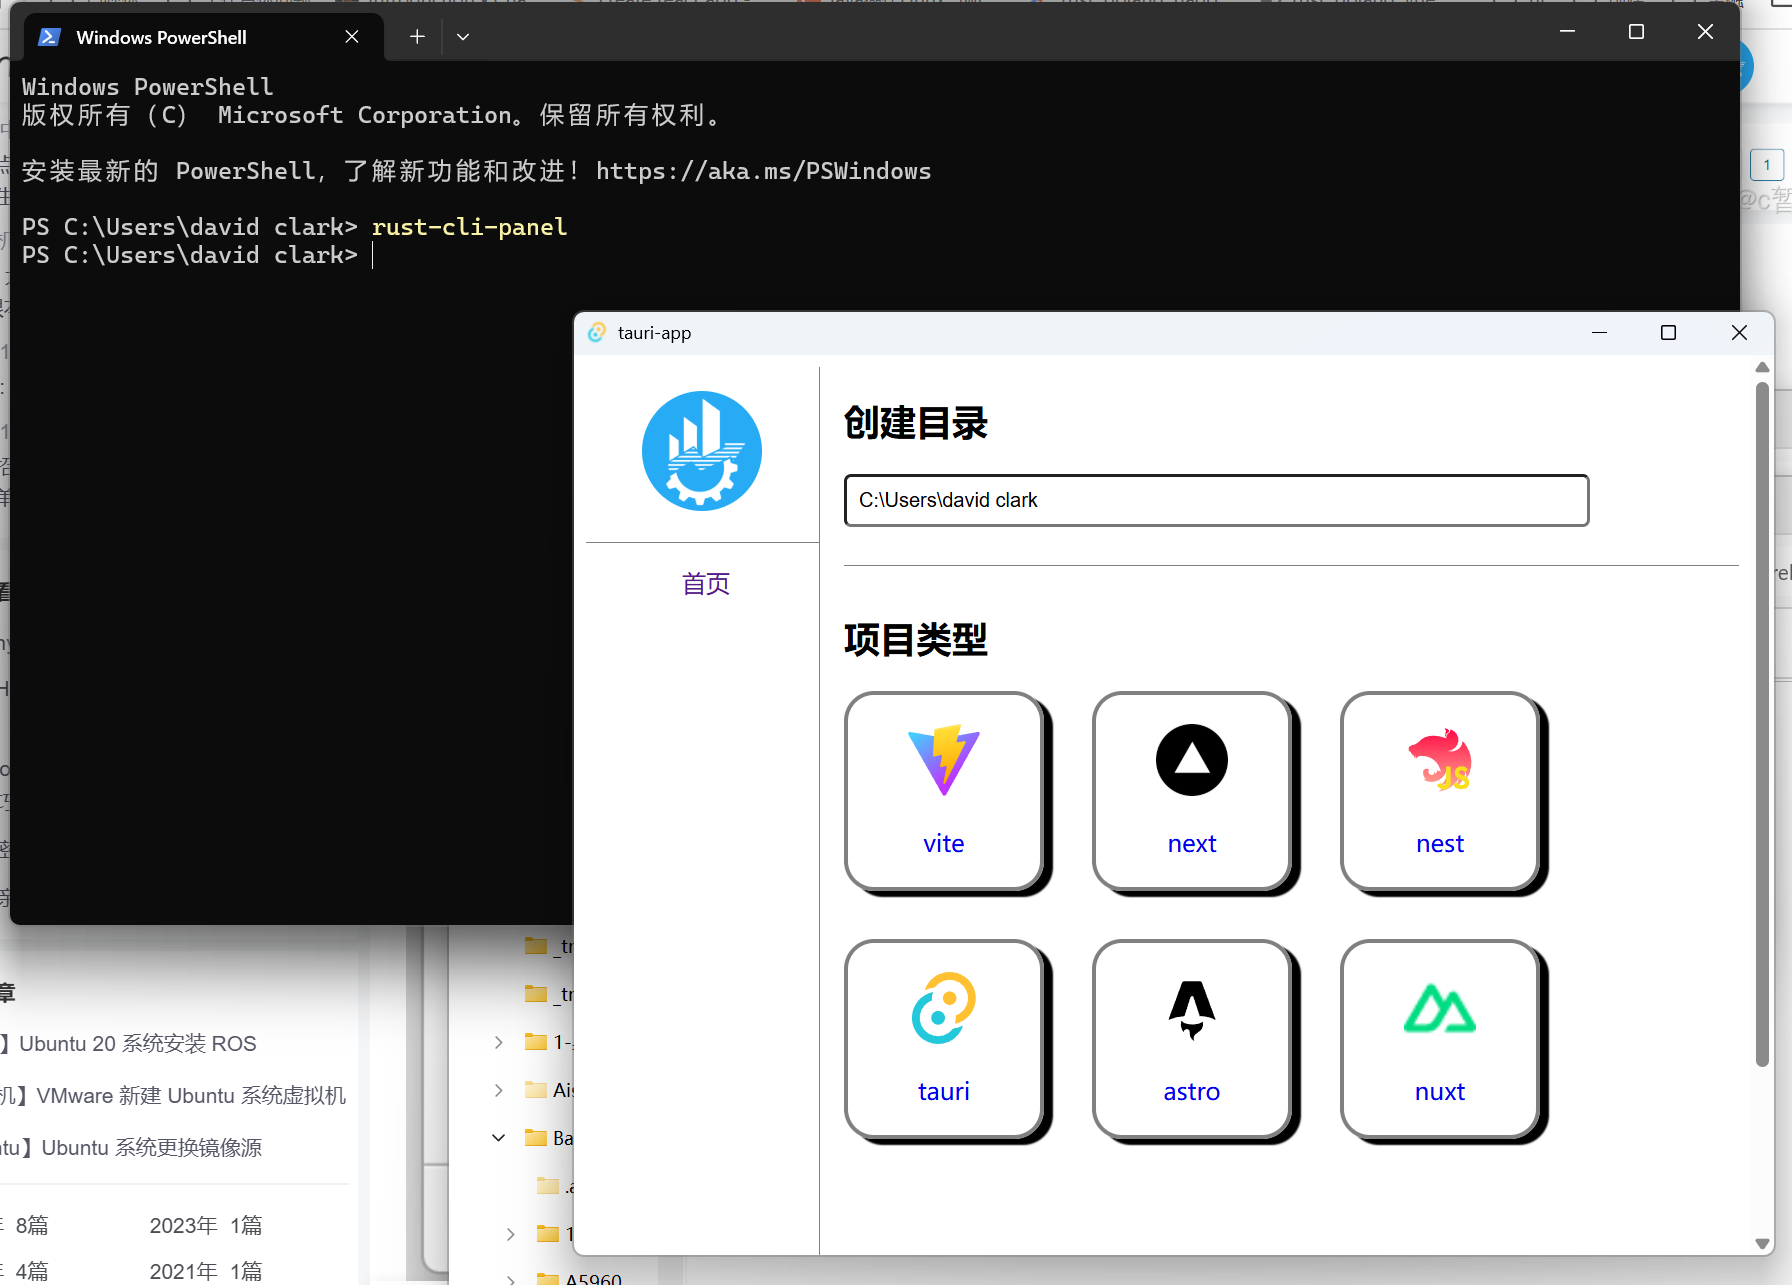
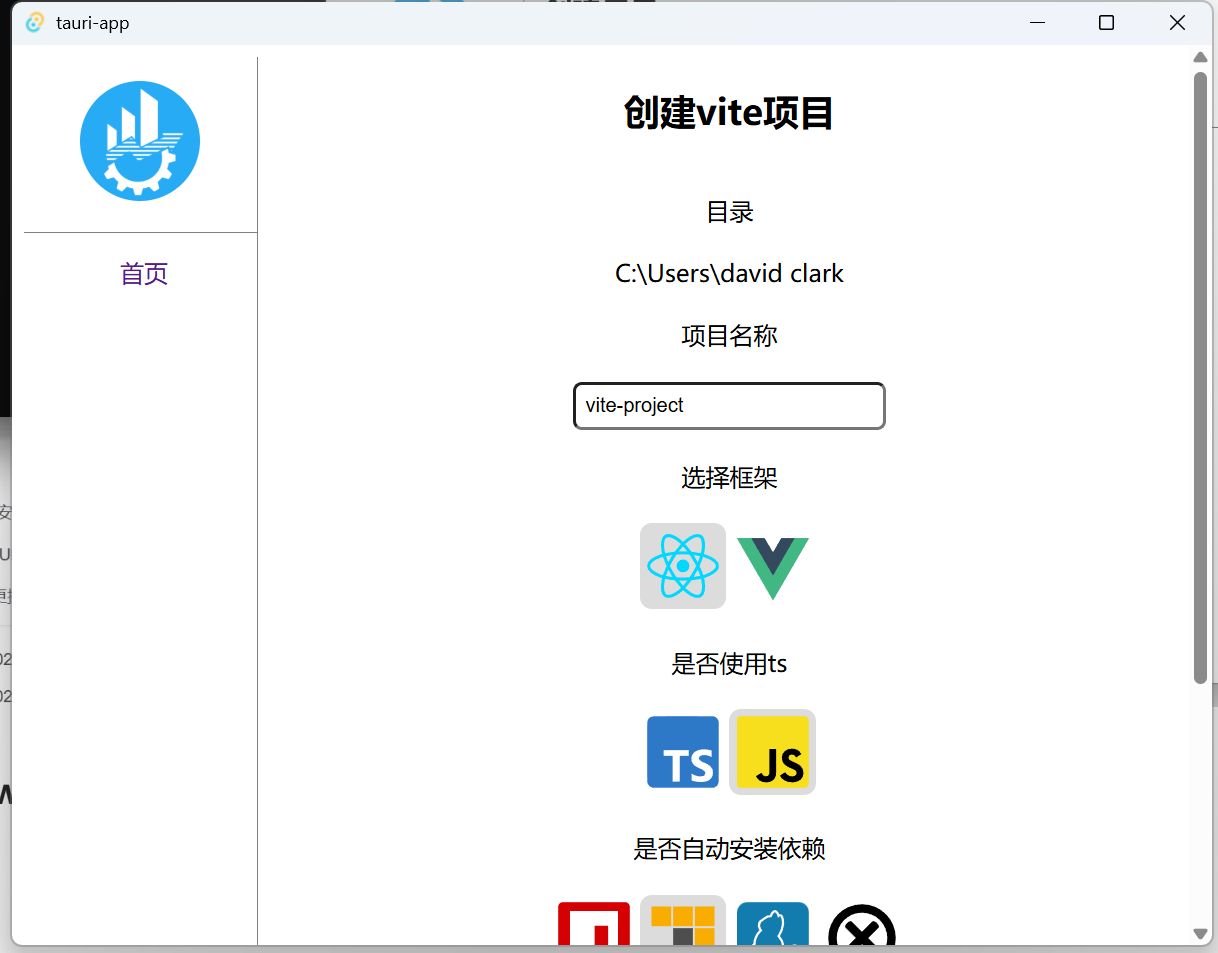
无需联网, 因为是用文件复制的方法创建的
安装tailwind
使用tailwind v3
Installation - Tailwind CSS
pnpm install -D tailwindcss@3 postcss autoprefixer
# npx tailwindcss init -p
pnpm dlx tailwindcss@3 init -p
将路径添加到 **<font style="color:rgb(15, 23, 42);">tailwind.config.js</font>** 文件中的所有模板文件中。
/** @type {import('tailwindcss').Config} */
export default {content: ["./index.html",// 使用react时"./src/**/*.{js,ts,jsx,tsx}",// 使用vue时"./src/**/*.{vue,js,ts,jsx,tsx}",// 使用svelte时"./src/**/*.{svelte,js,ts,jsx,tsx}",],theme: {extend: {},},plugins: [],
}
将Tailwind每个层的 **<font style="color:rgb(15, 23, 42);">@tailwind</font>** 指令添加到您的 **<font style="color:rgb(15, 23, 42);">./src/app.css</font>** 文件中。
@tailwind base;
@tailwind components;
@tailwind utilities;
写一个button组件
src/components/Button/Button.jsx
// src/components/button/index.tsx
/** @Author WangZhiGang* @Date 2025-06-07 05:58:37* @Description */
import './button.css'import * as React from "react";interface Props {size: 'lg' | 'md' | 'sm'children: string | React.ReactNode
}const Button = ({size, children}: Props) => {const className = size + " base "return (<buttonclassName={className}>{children}</button>);
};export default Button;
如果觉得tailwind样式太长, 可以写一个css
button {&.base {@apply text-white bg-blue-500 rounded-md}&.sm {@apply text-xs p-2}&.md {@apply text-sm p-4}&.lg {@apply text-lg p-8}
}
在index.js中导出
// !!! 重要 包含@tailwind的css必须导出, 否则新项目会丢失变量 !!!
import './index.css'
import './App.css'import Button from "./components/button/index.jsx";export {Button as MalButton
}
修改vite配置文件
import {defineConfig} from 'vite'
import react from '@vitejs/plugin-react'
import path from 'path'
// const path = require("path");const resolvePath = (str) => path.resolve(__dirname, str);// https://vitejs.dev/config/
export default defineConfig({plugins: [react()],// 防止 vite 将 rgba() 颜色转化为 #RGBA 十六进制cssTarget: 'chrome61',resolve: {alias: {"@": path.resolve(__dirname, "./src"),},},// 打包编译配置build: {rollupOptions: {// 请确保外部化那些你的库中不需要的依赖external: ["react", "react-dom"],output: {// 在 UMD 构建模式下为这些外部化的依赖提供一个全局变量globals: {react: "react","react-dom": "react-dom",},},},lib: {// 打包入口文件, 使用时从入口进行寻找依赖entry: resolvePath("src/index.js"),name: "mal-react-components",// 打包后文件名 format表示不同的规范(commonjs之类的) // 如果打包成 UMD 格式,文件名可能是 mal-vue3-components.umd.js。// 如果打包成 ES Module 格式,文件名可能是 mal-vue3-components.es.jsfileName: format => `mal-react-components.${format}.js`,},}
})
import {defineConfig} from 'vite'
import vue from '@vitejs/plugin-vue'
// import tailwindcss from 'tailwindcss';// https://vitejs.dev/config/
export default defineConfig({plugins: [vue()],// css: {//     postcss: {//         plugins: [tailwindcss],//     }// },// 打包编译配置build: {rollupOptions: {// 请确保外部化那些你的库中不需要的依赖external: ['vue'],output: {// 在 UMD 构建模式下为这些外部化的依赖提供一个全局变量globals: {vue: 'Vue',},},},lib: {// 打包入口文件, 使用时从入口进行寻找依赖entry: './src/index.js',// 名称name: 'mal-vue-components',// 打包后文件名 format表示不同的规范(commonjs之类的) // 如果打包成 UMD 格式,文件名可能是 mal-vue3-components.umd.js。// 如果打包成 ES Module 格式,文件名可能是 mal-vue3-components.es.jsfileName: (format) => `mal-vue3-components.${format}.js`,},}
})
如果使用的是ts
pnpm i @rollup/plugin-typescript tslib
# 在vite.config文件里使用node的依赖需要安装
pnpm i @types/node --save-dev
import {defineConfig} from 'vite'
import react from '@vitejs/plugin-react'
import typescript from '@rollup/plugin-typescript'
// 想在ts使用node的依赖, 需要安装 @types/node
import { resolve } from "node:path";const resolvePath = (str: string) => resolve(__dirname, str);// https://vitejs.dev/config/
export default defineConfig({plugins: [react()],resolve: {alias: {"@": resolve(__dirname, "./src"),},},// 打包编译配置build: {rollupOptions: {// 请确保外部化那些你的库中不需要的依赖external: ["react", "react-dom"],output: {// 在 UMD 构建模式下为这些外部化的依赖提供一个全局变量globals: {react: "react","react-dom": "react-dom",},},plugins: [typescript({target: "es2015", // 这里指定编译到的版本,rootDir: resolvePath("src/"),declaration: true,declarationDir: resolvePath("dist"),exclude: resolvePath("node_modules/**"),allowSyntheticDefaultImports: true,}),],},lib: {// 打包入口文件, 使用时从入口进行寻找依赖entry: resolvePath("src/index.ts"),name: "mal-react-components",// 打包后文件名 format表示不同的规范(commonjs之类的)// 如果打包成 UMD 格式,文件名可能是 mal-vue3-components.umd.js。// 如果打包成 ES Module 格式,文件名可能是 mal-vue3-components.es.jsfileName: format => `mal-react-components.${format}.js`,},},
})
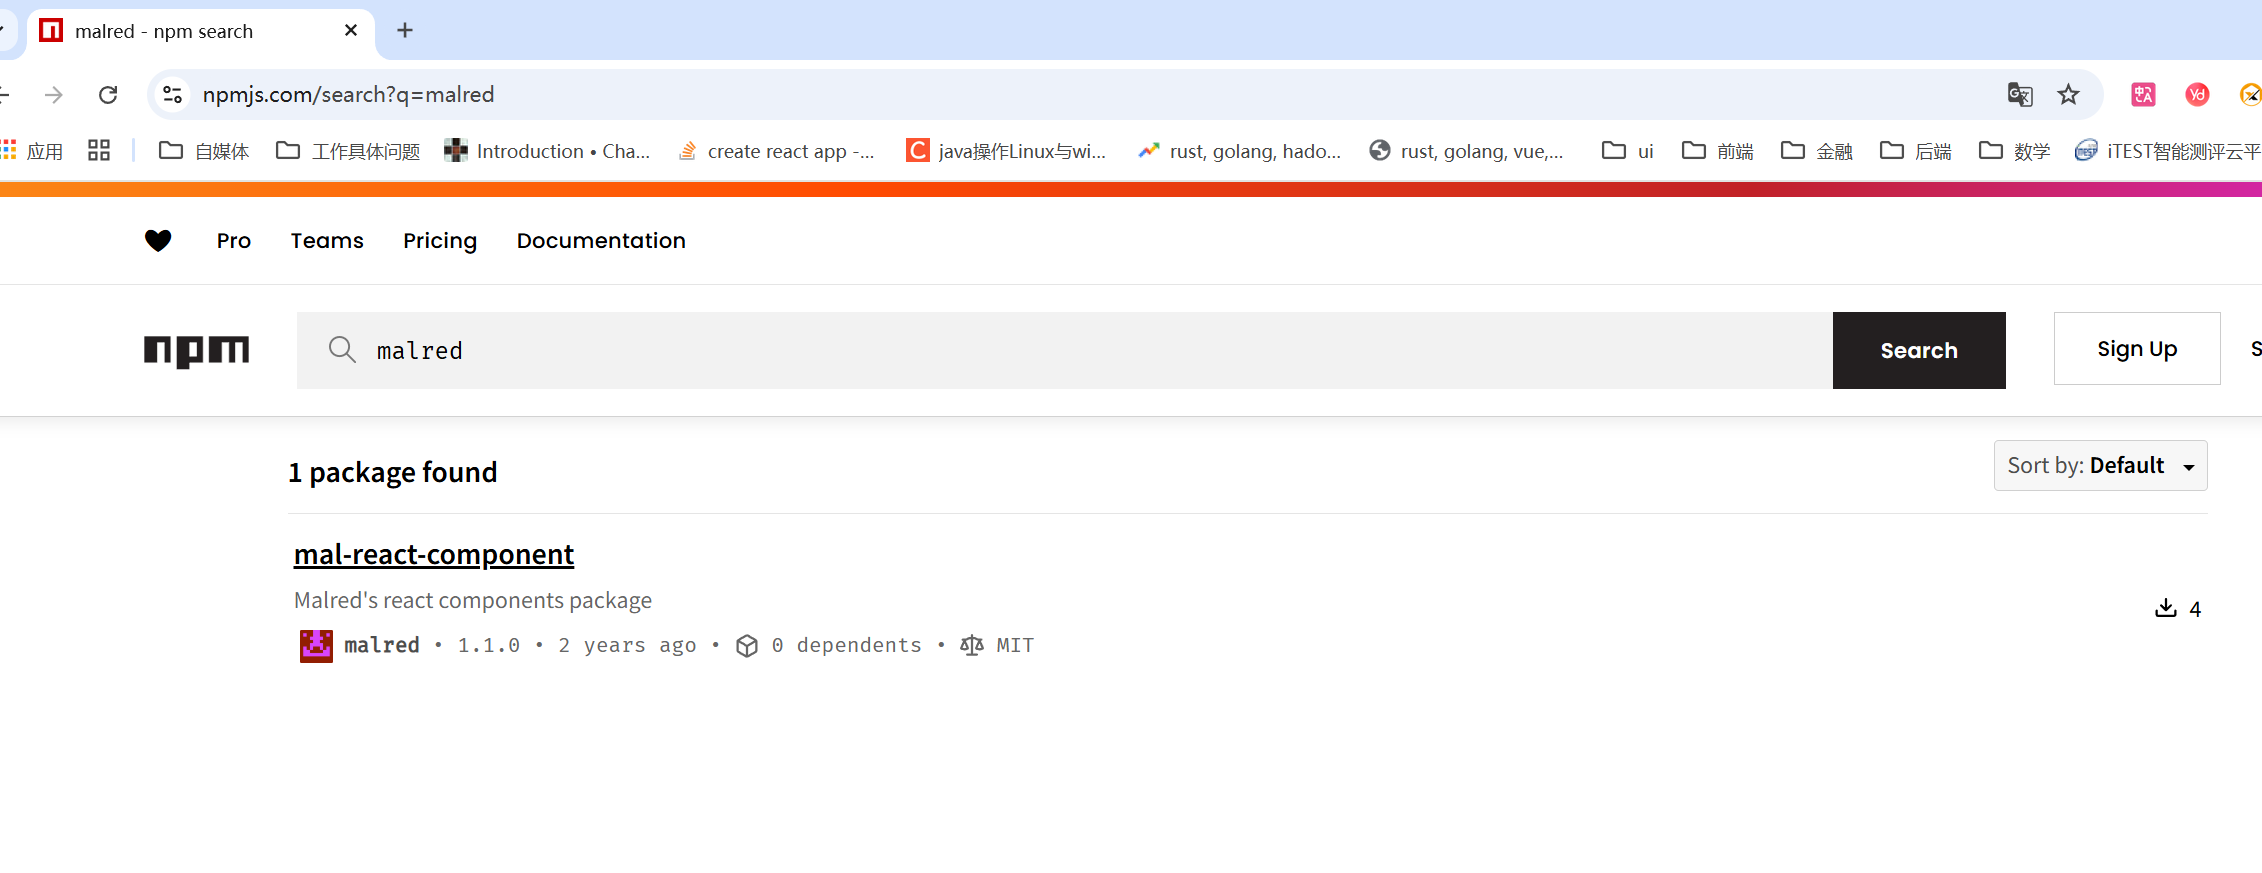
打包 发布
pnpm build
pnpm publish
使用
在本地想测试, 可以用
# 在库的目录执行
npm link
# 在要使用的目录中执行
npm link [自己写的库的名称]
但是我之前试了老是失败, 我的解决方法是直接复制打包后的文件到项目中, 然后从其中引入依赖