【教学类-36-10】20250531蝴蝶图案描边,最适合大小(一页1图1图、2图图案不同、2图图案相同对称)
背景说明:
之前做了动物头像扇子(描边20),并制作成一页一套图案对称两张
【教学类-36-09】20250526动物头像扇子的描边(通义万相)对称图40张,根据图片长宽,自动旋转图片,最大化图片-CSDN博客文章浏览阅读1k次,点赞37次,收藏6次。【教学类-36-09】20250526动物头像扇子的描边(通义万相)对称图40张,根据图片长宽,自动旋转图片,最大化图片https://blog.csdn.net/reasonsummer/article/details/148241058?sharetype=blogdetail&sharerId=148241058&sharerefer=PC&sharesource=reasonsummer&spm=1011.2480.3001.8118
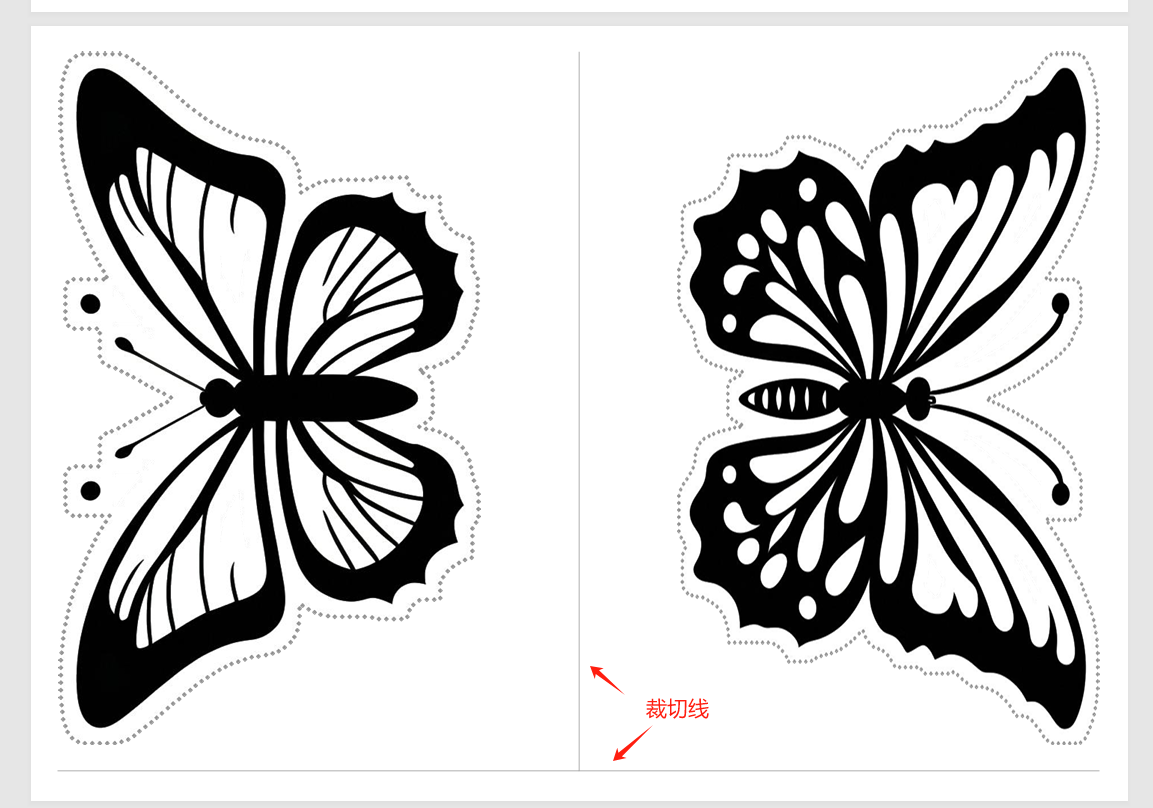
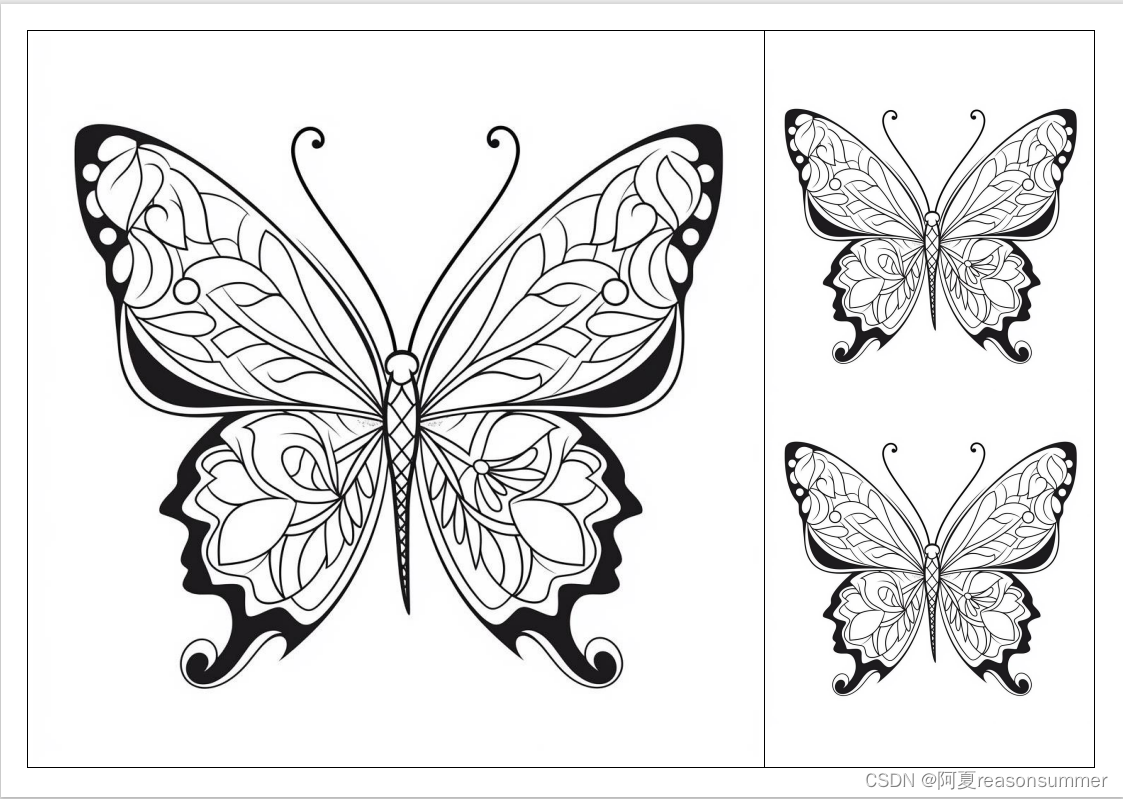
现在我需要用把“蝴蝶”做成描边、一页一图、一页两图样式
【教学类-36-07】20230707三只对称蝴蝶(midjounery-niji)(涂色、裁剪、游戏(飞舞的蝴蝶))_对称图案涂色-CSDN博客文章浏览阅读586次。【教学类-36-07】20230707三只对称蝴蝶(midjounery-niji)(涂色、裁剪、游戏(飞舞的蝴蝶))_对称图案涂色https://blog.csdn.net/reasonsummer/article/details/131598617?spm=1011.2415.3001.5331
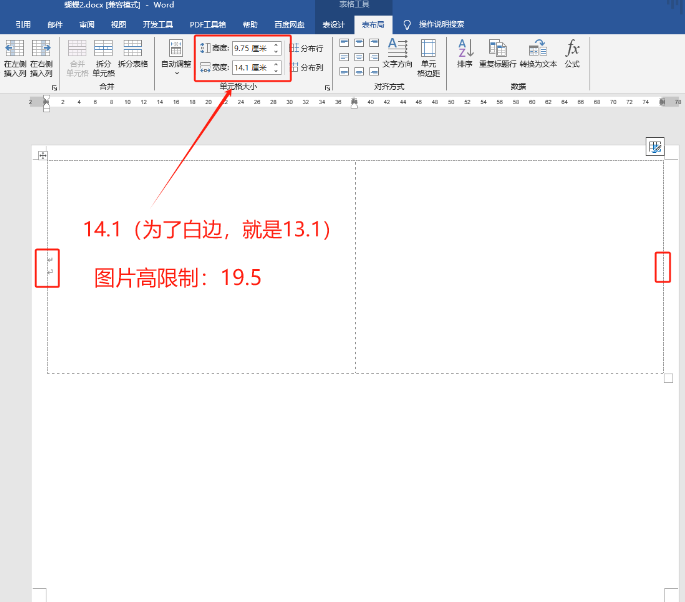
WORD模版
图片处理
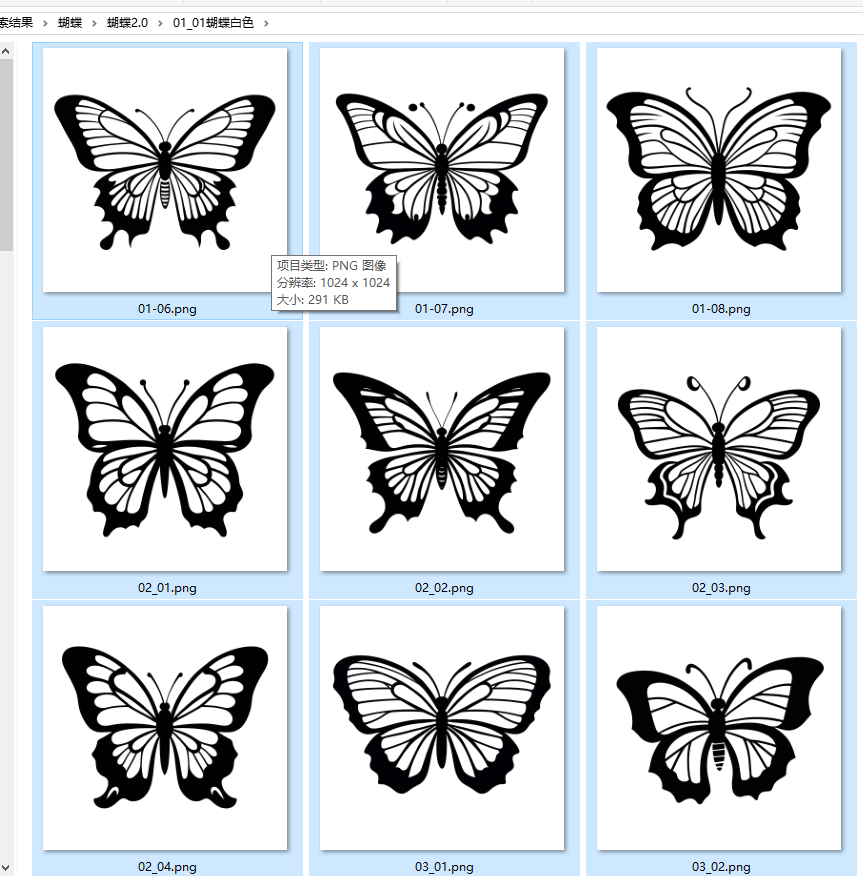
添加点状描边,因为用了5磅的圆点,所以只做了描边20磅
'''
将已经白色P图的图案放大、透明、描边、切边deepseek,阿夏
20250531
'''
from PIL import Image, ImageDraw
import os
import math# 放大和透明室共有
print('------0、基本信息-----')
# 主路径
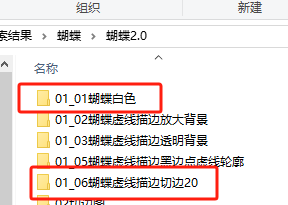
path = r'D:\test\20桌面素材\蝴蝶\蝴蝶2.0'
# path=r'D:\图片\20240614蛋筒彩蛋# 图片夹名称
a = '01'
b = '蝴蝶'
c = '虚线描边'# # 保存
# all = path + fr'\{a}_10{b}合并图'# 参数设置# 1、内部花纹框
# 花纹边框颜色((内部)
cchw = 0
# 调整蓝色区域边框宽度(像素)
blue_width = 0# 2、轮廓线
# 轮廓线黑线边框颜色(中间150,150,150)
ccn = 0
# 轮廓线的宽度
mb_border_width = 1 # 黑边宽度(像素)
w = int(mb_border_width / 2) # 内5外5# 5、画布尺寸放大
target_width = 2000 # 统一宽度
target_height = target_width # 统一高度
background_expand = 1000 # 白色背景放大尺寸# 6、添加中线虚线(折痕)# Parameters for center line# 中线参数
xxx = 0 # 颜色
total_line_width = 10 # 总宽度10磅
left_width = int(total_line_width) / 2 # 左边5磅
right_width = left_width # 右边
# line_width = 10 # 线条粗细
dash_length = 30 # 黑线段
gap_length = 30 # 白线段# 定义文件夹路径
in_folder = os.path.join(path, f'{a}_01{b}白色') # 原始图片(白背景)
big_folder = os.path.join(path, f'{a}_02{b}{c}放大背景') # 放大背景输出
transparent_folder = os.path.join(path, f'{a}_03{b}{c}透明背景') # 透明背景输出
# output_folder = os.path.join(path, f'{a}_04{b}{c}黑边轮廓') # 最终输出
dotput_folder = os.path.join(path, f'{a}_05{b}{c}黑边点虚线轮廓') # 最终输出
# input_folder = output_folder # 原始图片文件夹# 创建输出文件夹
# os.makedirs(all, exist_ok=True)
# os.makedirs(output_folder,exist_ok=True)
os.makedirs(dotput_folder, exist_ok=True)
os.makedirs(big_folder, exist_ok=True)
os.makedirs(transparent_folder, exist_ok=True)rrh, ggh, bbh = cchw, cchw, cchwprint('------1、白色PNG背景放大一点-----')
# 遍历输入文件夹中的所有PNG文件
for filename in os.listdir(in_folder):if filename.lower().endswith('.png'):# 打开原始图片input_path = os.path.join(in_folder, filename)with Image.open(input_path) as img:original_width, original_height = img.size# 创建新画布(长宽各+200,白色背景)new_width = original_width + background_expandnew_height = original_height + background_expandnew_image = Image.new('RGB', (new_width, new_height), (255, 255, 255))# 计算粘贴位置(居中)paste_x = (new_width - original_width) // 2paste_y = (new_height - original_height) // 2# 将原始图片粘贴到新画布上new_image.paste(img, (paste_x, paste_y), img if img.mode == 'RGBA' else None)# 保存结果big_path = os.path.join(big_folder, filename)new_image.save(big_path)print('------2、白色PNG背景变成透明-----')
def process_image_to_transparent(file_path):img = Image.open(file_path)img = img.convert("RGBA")datas = img.getdata()new_data = []for item in datas:if item[0] == 255 and item[1] == 255 and item[2] == 255:new_data.append((255, 255, 255, 0))else:new_data.append(item)img.putdata(new_data)return imgprint("正在转换白背景为透明背景...")
for file_name in os.listdir(big_folder):if file_name.lower().endswith((".png", ".jpg", ".jpeg")):input_file_path = os.path.join(big_folder, file_name)output_file_path = os.path.join(transparent_folder, file_name)processed_image = process_image_to_transparent(input_file_path)processed_image.save(output_file_path)print(f"已处理: {file_name}")# 描边为20、50、80
for x in [20]:cropped_folder = os.path.join(path, f'{a}_06{b}{c}切边{x}') # 裁剪后的透明图片os.makedirs(cropped_folder, exist_ok=True)# 3、点状虚线裁剪边# 点状虚线边框颜色(外边)ccw = 150# 白色描边宽度(像素)轮廓线外层white_border_width = x# 黑点直径(像素)dot_size = 5# # 黑点间距(像素)增加间距确保均匀分布 dot_spacing = dot_size * 2# 4、裁剪时不保留额外透明边距transparent_edge = 0 # 裁剪时不保留额外透明边距# 灰线深浅测试# for cr3 in range(cchw,cchw+10,10):# 黑色边框颜色# 灰色# if x==1:# 中线(内) rrw = ggw = bbw = ccwrrn = ggn = bbn = ccnrrh = ggh = bbh = cchwrrx = ggx = bbx = xxxprint('------3、添加点状虚线轮廓-----')def get_edge_pixels(image):"""获取图像中不透明像素与透明像素交界的边缘像素坐标"""edge_pixels = []pixels = image.load()width, height = image.sizefor y in range(height):for x in range(width):if pixels[x, y][3] > 0: # 不透明像素# 检查4邻域for dx, dy in [(-1, 0), (1, 0), (0, -1), (0, 1)]:nx, ny = x + dx, y + dyif 0 <= nx < width and 0 <= ny < height:if pixels[nx, ny][3] == 0: # 邻域透明edge_pixels.append((x, y))breakreturn edge_pixelsdef expand_edge_pixels(edge_pixels, distance, width, height):"""扩展边缘像素坐标到指定距离"""expanded_pixels = set()for x, y in edge_pixels:for dy in range(-distance, distance + 1):for dx in range(-distance, distance + 1):nx, ny = x + dx, y + dyif 0 <= nx < width and 0 <= ny < height:expanded_pixels.add((nx, ny))return expanded_pixelsdef get_contour_pixels(border_pixels, width, height):"""获取白边区域的外轮廓像素(使用边缘追踪算法)"""# 找到起始点(最左上角的边界像素)start_point = Nonefor y in range(height):for x in range(width):if (x, y) in border_pixels:start_point = (x, y)breakif start_point:breakif not start_point:return []# 使用Moore-Neighbor追踪算法获取轮廓contour = []current = start_pointprevious = (current[0] - 1, current[1]) # 假设从左侧开始directions = [(0, -1), (1, -1), (1, 0), (1, 1),(0, 1), (-1, 1), (-1, 0), (-1, -1)]while True:contour.append(current)# 找到下一个