linux快速入门-VMware安装linux,配置静态ip,使用服务器连接工具连接,快照和克隆以及修改相关配置信息
安装VMWare
省略,自己检索
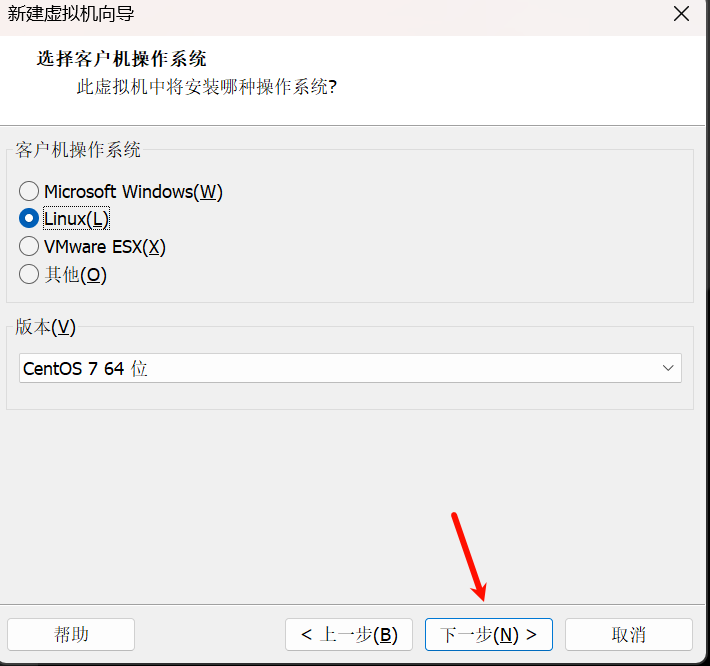
安装操作系统-linux
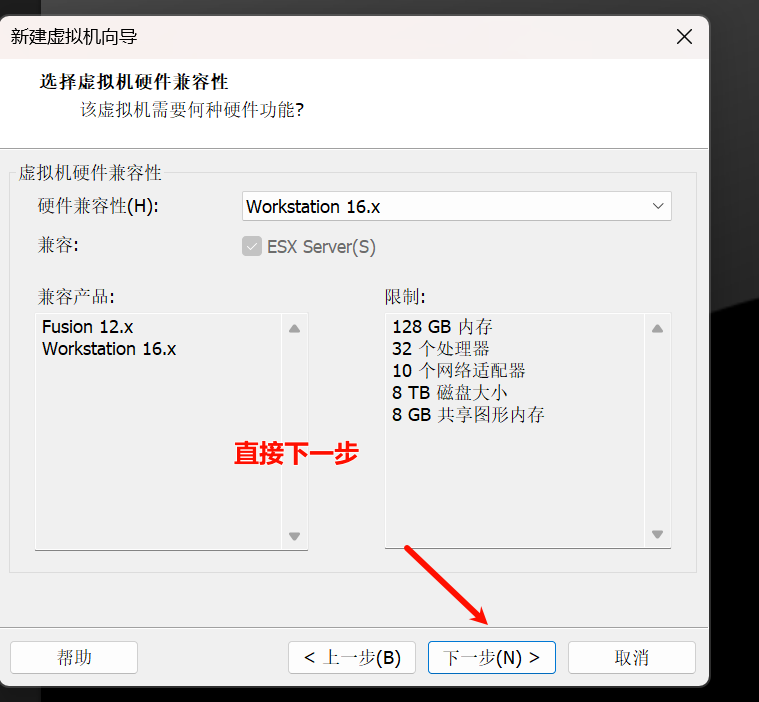
注意:需要修改的我会给出标题,不要修改的直接点击下一步就可以
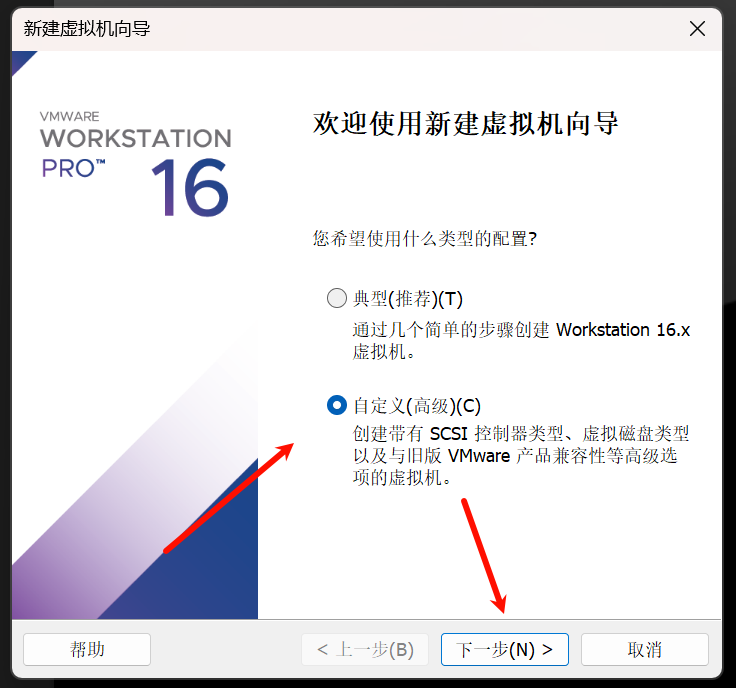
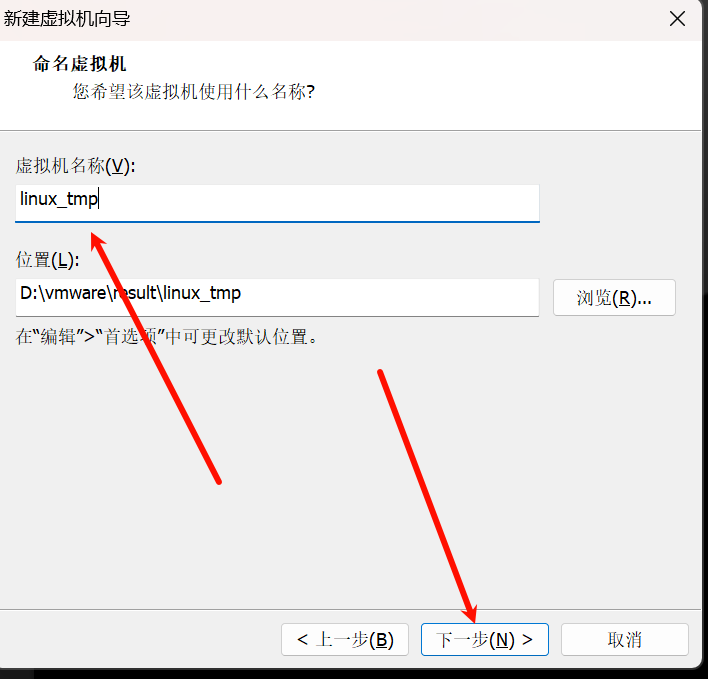
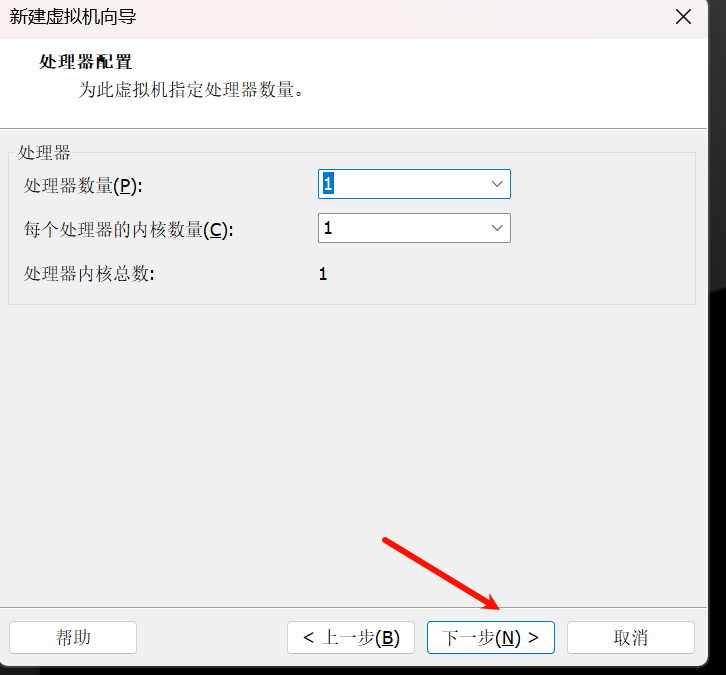
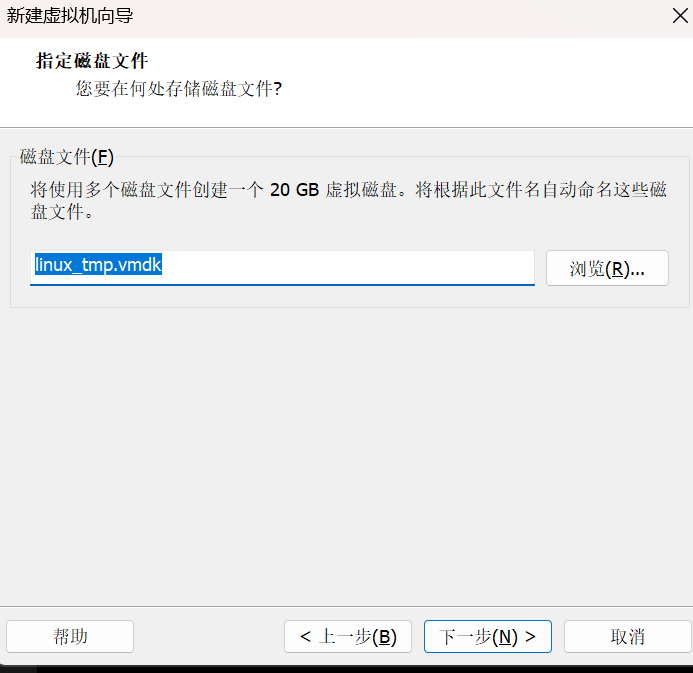
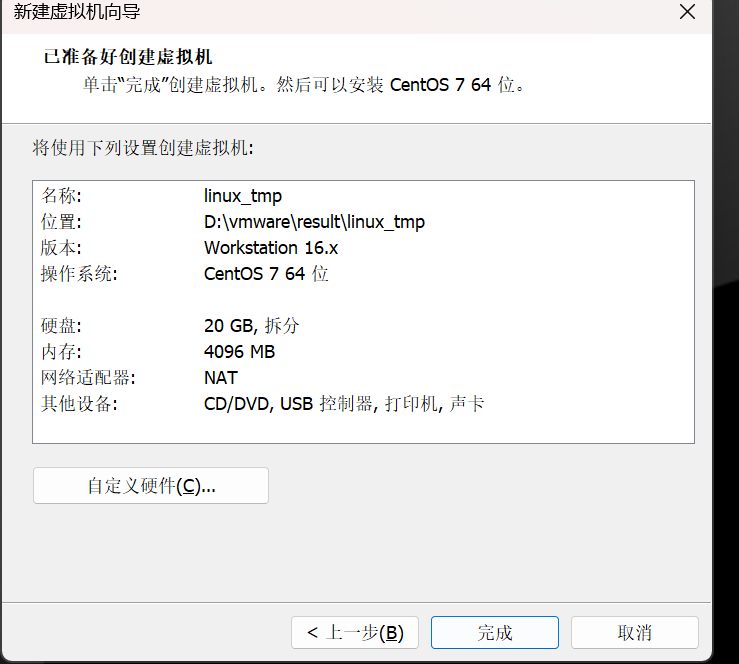
选择自定义配置
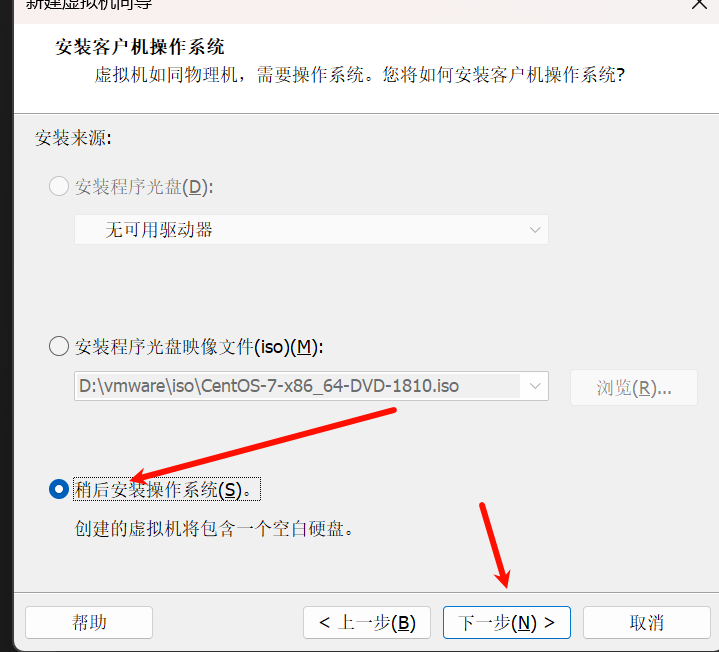
选择稍后安装操作系统
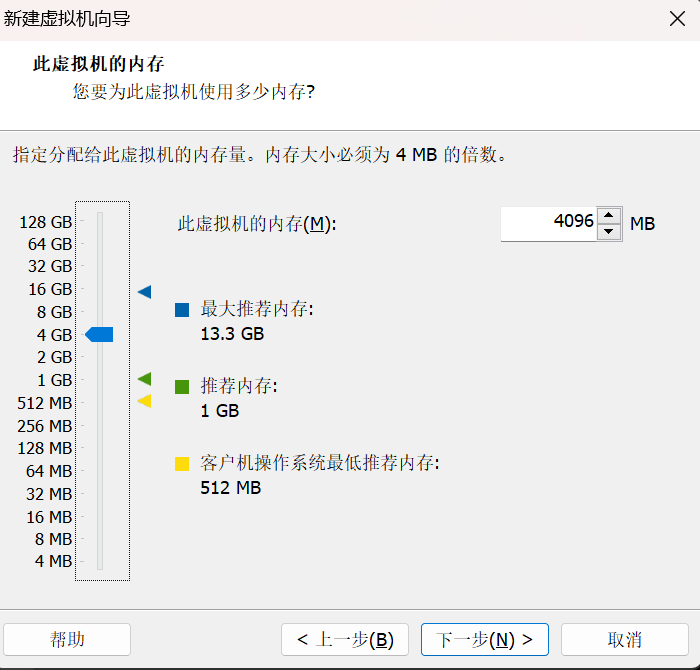
选择合适的内存
选择NAT模式
仅主机模式
- 虚拟机只能和主机通信,不能上网,相当于用一根线将两台电脑链接起来,没有连路由器。在真机中仅主机模式模拟网卡对应的物理网卡是VMnet1。
桥接
- 虚拟机和主机在局域网中地位一样,就相当于两台电脑同时连接了Wifi,但是不好的地方就是,如果WiFi断开了,呢吗虚拟机和主机无法通信
nat模式
- 通过vmnet8做中转和主机连接。让 VM 虚拟机的网络服务发挥路由器的作用,使得通过虚拟机软件模拟的主机可以通过物理主机访问外网,在真机中NAT 虚拟机网卡对应的物理网卡是 VMnet8。相当于自己的电脑成了网关,虚拟机成了子主机

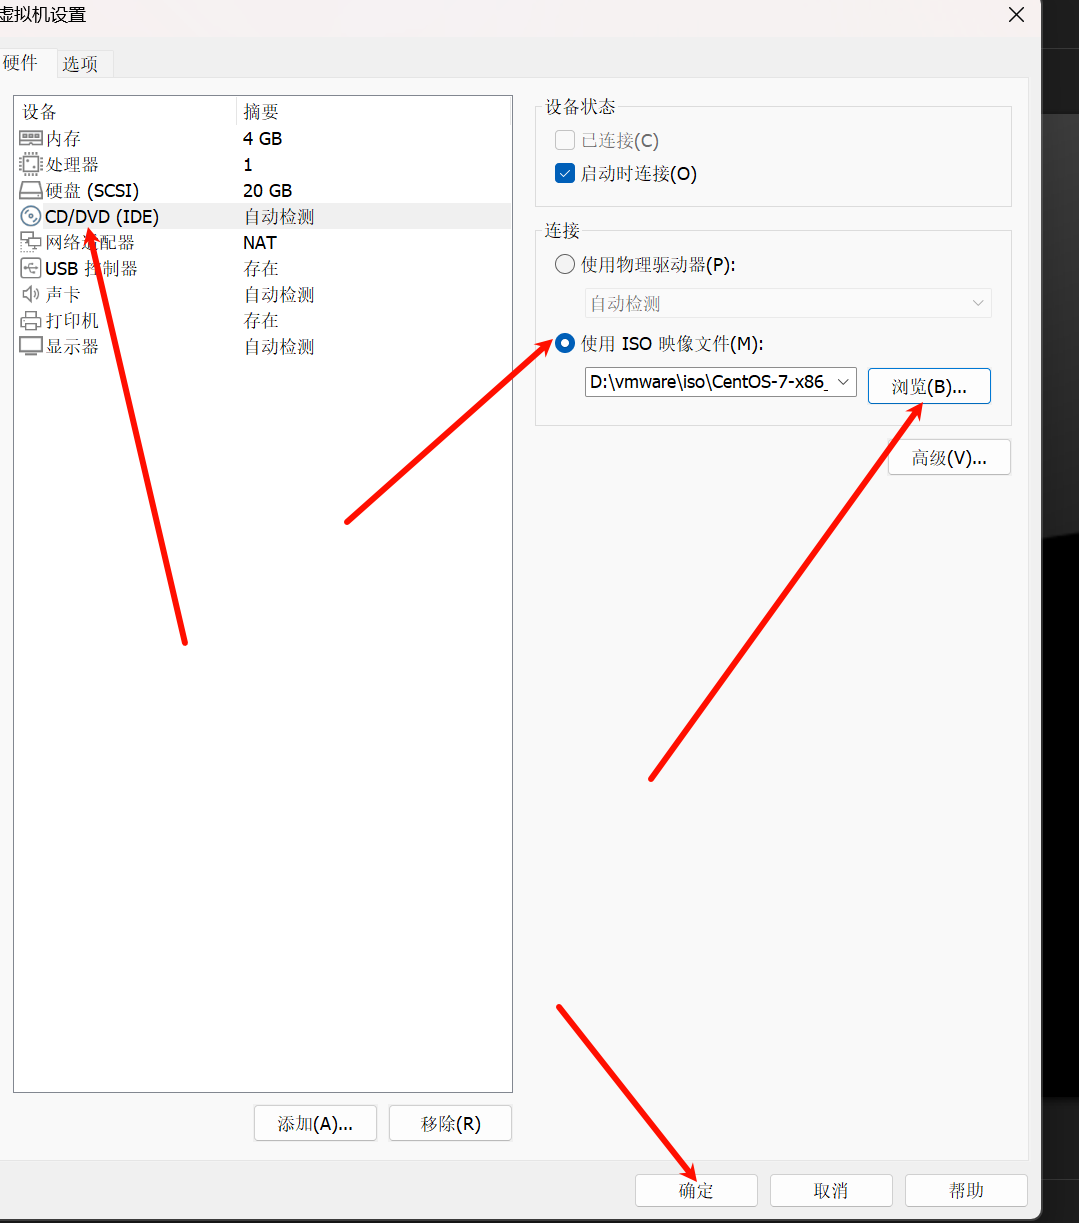
编辑虚拟机配置:选择ISO

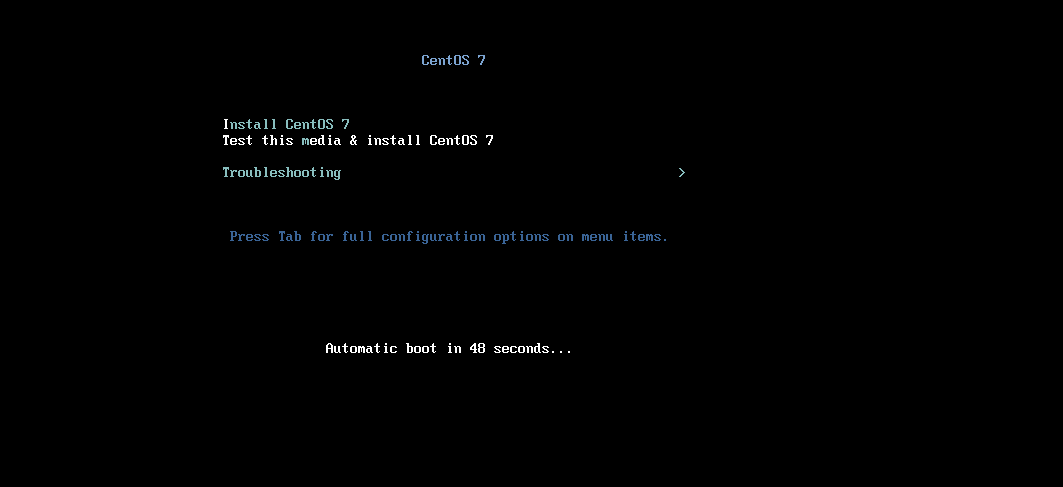
开启虚拟机
选择第一个
点击进入,然后方向键选择第一个
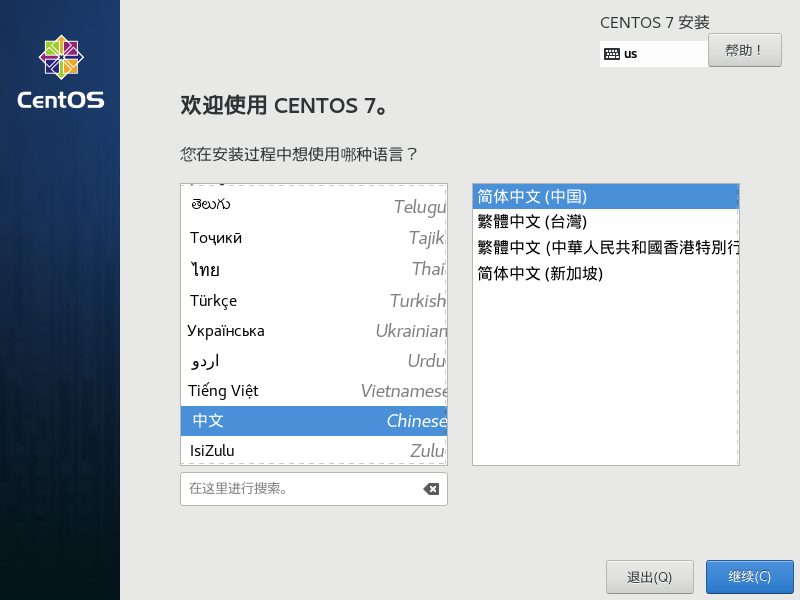
选择中文
等待加载完毕之后
不要立刻操作,需要等待依赖加载完毕
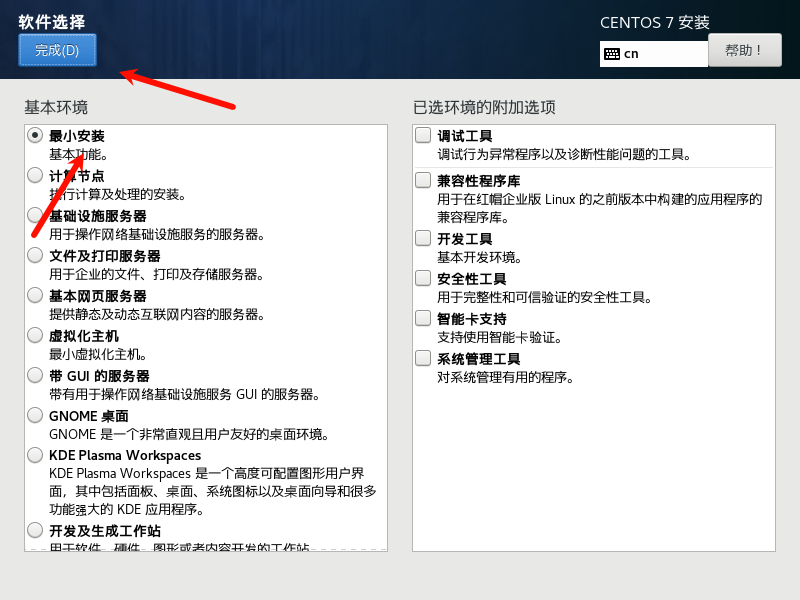
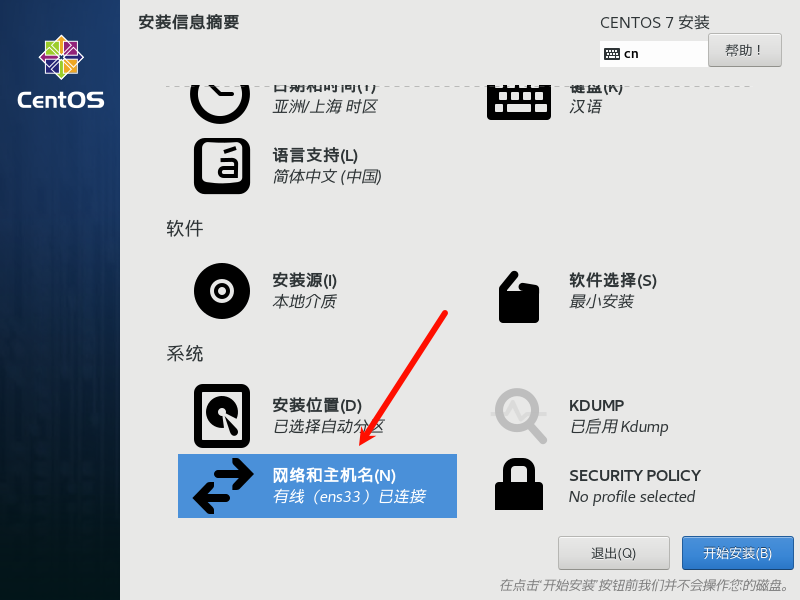
软件选择:最小安装

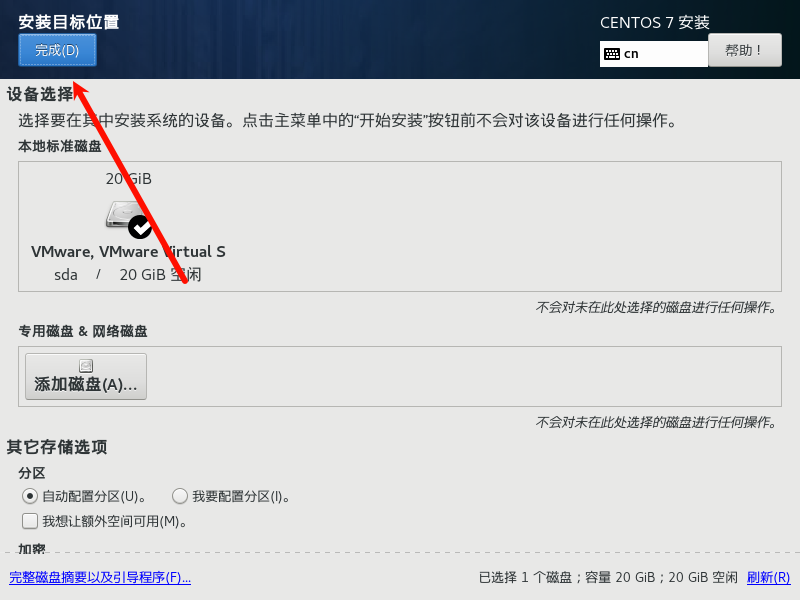
安装位置:点击进入,然后直接点击完成
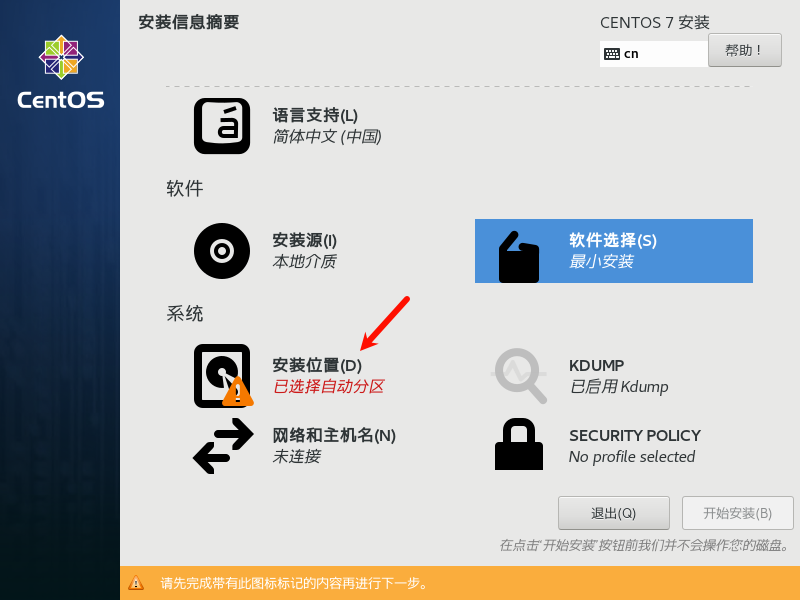
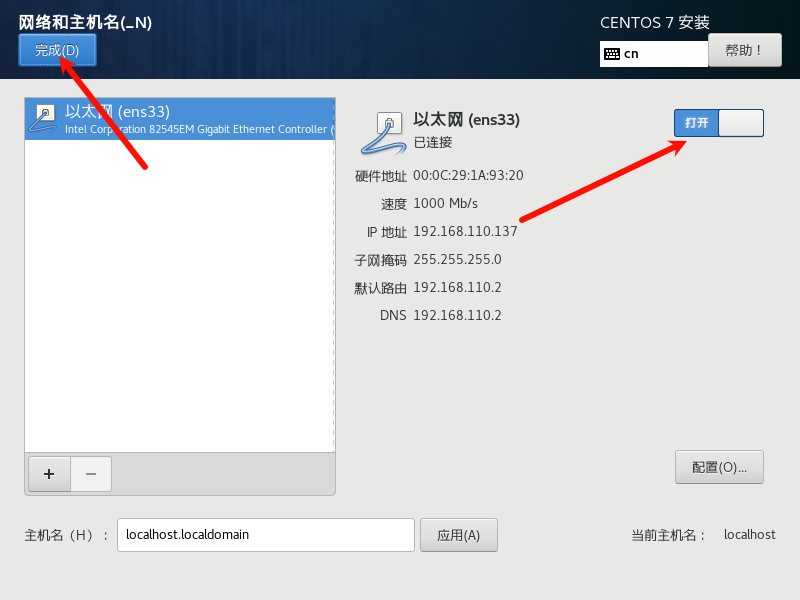
网络和主机名:需要打开
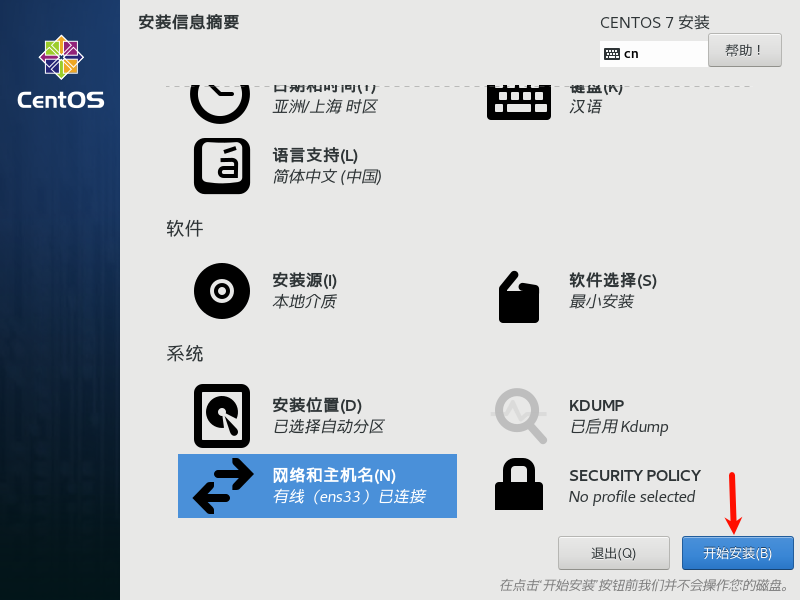
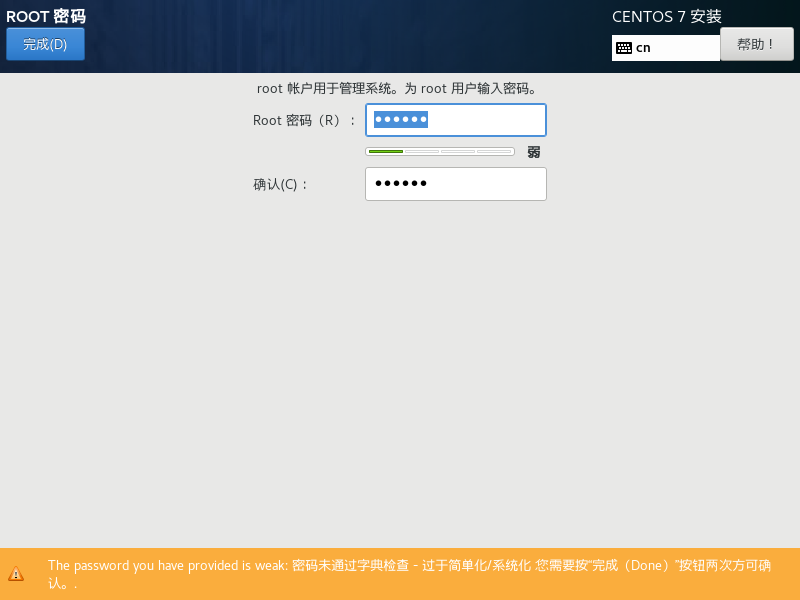
点击开始安装配置root密码
密码设置为 123456
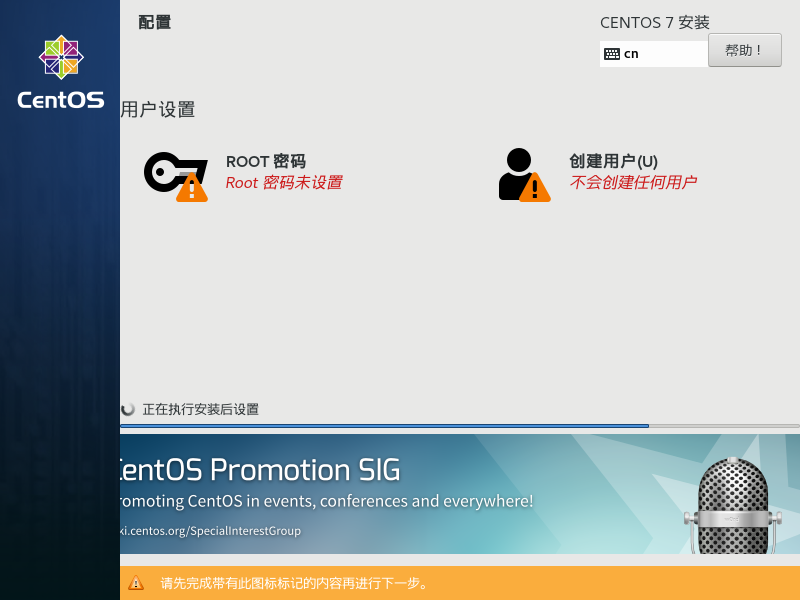
设置完用户之后一直等待到最后显示重启按钮
点击重启然后继续等待
配置静态ip
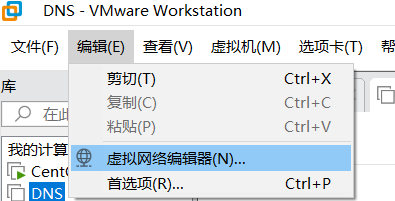
打开虚拟网络编辑器,获取相关信息
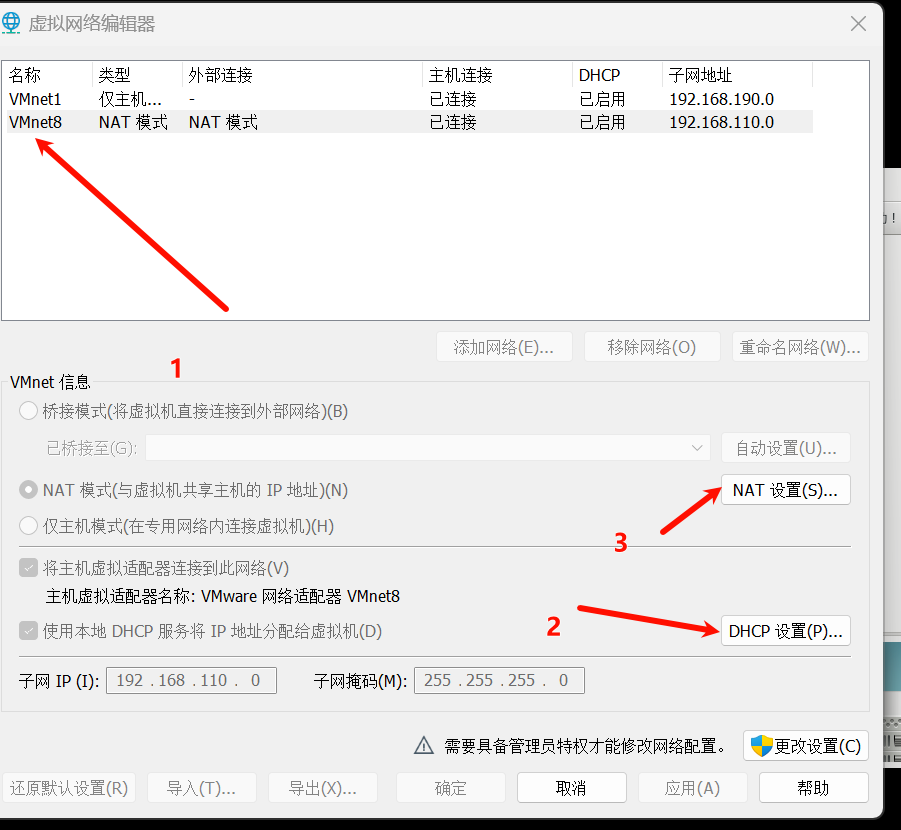
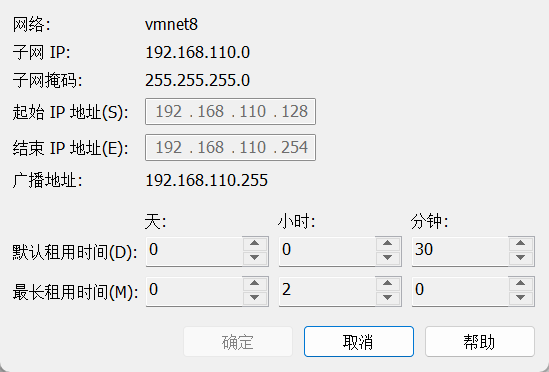
选择VMnet8,点击DHCP获取子网掩码和ip范围
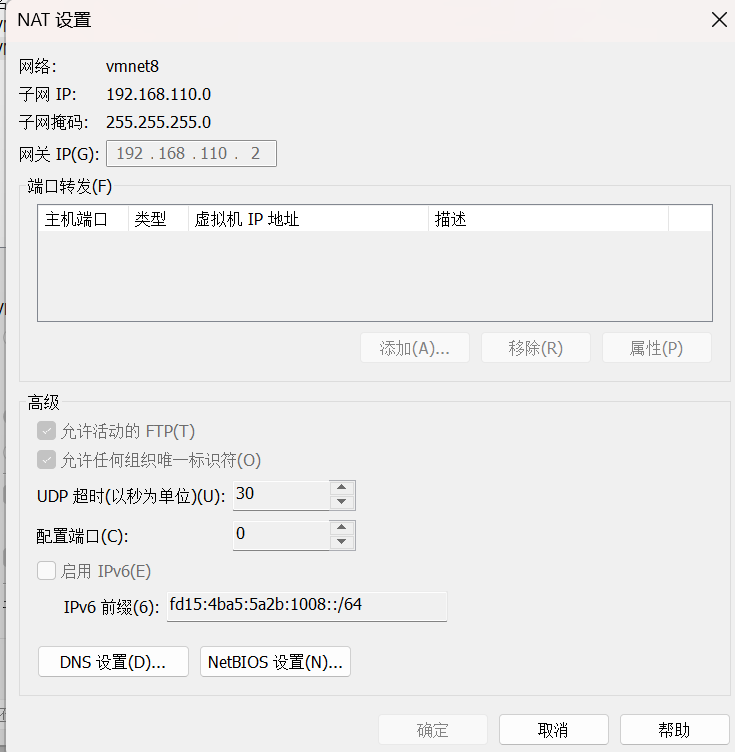
选择VMnet8,点击NAT获取网关
启动虚拟机配置网卡
-
从上一步我们获取到了配置
ip:192.168.110.128-192.168.110.254之间
网关:192.168.110.2
掩码:255.255.255.0 -
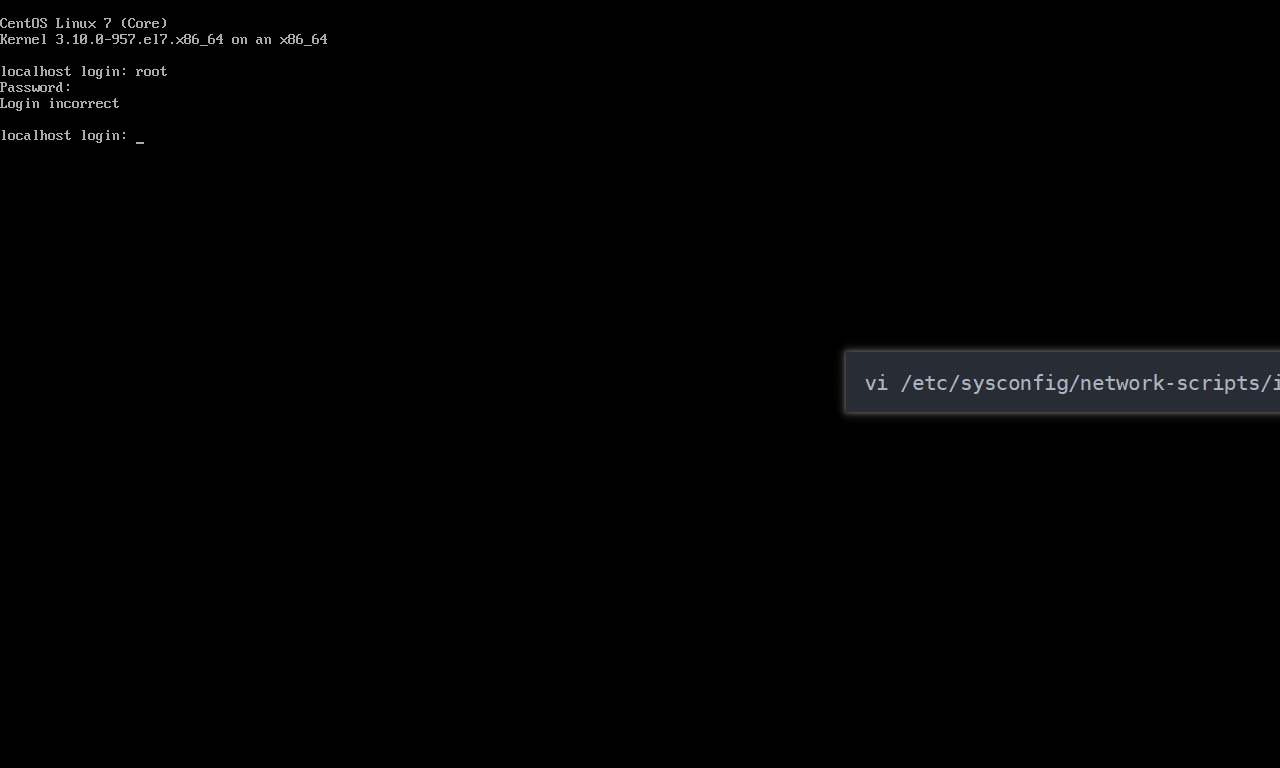
所以需要配置的信息如下,vi /etc/sysconfig/network-scripts/ifcfg-ens33进入配置文件
-
修改或者添加配置
修改如下
BOOTPROTO="static"
ONBOOT="yes"添加如下
IPADDR="192.168.110.128-192.168.110.254之间"
NETMASK="255.255.255.0"
GATEWAY="192.168.110.2"
DNS1="114.114.114.114"
DNS2="8.8.8.8"
- 随后保存退出(:wq)
- 重启网卡服务(systemctl restart network)
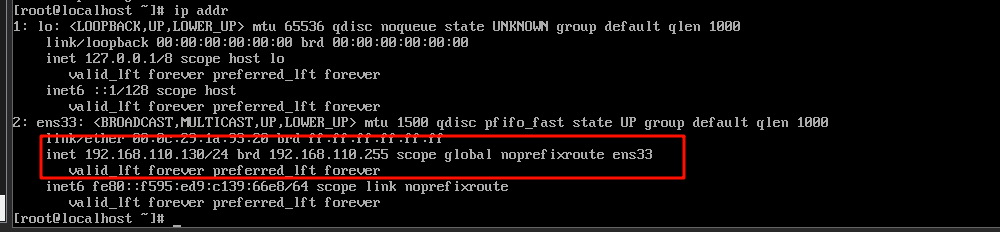
- 查看是否修改成功(IP addr)
这里的192.168.110.130就是修改的ip
这里由于是最小化安装,所以ping不行
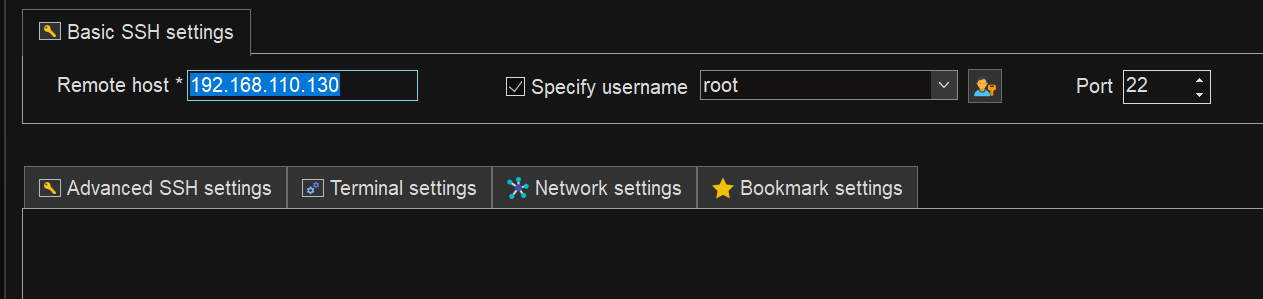
使用服务器连接工具连接
更据上一不配置静态ip我们设置的账户密码直接连接就可以
快照和克隆以及修改相关配置信息
异常报错
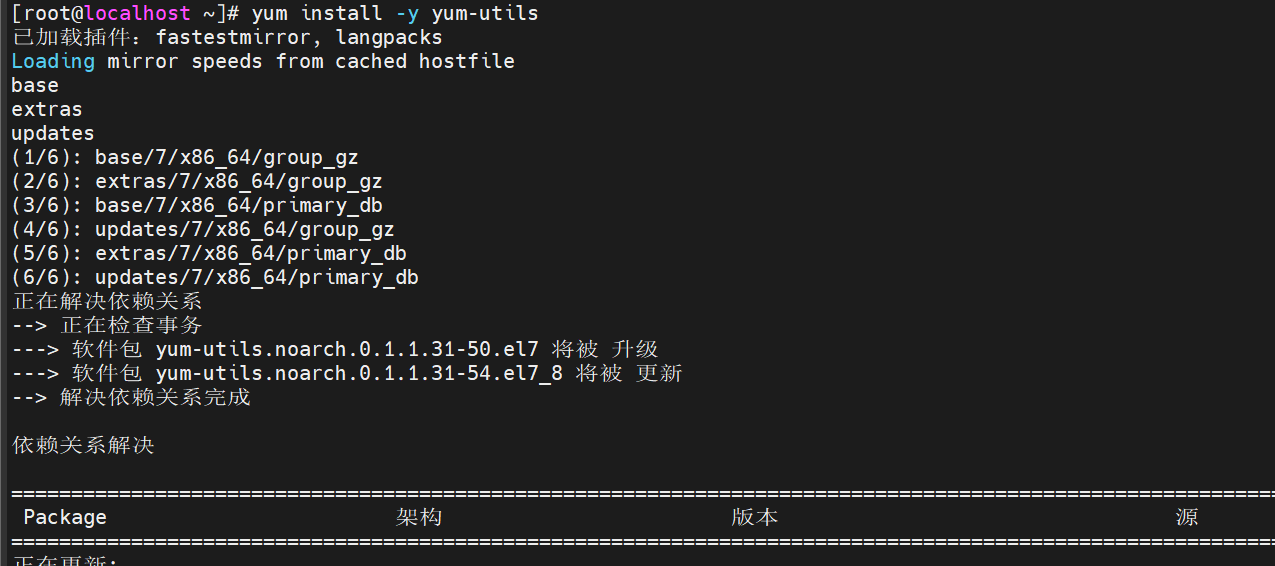
yum install -y yum-utils报错
[root@localhost ~]# yum install -y yum-utils
已加载插件:fastestmirror, langpacks
Loading mirror speeds from cached hostfile
Could not retrieve mirrorlist http://mirrorlist.centos.org/?release=7&arch=x86_64&repo=os&infra=stock error was
14: curl#6 - "Could not resolve host: mirrorlist.centos.org; 未知的错误"One of the configured repositories failed (未知),and yum doesn't have enough cached data to continue. At this point the onlysafe thing yum can do is fail. There are a few ways to work "fix" this:1. Contact the upstream for the repository and get them to fix the problem.2. Reconfigure the baseurl/etc. for the repository, to point to a workingupstream. This is most often useful if you are using a newerdistribution release than is supported by the repository (and thepackages for the previous distribution release still work).3. Run the command with the repository temporarily disabledyum --disablerepo=<repoid> ...4. Disable the repository permanently, so yum won't use it by default. Yumwill then just ignore the repository until you permanently enable itagain or use --enablerepo for temporary usage:yum-config-manager --disable <repoid>orsubscription-manager repos --disable=<repoid>5. Configure the failing repository to be skipped, if it is unavailable.Note that yum will try to contact the repo. when it runs most commands,so will have to try and fail each time (and thus. yum will be be muchslower). If it is a very temporary problem though, this is often a nicecompromise:yum-config-manager --save --setopt=<repoid>.skip_if_unavailable=trueCannot find a valid baseurl for repo: base/7/x86_64
意思是CentOS 7 的官方镜像已经不再可用,导致 yum 无法从标准的仓库中获取软件包信息
解决方法:
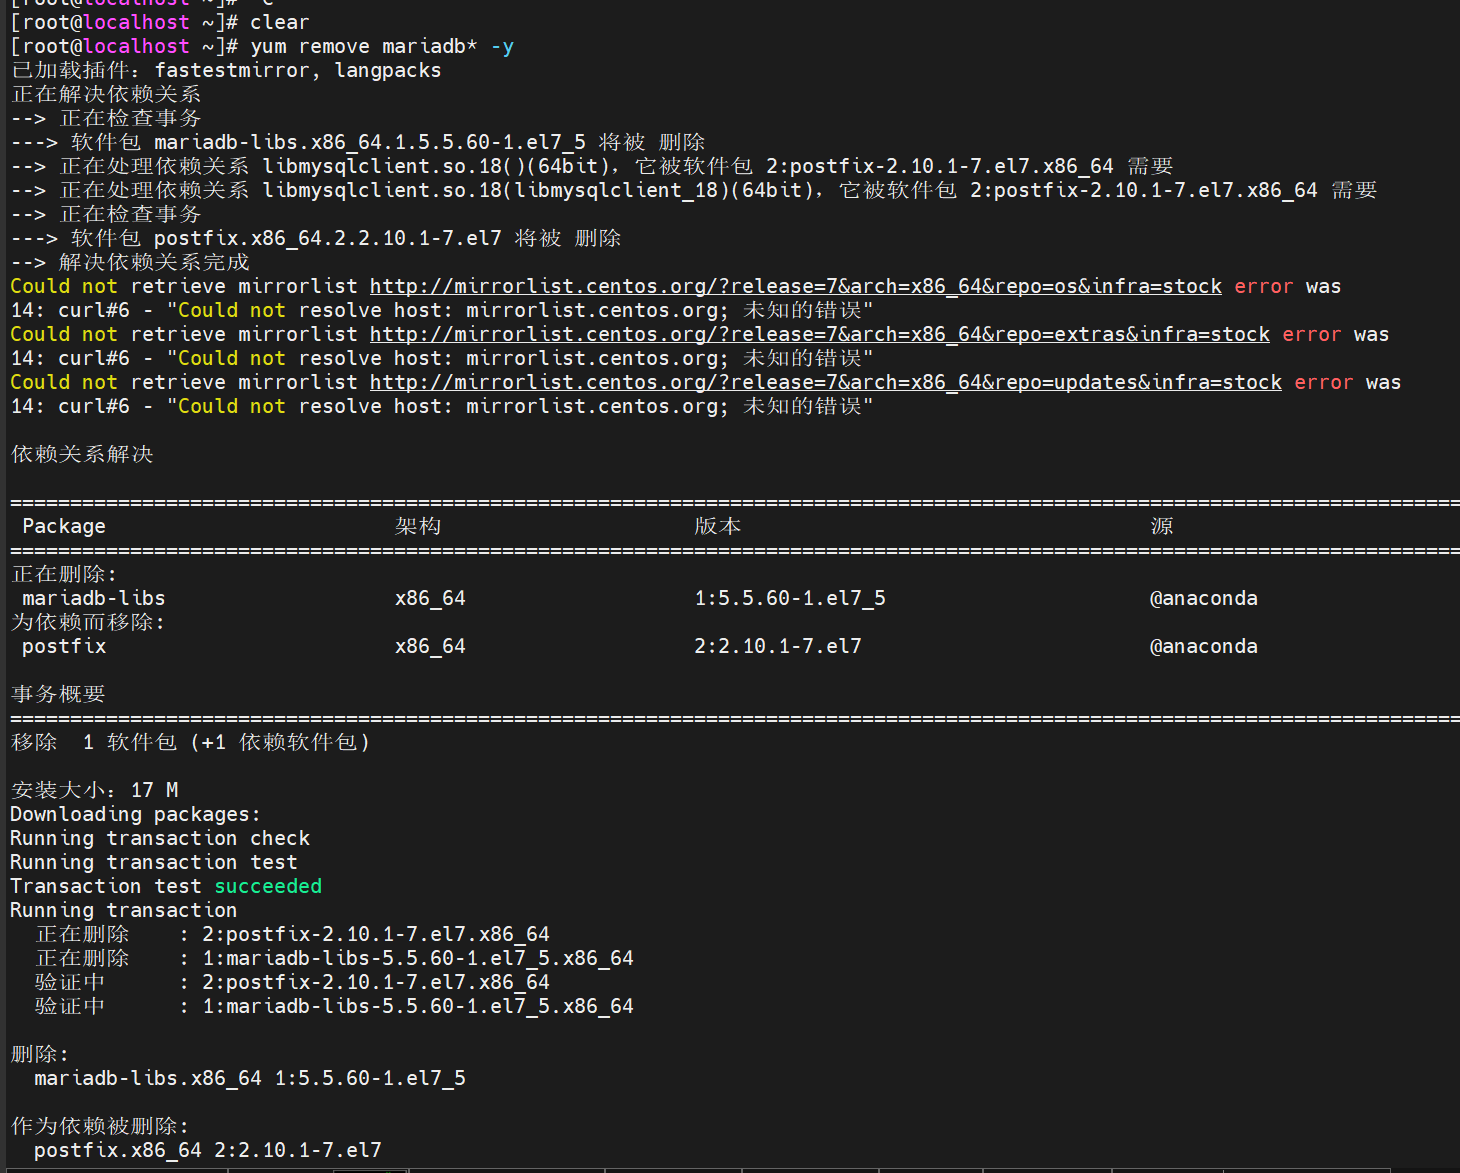
- 首先,卸载掉你那系统自带的数据库
yum remove mariadb* -y
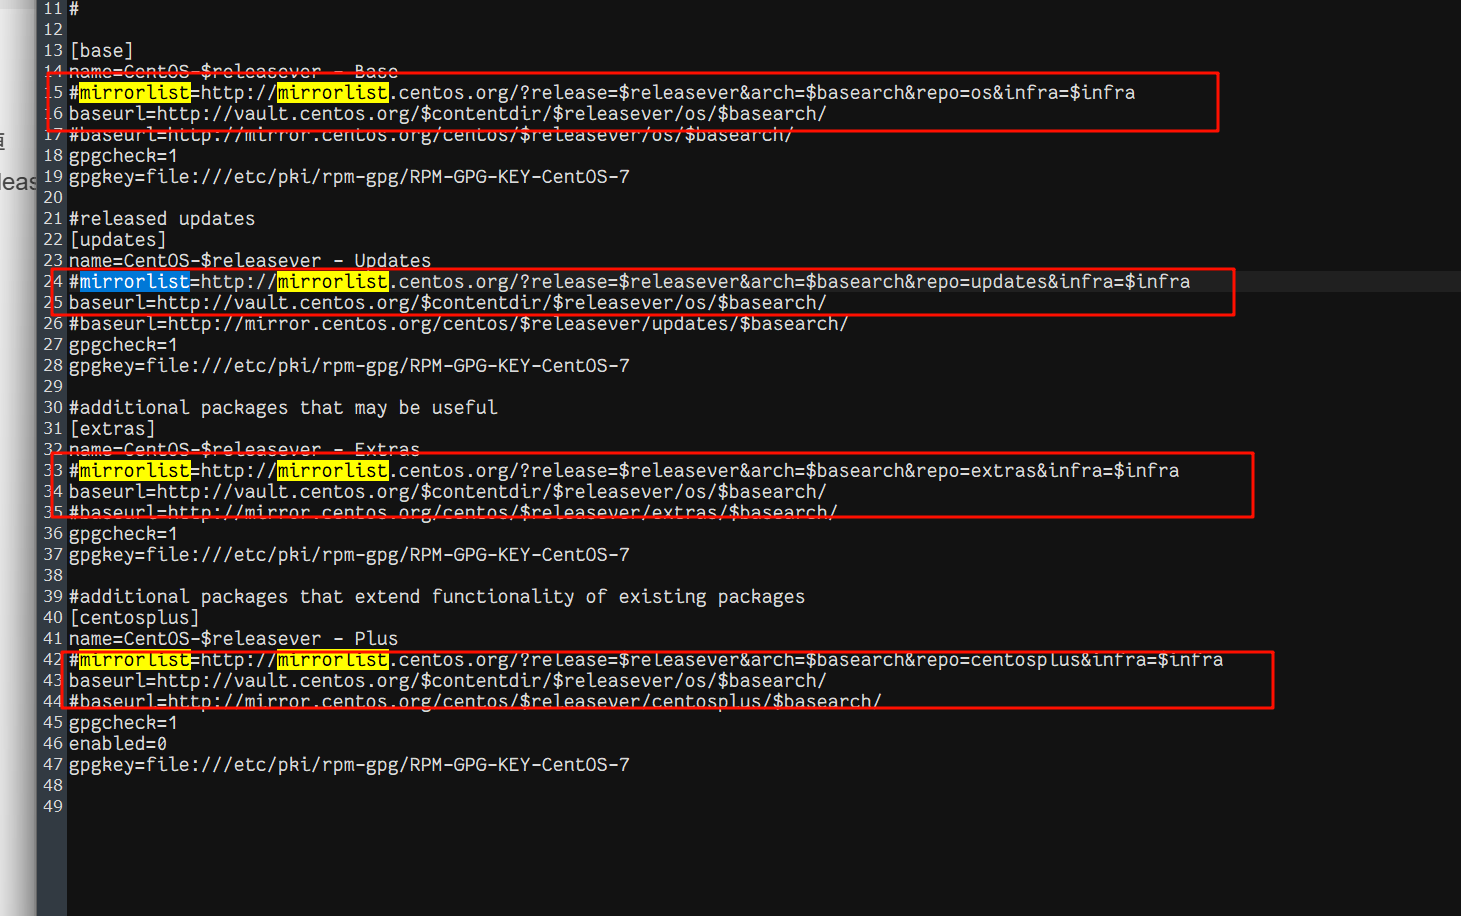
2. 修改文件/etc/yum.repos.d/CentOS-Base.repo
- 把每个部分(这里举例base部分)的mirrorlist注释掉
- 添加
baseurl=http://vault.centos.org/$contentdir/$releasever/os/$basearch/
- 重新运行yum install -y yum-utils